This post contains affiliate links. If you book or buy through them, I may earn a small commission at no extra cost to you.
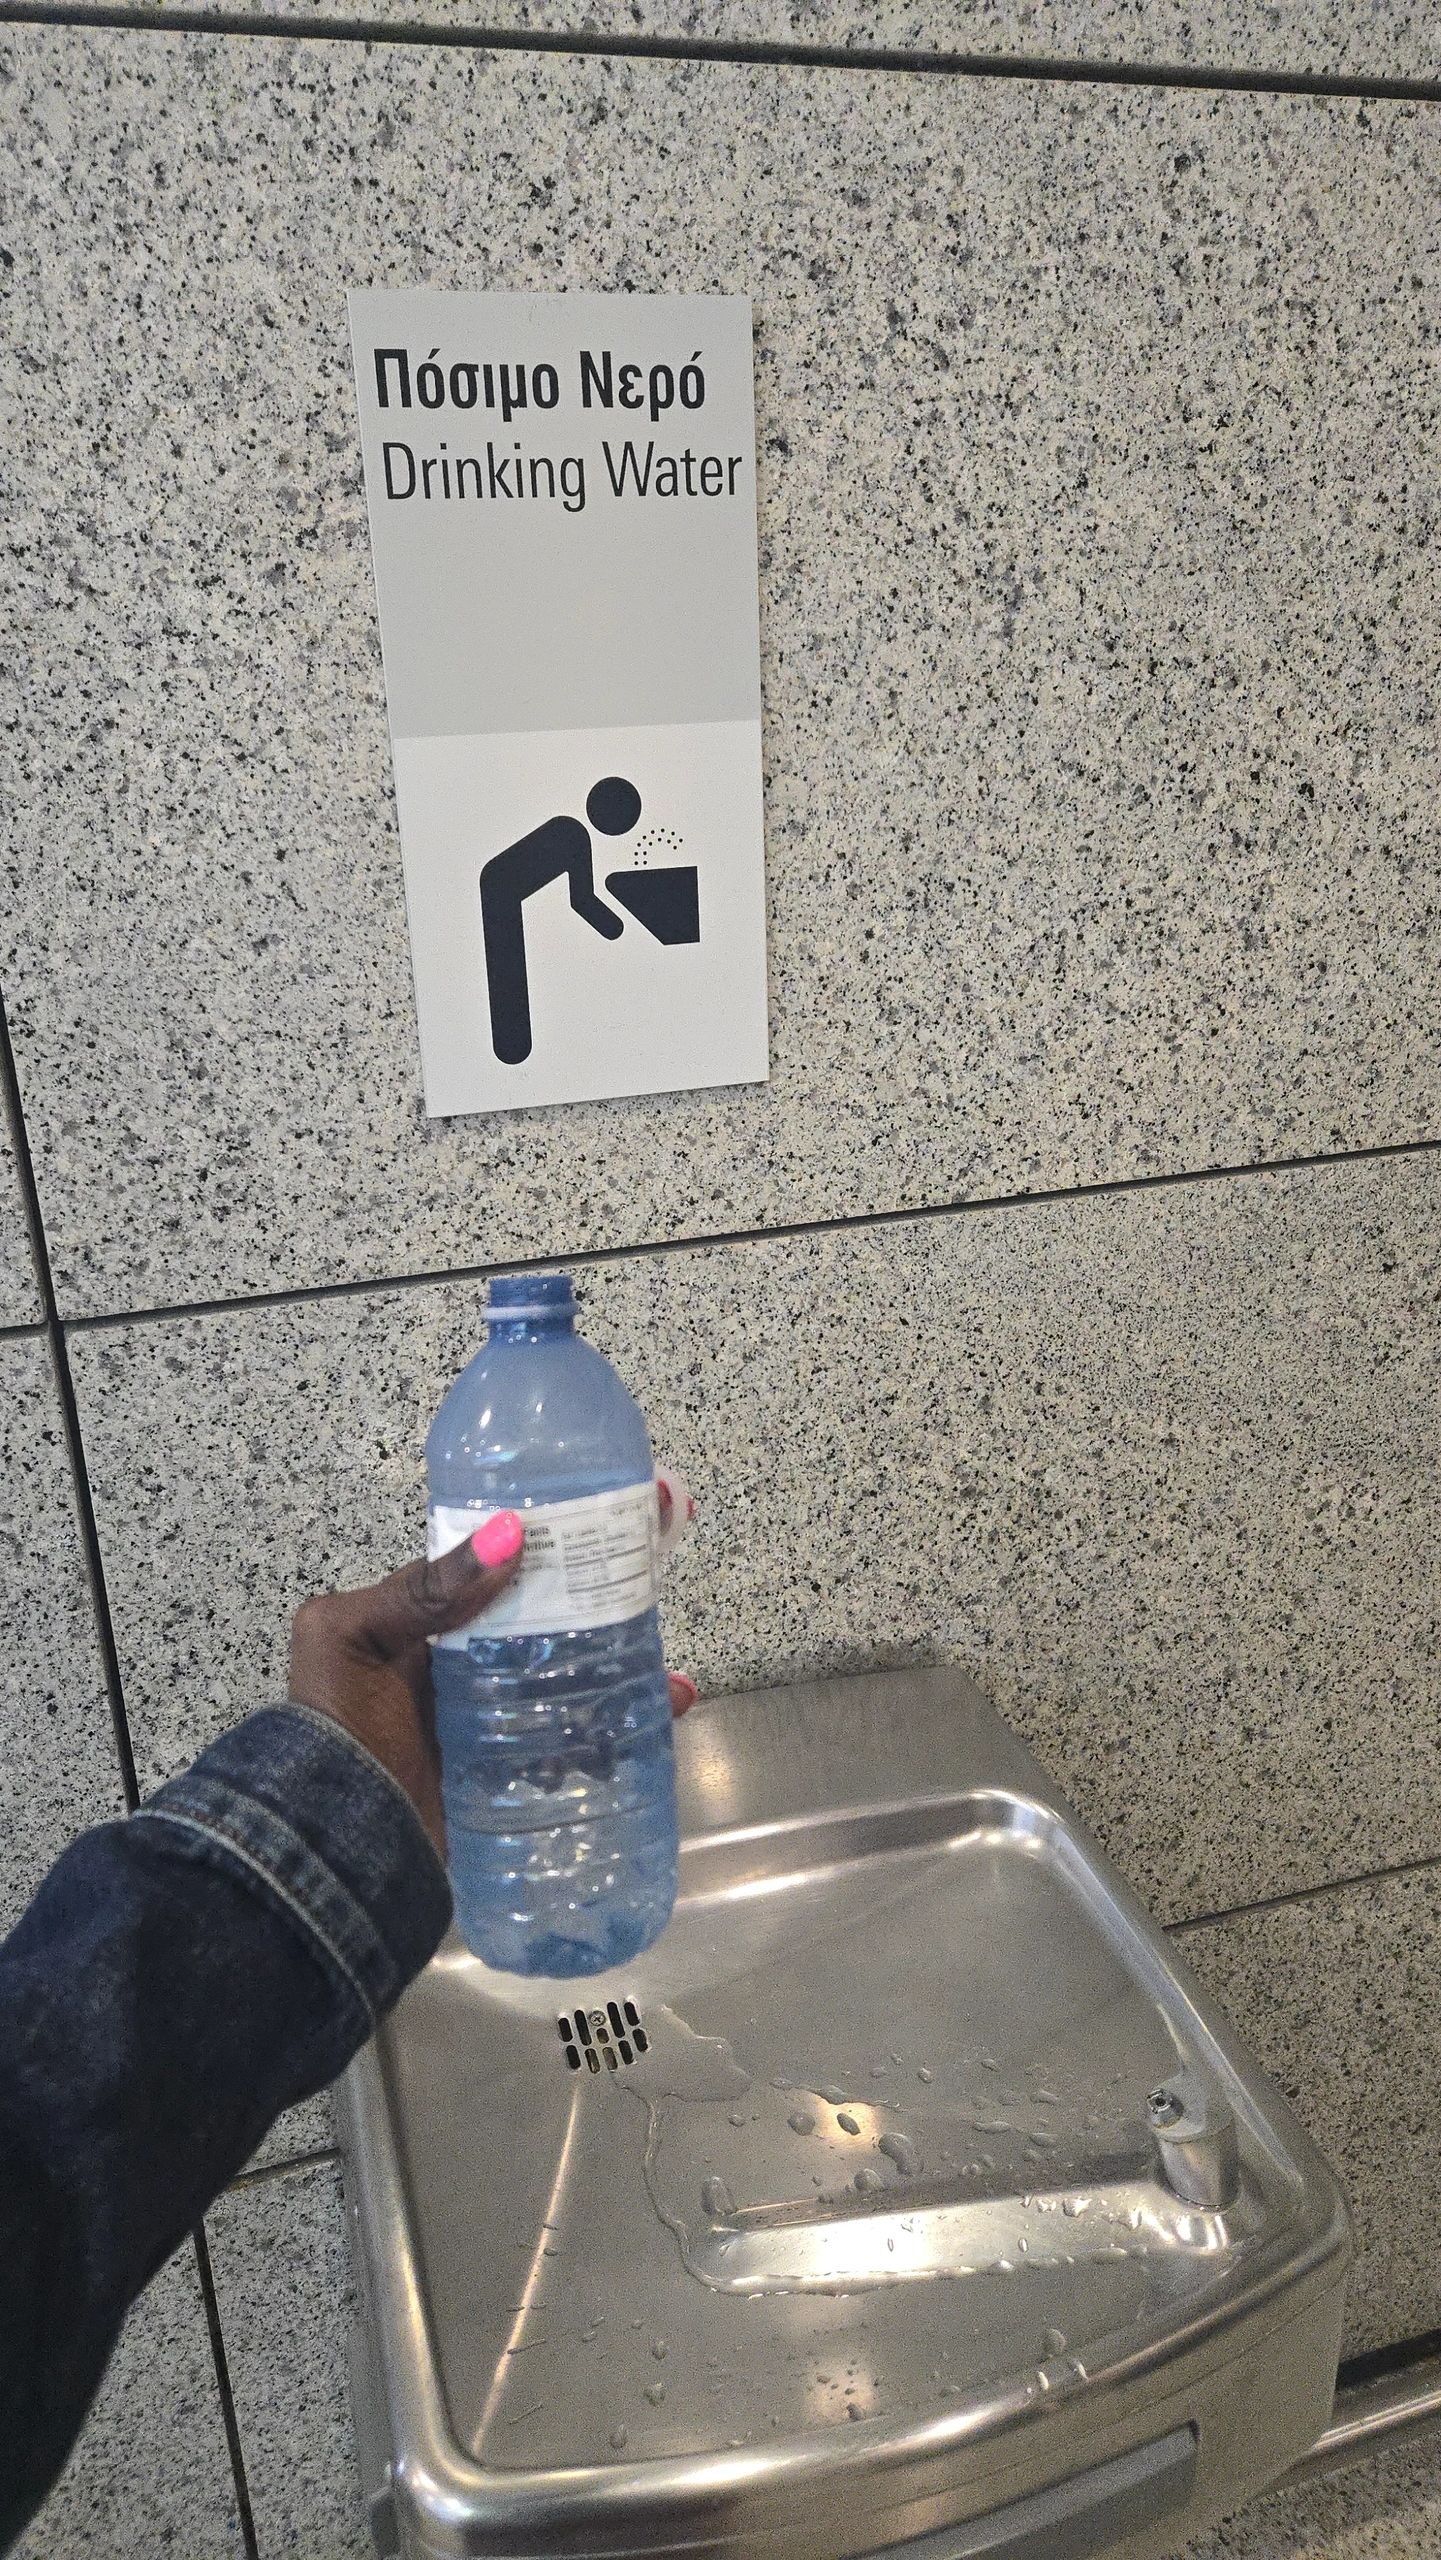
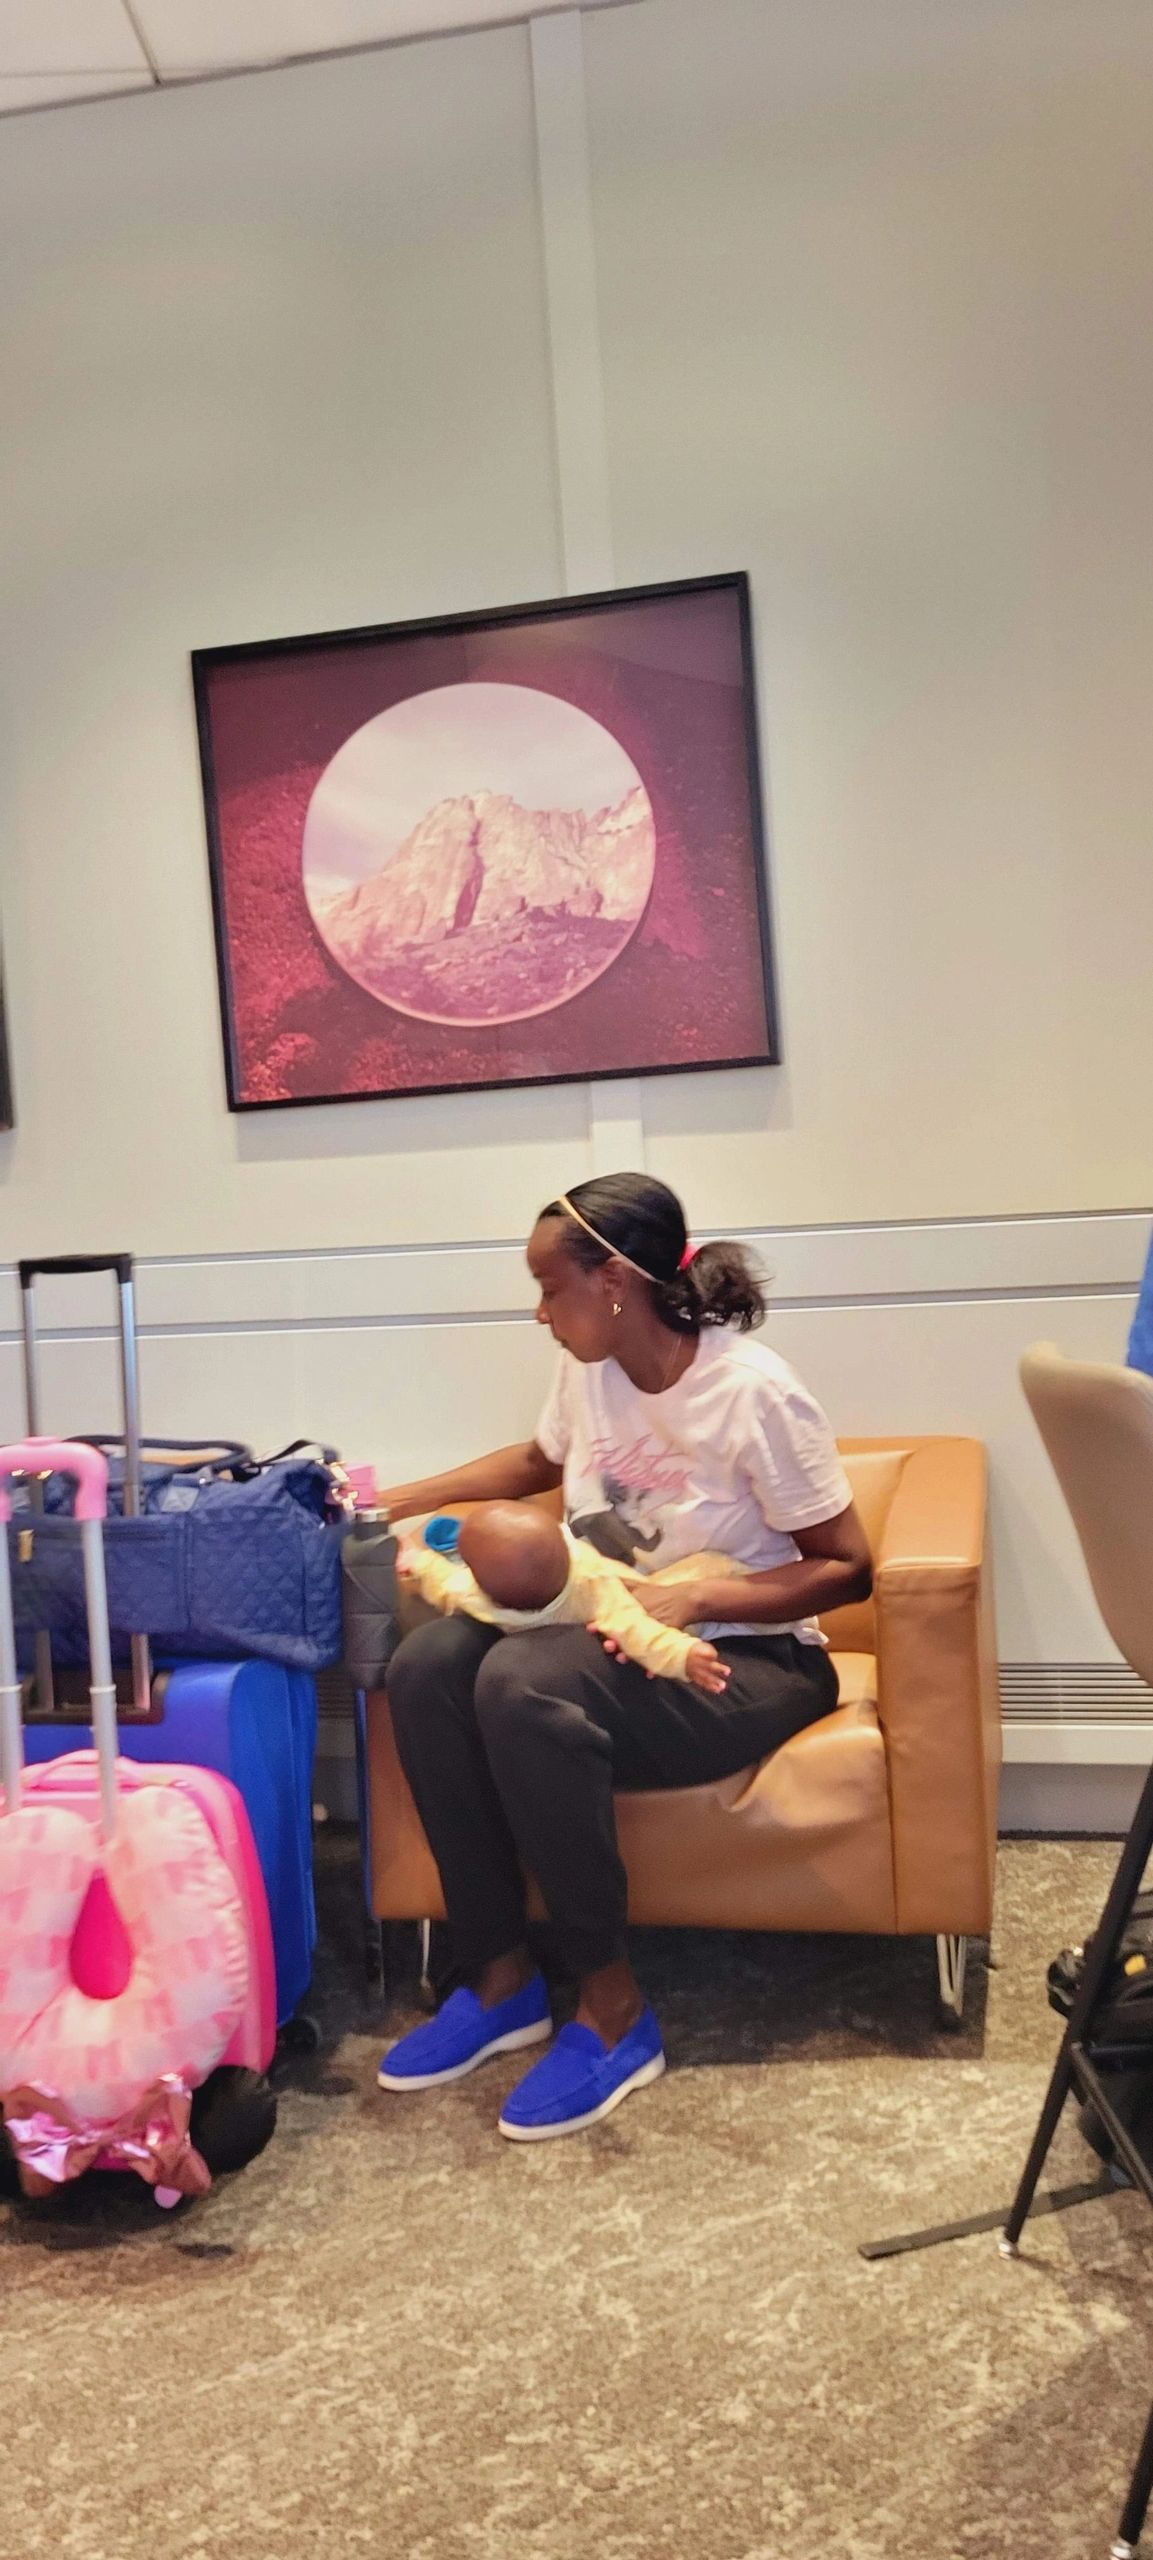
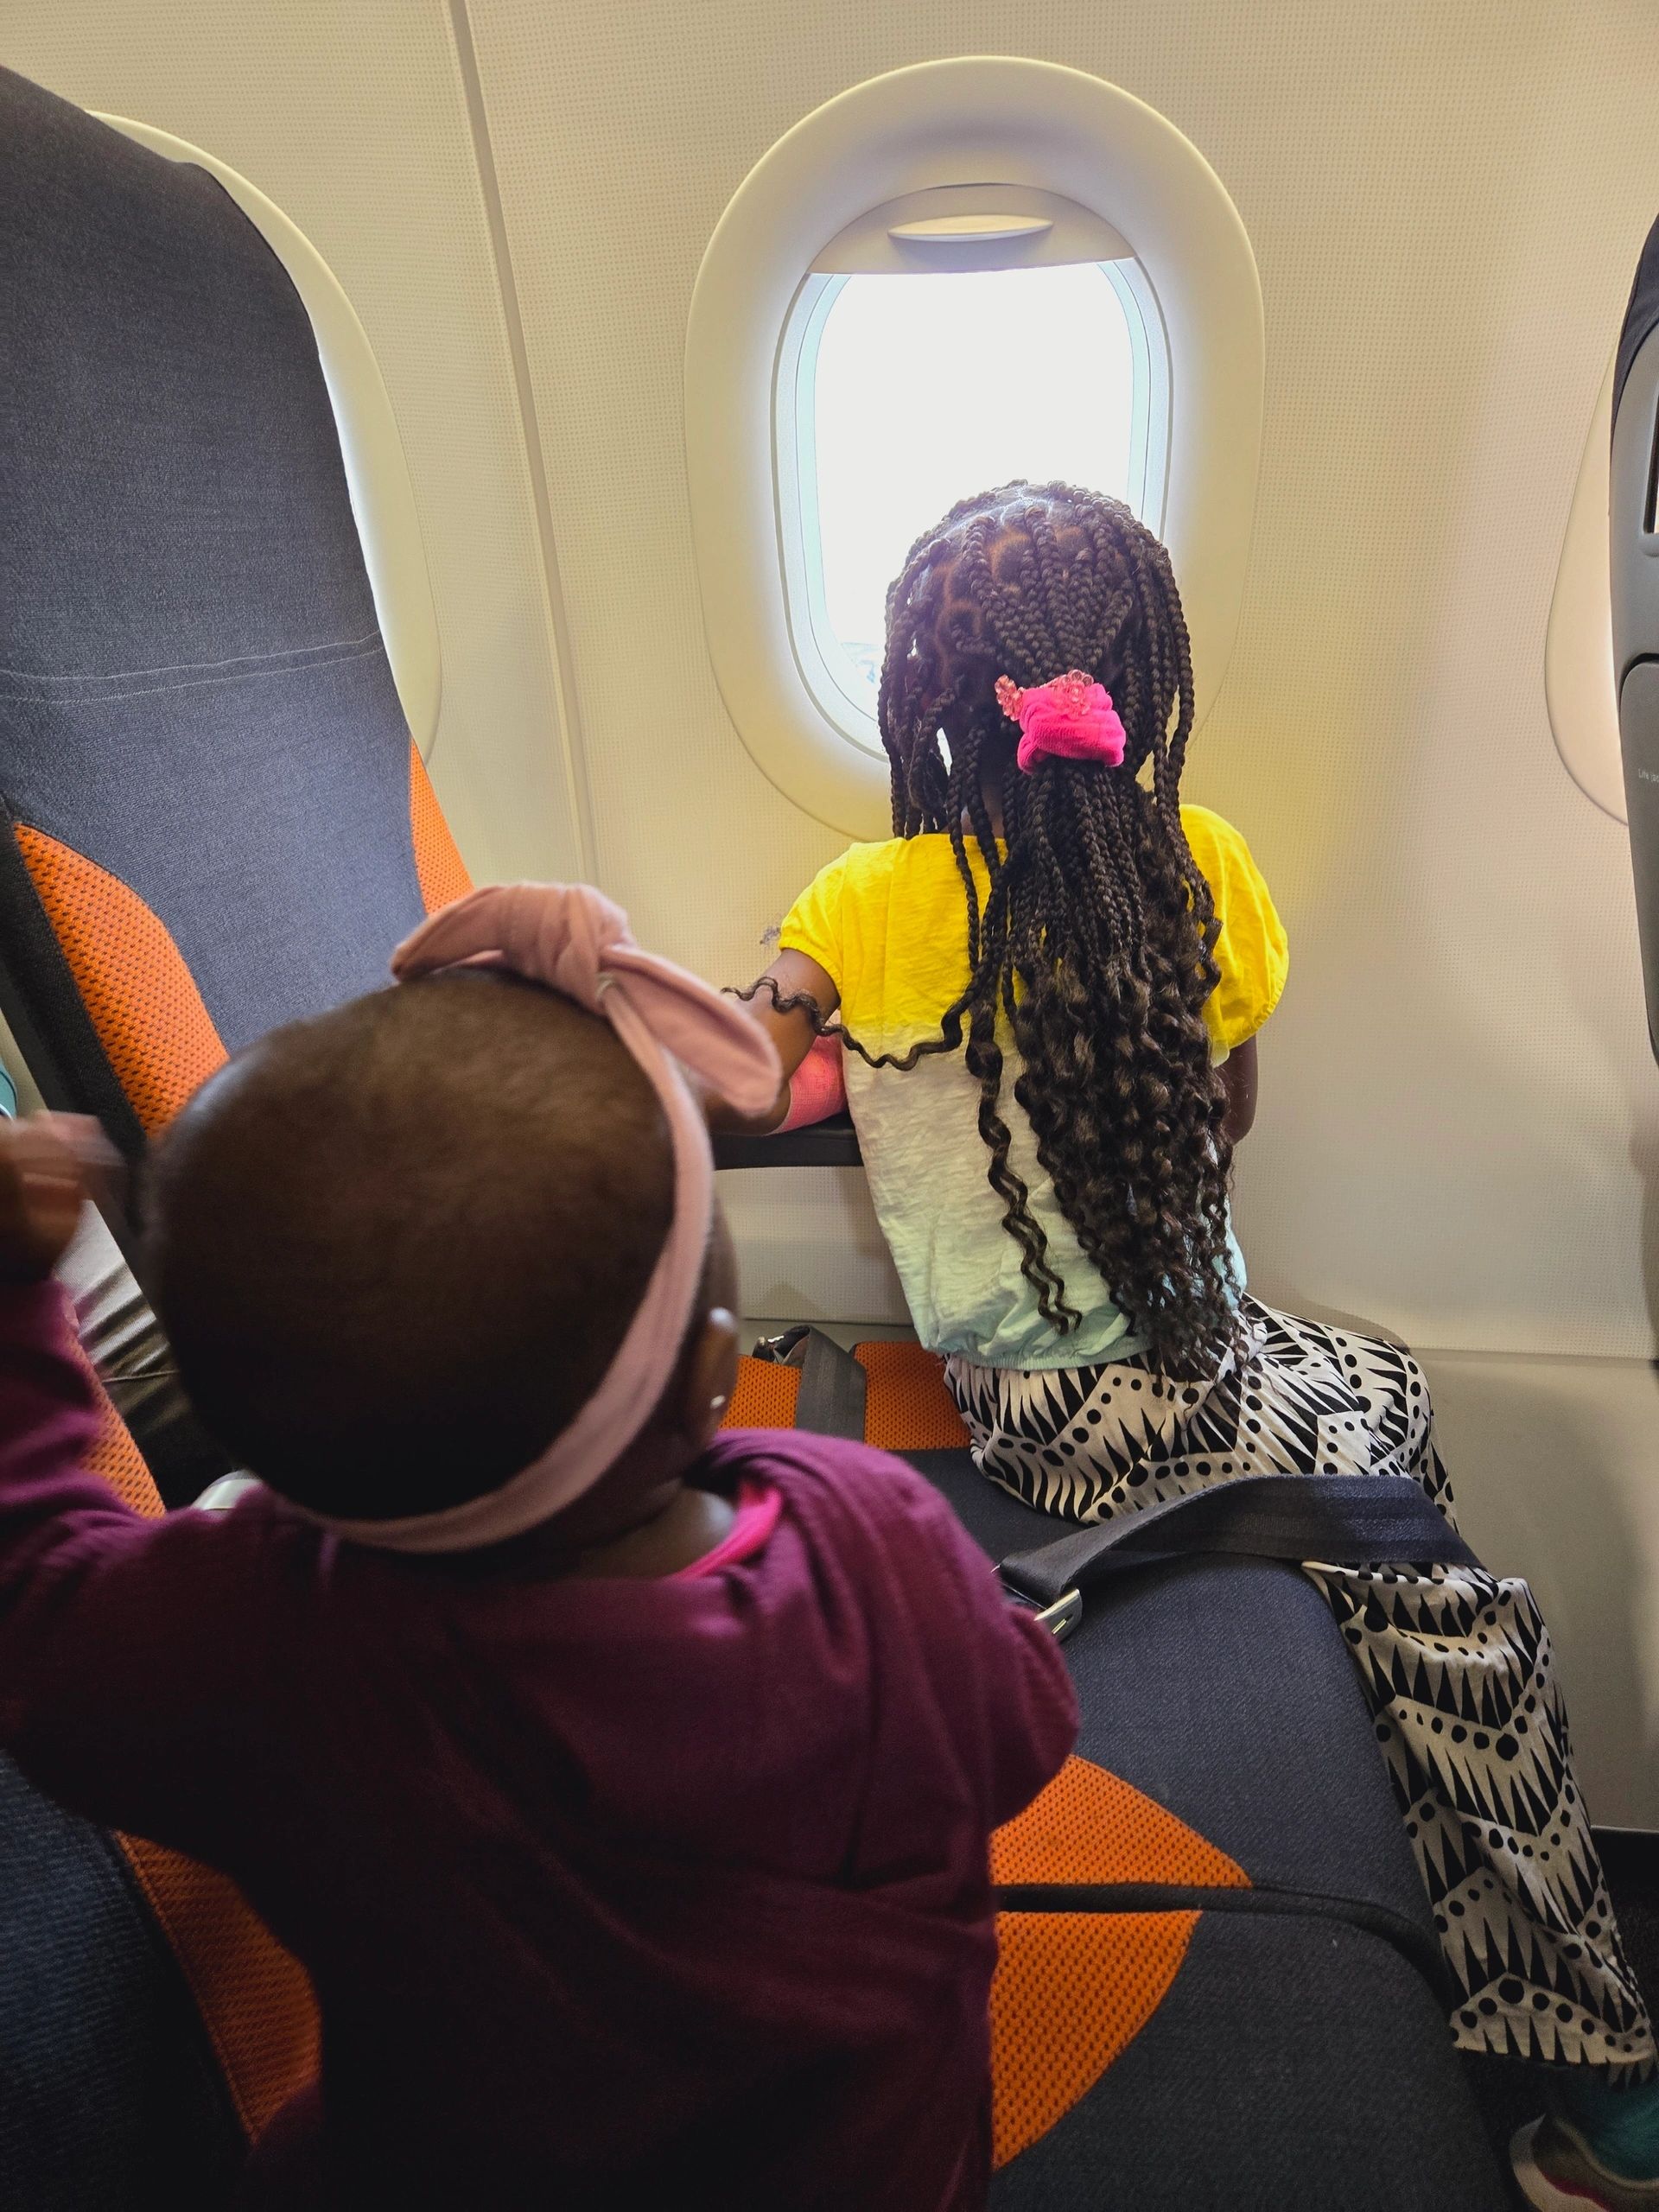
Travel days with kids can be long, unpredictable, and tiring. One small habit that makes a big difference for our family is bringing an empty water bottle through airport security.
It’s simple, free, and one of the easiest family travel tips for flying with kids.
Why this matters when traveling with kids
Airport water is expensive. Paying five dollars for a bottle of water adds up quickly, especially when you’re traveling as a family.
Kids also get thirsty fast, often before the plane even takes off. Once you’re seated, drinks are not always served right away, and if the plane is delayed, it can take even longer.
Having water ready helps avoid unnecessary stress and makes boarding and takeoff much smoother.
Can you bring a water bottle through airport security
Yes. As long as the bottle is empty, you can bring it through airport security.
Once you’re past security, most airports have water fountains or refill stations where you can fill it up before boarding. This is an easy carry on essential for both kids and parents.
Traveling with kids under 2 and liquids
If you’re traveling with children under 2, you’re usually allowed to bring liquids like water, milk, formula, or juice through security.
That said, rules can change depending on the airport and the country, and security may ask to inspect or test liquids. It’s always a good idea to check the airport or airline guidelines before you travel and allow a little extra time at security.
Even when liquids are allowed, bringing an empty bottle is still helpful once you’re past security.
Flights get delayed. Boarding takes time. Airports are dry environments. All of this makes hydration even more important, especially for young children.
Having water on hand means fewer complaints, fewer meltdowns, and a calmer start to the flight. It’s a small thing, but it makes flying with kids feel much more manageable.
This post contains affiliate links. If you book or buy through them, I may earn a small commission at no extra cost to you.
If you enjoyed the Northern Europe route, this sunny itinerary is the perfect follow-up. Two weeks from Lisbon to Rome brings you beaches, art, history, and incredible food — all at a relaxed pace. You’ll visit Portugal, Spain, France, and Italy, moving mostly by train and a few short flights.
It’s ideal for families, couples, or anyone who wants to see the best of Southern Europe without rushing.
Lisbon, Portugal (Days 1–3)
Lisbon is a bright, hilly city full of charm, colors, and viewpoints. It’s an easy city to fall in love with and a great place to start your journey.
Top things to do: • Ride Tram 28 through the old neighborhoods • Explore Alfama District and enjoy live fado music • Visit Belém Tower & Jerónimos Monastery • Check out LX Factory for cafés and street art • Try the famous Pastéis de Belém (custard tarts) • Watch the sunset from Miradouro da Senhora do Monte
Family & travel tips: • Currency: Euro (€) • Lisbon is very hilly — bring a light stroller if traveling with kids. • Stay in Baixa, Chiado, or Alfama for easy access to sights. • Uber works well and is budget-friendly. • The airport is close to the city, around 20 minutes away.
✈️ Next stop: Madrid (≈ 1 h 20 min flight)
Madrid, Spain (Days 4–6)
Madrid is lively, elegant, and full of culture — from royal palaces to beautiful parks. It’s also known for late dinners and family-friendly plazas.
Top things to do: • Visit the Royal Palace of Madrid • Explore Retiro Park (rent a boat on the lake) • Tour the Prado Museum or Reina Sofía • Walk through Plaza Mayor and Puerta del Sol • Try tapas in La Latina neighborhood • Visit Mercado de San Miguel for local bites • Enjoy churros at Chocolatería San Ginés
Family & travel tips: • Currency: Euro (€) • Madrid is stroller-friendly with wide sidewalks and parks. • Stay near Retiro Park or Sol for central access. • Use the Metro or Uber to move around easily.
🚆 Next stop: Barcelona (≈ 2 h 30 min AVE high-speed train)
Barcelona, Spain (Days 7–9)
Barcelona blends city life, art, and the sea — the perfect combination for families and couples alike.
Top things to do: • Sagrada Familia (book ahead) • Park Güell • Casa Batlló and La Pedrera • Walk through the Gothic Quarter and Las Ramblas • Relax at Barceloneta Beach • Watch the Magic Fountain Show at night • Try tapas and paella in El Born
Family & travel tips: • Currency: Euro (€) • The city is walkable and stroller-friendly. • Stay in Eixample, Barceloneta, or El Born. • Public transport is easy, but walking is often the best way to explore.
✈️ Next stop: Nice (≈ 1 h 15 min flight)
Nice, France (Days 10–11)
Nice offers the perfect pause between Spain and Italy, sunny beaches, colorful streets, and amazing views.
Top things to do: • Walk along the Promenade des Anglais • Visit the Old Town (Vieux Nice) • Climb Castle Hill for panoramic views • Stroll through the Cours Saleya market • Take a day trip to Monaco or Èze Village
Family & travel tips: • Currency: Euro (€) • Stay near the Old Town or Promenade for easy walking. • The beach is pebble — bring water shoes for kids. • Nice has easy train connections to Italy.
🚆 Next stop: Rome (≈ 7 h by train or 1 h 10 min flight)
Rome, Italy (Days 12–14)
End your trip surrounded by history and pasta. Rome is unforgettable — ancient ruins, grand piazzas, and the best gelato to finish your trip.
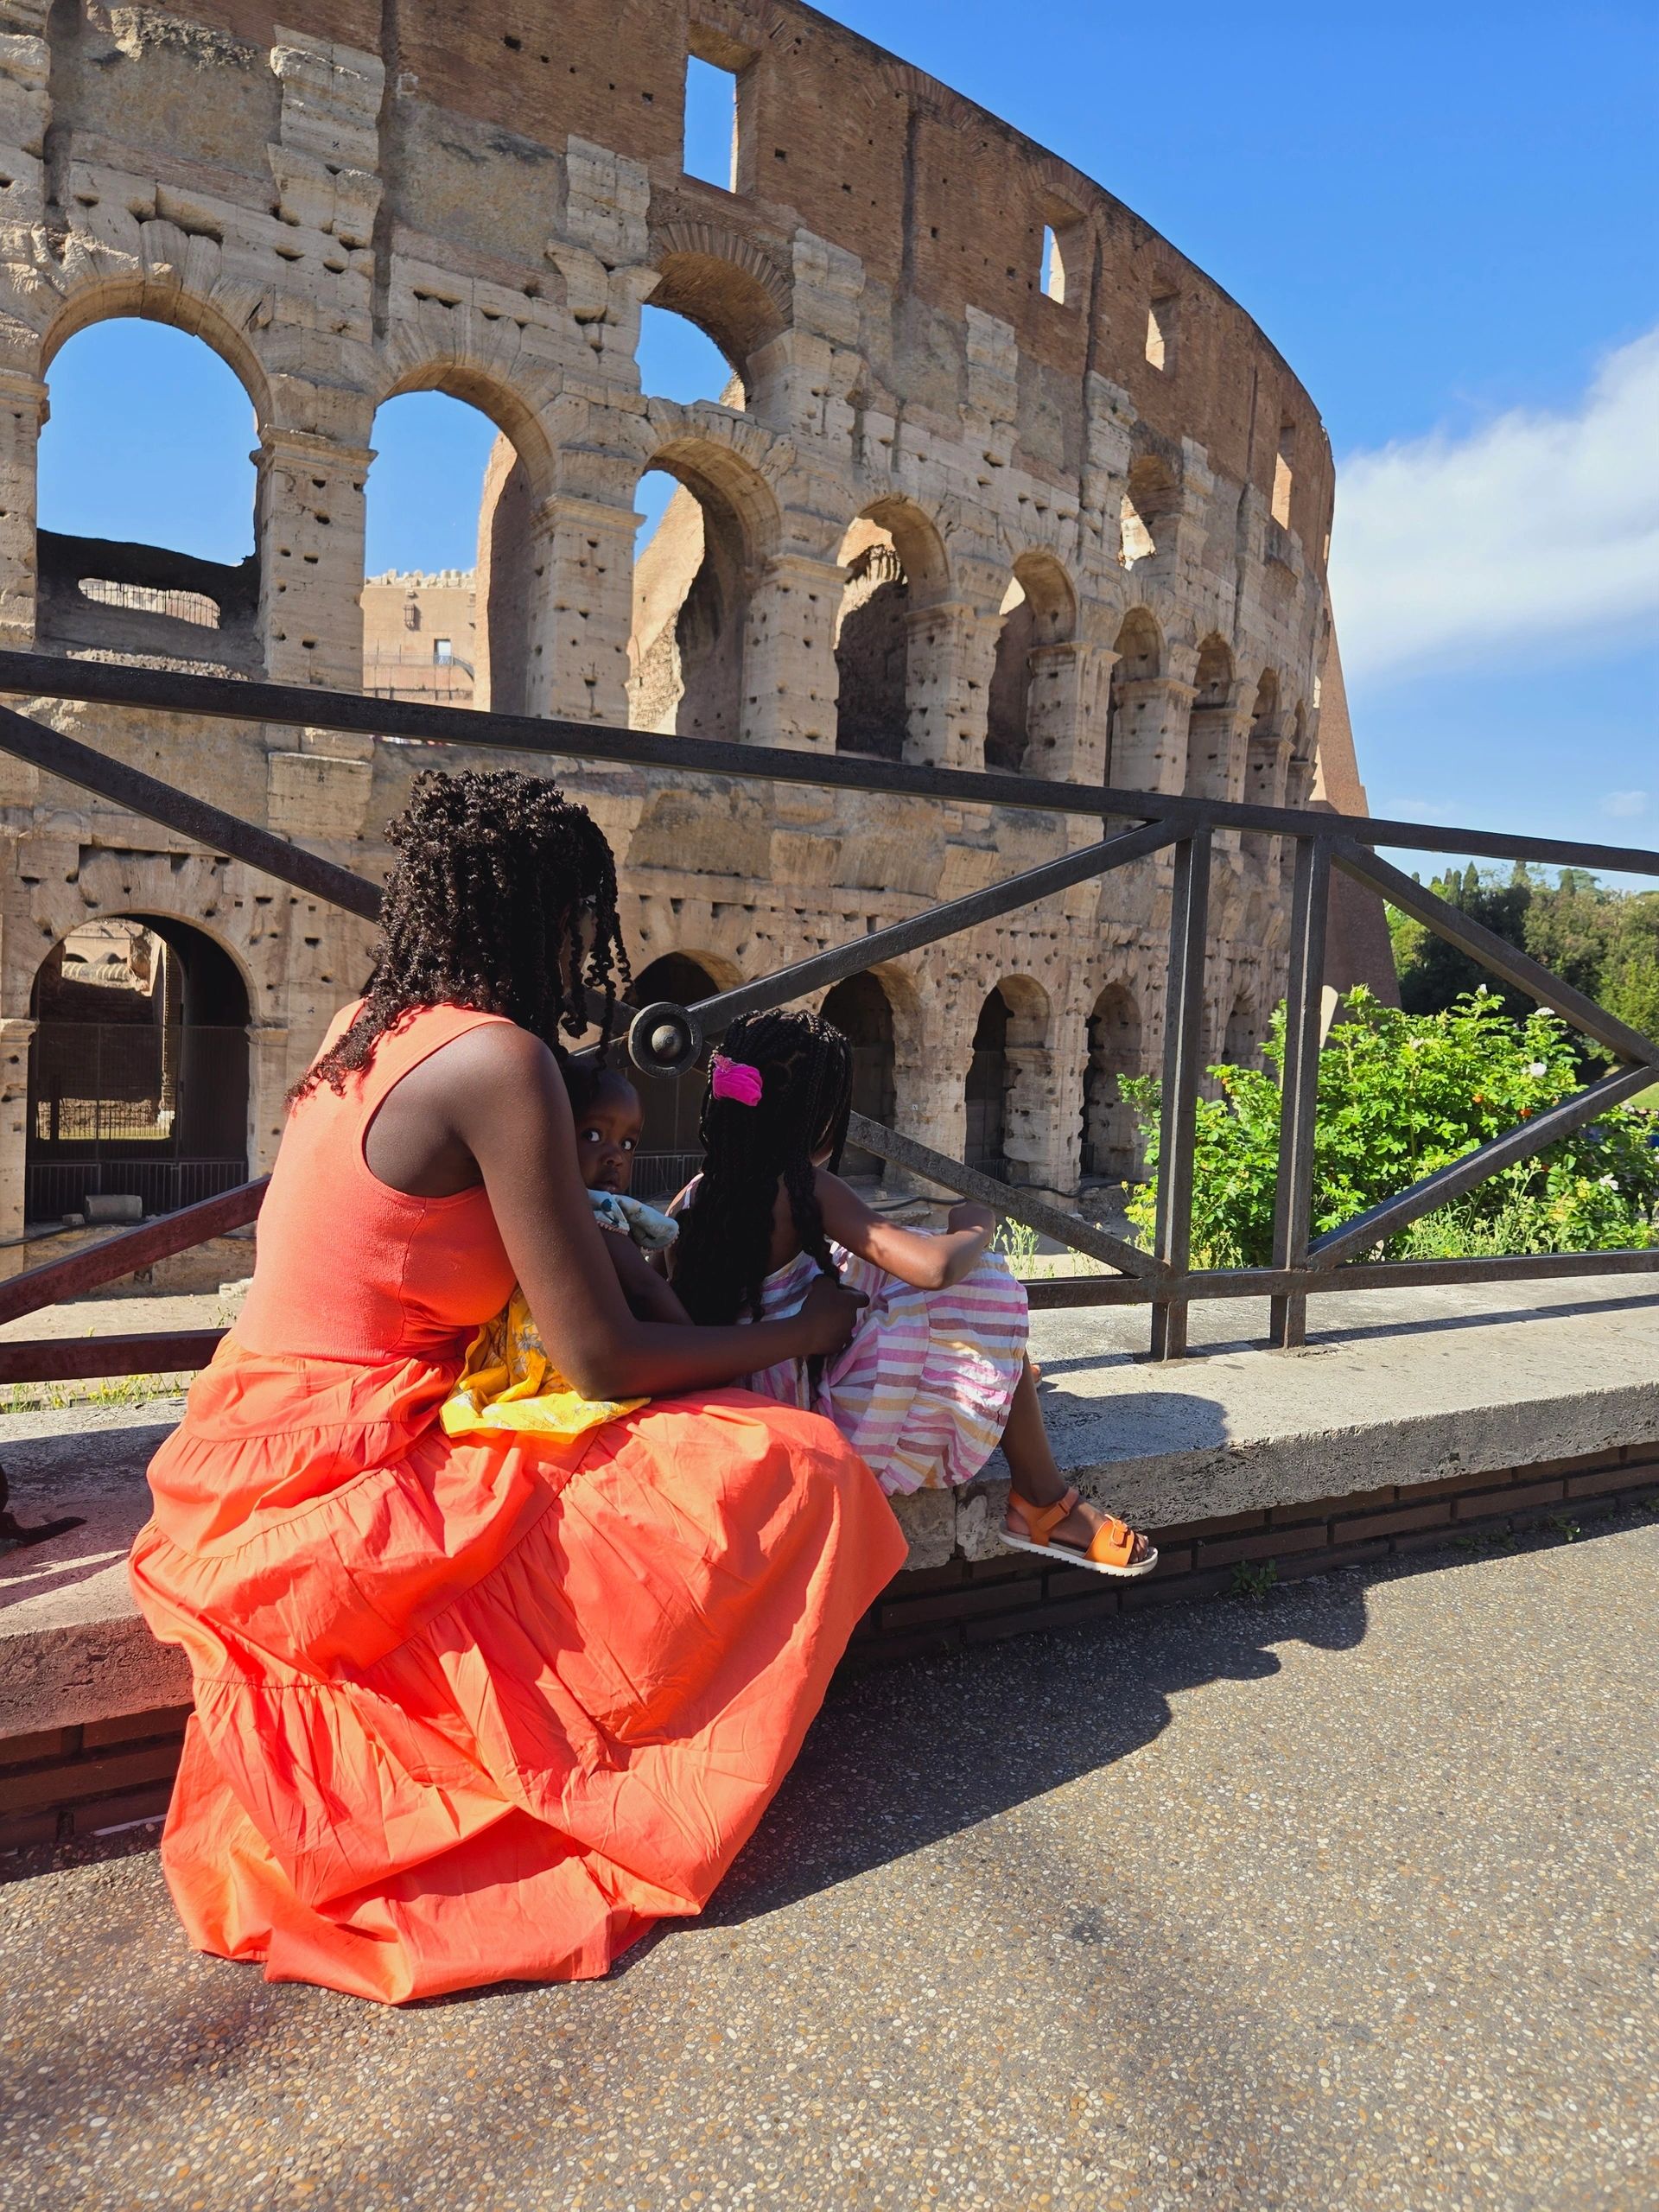
Top things to do: • Visit the Colosseum and Roman Forum • Make a wish at the Trevi Fountain • See the Pantheon • Explore Vatican City (St. Peter’s Basilica & Sistine Chapel) • Relax at Piazza Navona and Campo de’ Fiori • Have dinner in Trastevere • Day trip to Pompeii or Naples
Family & travel tips: • Currency: Euro (€) • Rome’s cobblestone streets can be tough for big strollers, bring a light, compact one. • Carry some cash for cafés, taxis, and gelato shops. • Stay near Piazza Navona, Monti, or Trastevere for central access and great food. • Be patient, Rome is busy, but it’s part of the charm. • Always stop for gelato (that’s a rule, not a tip).
Getting Around Southern Europe
• Trains are comfortable, scenic, and connect most city centers directly. • For longer distances (like Lisbon → Madrid or Barcelona → Rome), short flights save time. • Book trains early on Trainline, Renfe, or SNCF for lower fares. • Budget airlines such as Vueling, Iberia Express, and Ryanair are reliable for short hops. • Remember that luggage limits are stricter on budget flights — pack light!
Before You Go
• Take your time between cities. Travel days can be tiring — and trains or flights can be delayed. • Pack light. Trains, stairs, and cobblestones make heavy bags stressful. • Bring an eSIM for easy data and navigation — it’s cheaper than roaming. • Always carry some euros in cash — small shops and taxis may not take cards. • Credit and debit cards (Visa, Mastercard) are accepted almost everywhere. • Airbnb or apartment stays are great for families — many have laundry, which means you can pack less. • If traveling with kids, bring a lightweight stroller. Streets, elevators, and public transport in Europe are smaller than in North America. • Best time to visit: Spring (April–June) or Fall (September–October). It’s warm, beautiful, and less crowded than summer. • The food is incredible everywhere — pastries in Lisbon, tapas in Madrid, paella in Barcelona, and pasta in Rome. Eat like a local and enjoy every bite.
This 2-week Southern Europe itinerary is all about sunshine, flavor, and culture. From Lisbon’s trams to Madrid’s plazas, Barcelona’s beaches, Nice’s sea views, and Rome’s ancient wonders, every stop brings a new rhythm and story.
Go slow, stay curious, and give yourself room to rest. The beauty of Europe isn’t just in what you see — t’s in how you experience it.
And if you missed it, check out Part 1: Northern Europe (London to Geneva) for a full two-part Europe adventure.
This post contains affiliate links. If you book or buy through them, I may earn a small commission at no extra cost to you.
If you’ve ever dreamed of exploring Europe in two weeks without rushing from airport to airport, this route is for you. It takes you through five incredible countries, the United Kingdom, the Netherlands, Belgium, France, and Switzerland, all connected by train.
You’ll start in London and make your way south through Amsterdam, Brussels, Paris, and finally Geneva. It’s a perfect mix of culture, iconic landmarks, and easy travel connections, ideal for families, couples, or first-time visitors.
Arrival in London, United Kingdom (Days 1–3)
Most international flights land in Heathrow or Gatwick, making London the perfect starting point. Spend your first few days adjusting to the time zone, exploring famous landmarks, and enjoying slow moments between busy attractions.
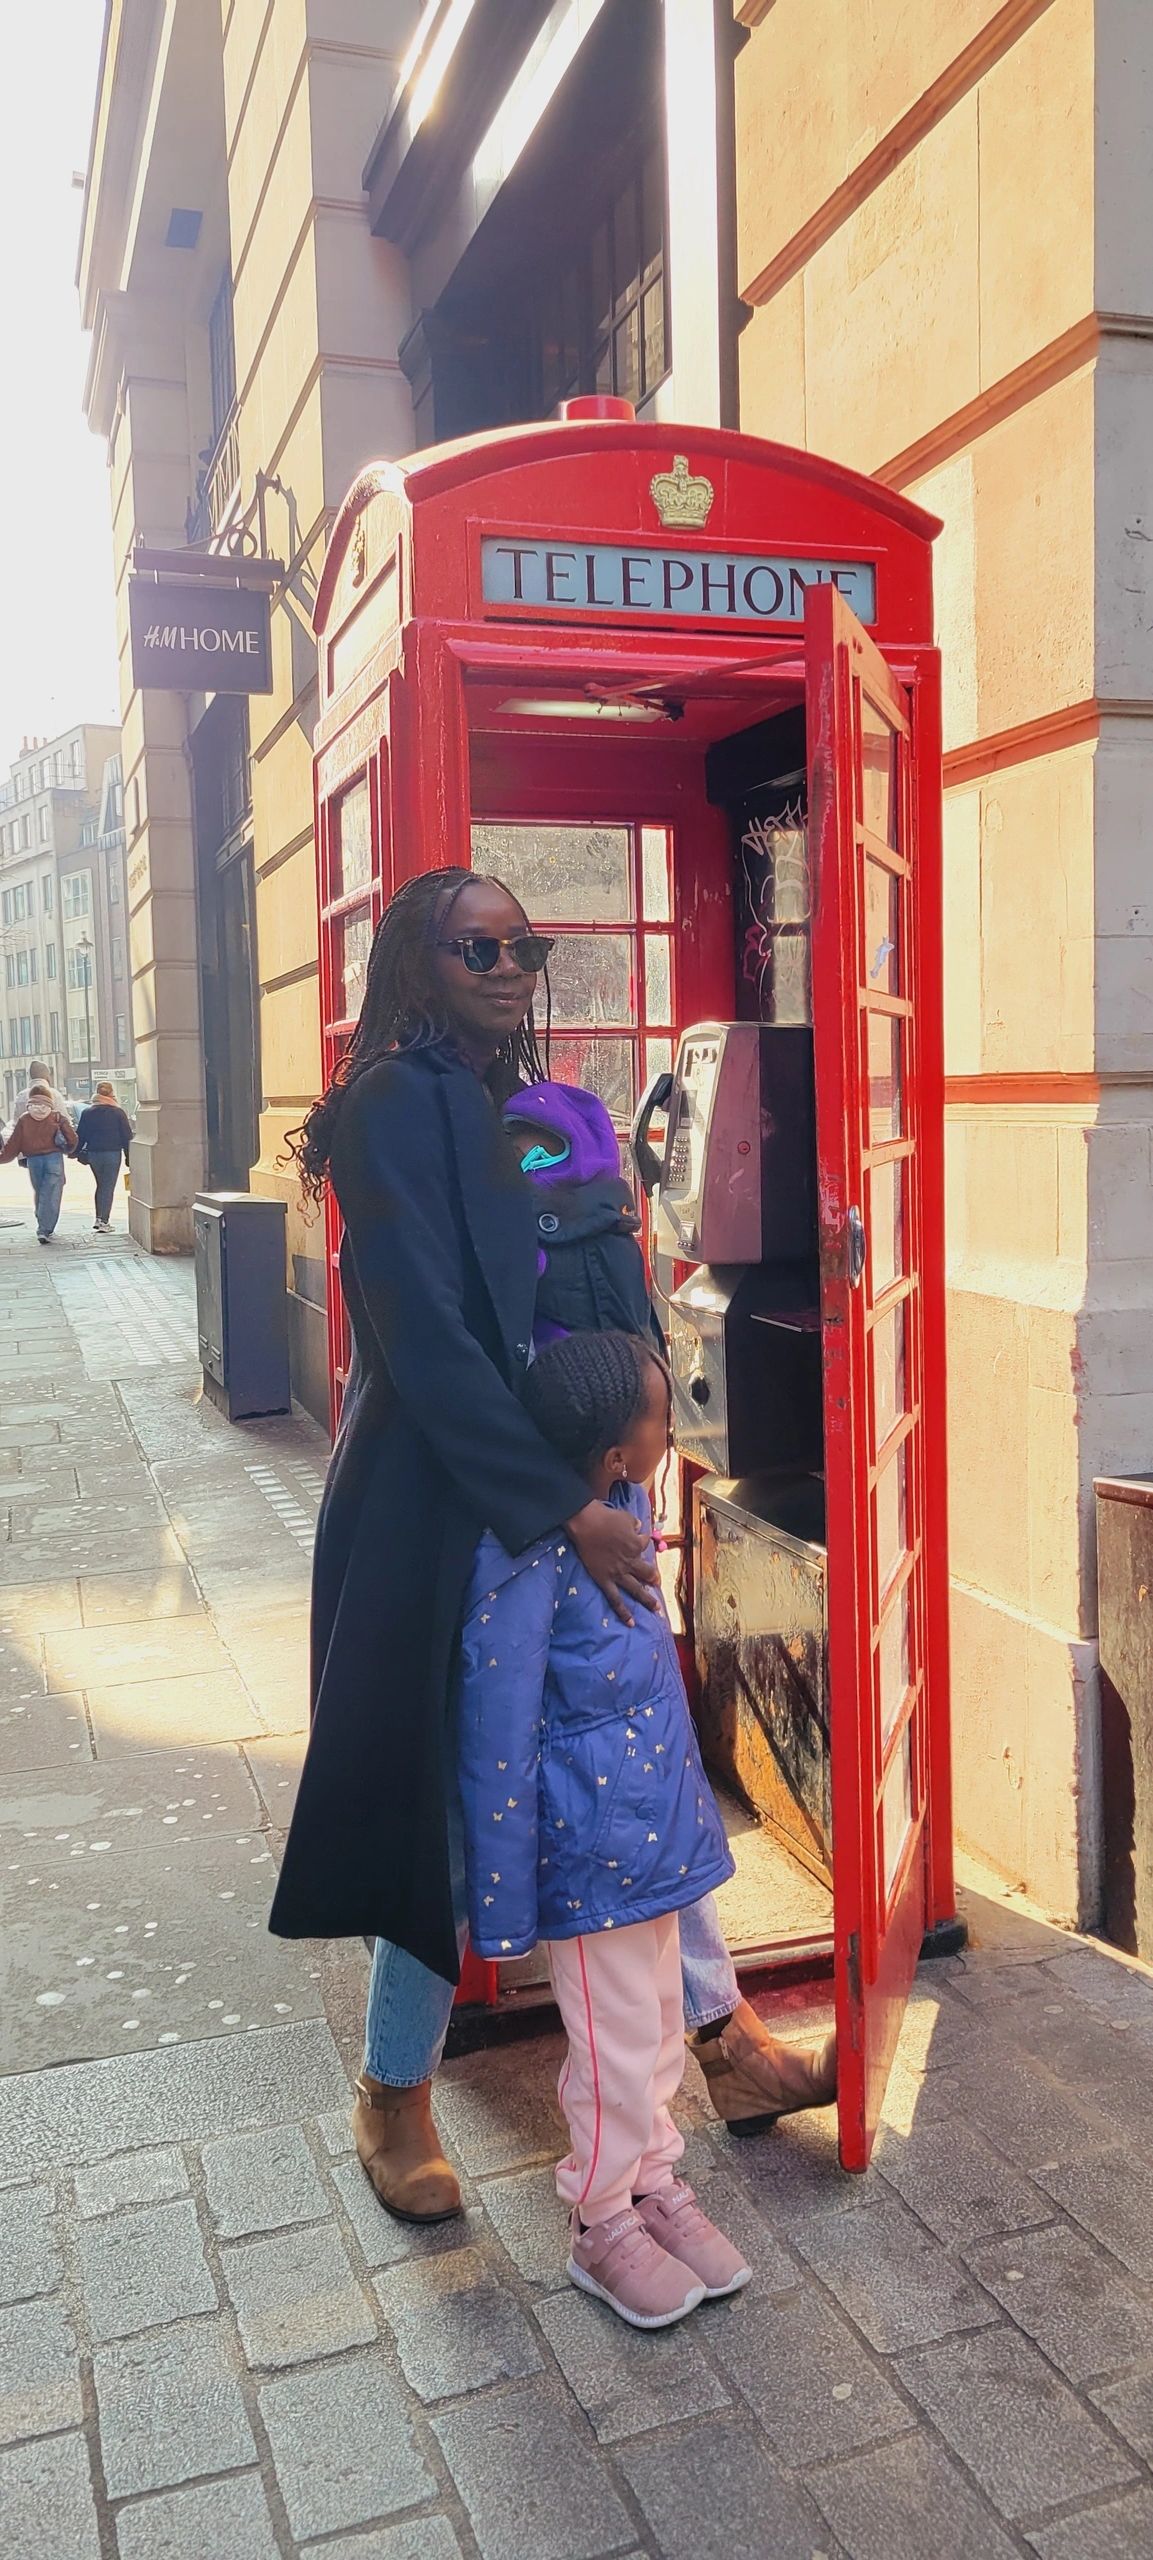
Top things to do: • Big Ben and Westminster Abbey • Tower Bridge and the Tower of London • Buckingham Palace and the Changing of the Guard • London Eye or Sky Garden for views • Covent Garden and Piccadilly Circus • Notting Hill and Portobello Market • Afternoon tea at Fortnum & Mason or The Wolseley
Family & travel tips: • Currency: British pounds (£) — euros aren’t accepted. • The Tube is not stroller-friendly, so families can try hop-on hop-off buses or take Bus #11, which passes most major sights for the cost of a regular ticket. • Stay in South Kensington (great for families), Covent Garden (central), or Notting Hill (quiet and local). • Use contactless payment or an Oyster card for public transport.
🚆 Next stop: Amsterdam (Eurostar ≈ 4 h via Brussels)
Amsterdam, Netherlands (Days 4–5)
Amsterdam feels easy from the moment you arrive. It’s compact, walkable, and full of charm — ideal for a short stay.
Top things to do: • Canal cruise • Anne Frank House • Van Gogh Museum or Rijksmuseum • Vondelpark for a bike ride or picnic • Dam Square • Albert Cuyp Market • Jordaan neighborhood for cafés and boutiques
Family & travel tips: • Currency: Euro (€). • Amsterdam is stroller-friendly, with bike lanes and wide sidewalks. • Hop-on hop-off boat tours are fun for kids. • Stay near Museumplein, De Pijp, or Jordaan for easy access.
🚆 Next stop: Brussels (Thalys ≈ 2 h)
Brussels, Belgium (Days 6–7)
Brussels is small, easy to explore, and full of good food — a nice break between busier cities.
Top things to do: • Grand Place • Atomium • Royal Palace • Manneken Pis • Chocolate tasting (Pierre Marcolini or Neuhaus) • Waffles at Maison Dandoy • Day trip to Bruges or Ghent
Family & travel tips: • Currency: Euro (€). • The city is walkable and stroller-friendly. • Stay near Grand Place or Sablon for cafés and shopping. • Try fries with mayo — the local favorite!
🚆 Next stop: Paris (Thalys/TGV ≈ 1 h 30)
Paris, France (Days 8–11)
Paris is a highlight for most families. Four days give you time to visit landmarks, enjoy long walks, and stop for pastries between attractions.
Top things to do: • Eiffel Tower and Champ de Mars • Louvre Museum • Montmartre and Sacré-Cœur • Champs-Élysées and Arc de Triomphe • Seine River Cruise • Versailles Palace (half-day trip) • Luxembourg Gardens and Jardin des Tuileries • Le Marais or Saint-Germain-des-Prés for cafés and people-watching
Family & travel tips: • Currency: Euro (€). • The Metro is efficient but not stroller-friendly. Hop-on, hop-off buses are a great alternative for families with kids. • Stay in Le Marais, Saint-Germain, or near the Eiffel Tower. • Get skip-the-line tickets for major landmarks. • Don’t forget to try crêpes, croissants, and hot chocolate from local bakeries.
🚆 Next stop: Geneva (TGV Lyria ≈ 3 h 30)
Geneva, Switzerland (Days 12–14)
End your trip with mountain views and fresh air. Geneva is peaceful, scenic, and close to the Alps, the perfect last stop before flying home.
Top things to do: • Lake Geneva and Jet d’Eau • Old Town • Palais des Nations (United Nations) • English Garden and Flower Clock • Carouge neighborhood for cafés and markets • Day trip to Chamonix or Mont Blanc
Family & travel tips: • Currency: Swiss franc (CHF) — not the euro. • Switzerland is very expensive, so plan your meals and activities ahead. • Public transport is free for tourists (ask your hotel for a pass). • Stay near Lake Geneva or Eaux-Vives for easy access and great views.
Getting Around Europe
• Trains are usually faster and easier than flying no airport lines and less luggage restrictions. • They connect city centers directly, which saves time and stress. • Book early on Trainline or Rail Europe for lower fares. • Budget airlines like EasyJet or Ryanair work for longer distances but add extra airport time and tons of fees.
Before You Go
• Take your time between cities. Travel days can be tiring, and trains are sometimes delayed. It’s okay to rest. • Pack light. You’ll be thankful when climbing stairs or navigating train stations. • You can buy anything you forget, Europe’s big cities have pharmacies, grocery stores, and convenience shops everywhere. • Airbnb stays are great for families. Most have laundry machines so you can pack less. • Use an eSIM for data and navigation. It’s easy to set up and cheaper than roaming. • Bring some euros in cash. Cards are accepted almost everywhere, but small cafés and markets sometimes prefer cash. • Credit and debit cards are widely accepted (Visa and Mastercard especially). • If traveling with kids, bring a light, compact stroller. Streets, elevators, and buses in Europe are smaller than in North America. • Best time to visit: Spring (April–June) or Fall (September–October) — fewer crowds, great weather. Summer is beautiful but very busy. • And yes, the food is amazing. From pastries to cheeses to local markets, eat as much as you can.
This 2-week Northern Europe itinerary is a balanced mix of iconic sights and easy travel days. From London’s royal landmarks to Amsterdam’s canals, Brussels’ chocolate, Parisian cafés, and Geneva’s lakeside views, it’s a trip full of variety and memories.
Take it slow, rest when you need to, and enjoy the small moments. That’s what makes Europe unforgettable.
💬 don’t miss Part 2: Southern Europe (Lisbon to Rome) coming next week.
This post contains affiliate links. If you book or buy through them, I may earn a small commission at no extra cost to you.
Your real parent guide
Traveling to Paris with kids sounds magical… until you land at Charles de Gaulle and realize the airport feels like a small city. Between metro stairs, busy train stations, and stroller logistics, getting around can be stressful if you don’t plan ahead.
After multiple trips to Paris with my kids, here’s the real guide from a French mom. It covers everything from airport transfers to metro passes, and even the little parent hacks you won’t see online.
1. Paris Airports — CDG, Orly & Beauvais
Paris has three airports:
Charles de Gaulle (CDG) – the largest and busiest, about 45–60 minutes from central Paris.
Orly (ORY) – smaller and closer to the city.
Beauvais (BVA) – used by low-cost airlines like Ryanair and Wizz Air (about 1.5 hours away).
Getting from the airport to Paris
With kids and luggage, pre-booking your transfer is the easiest way to start your trip stress-free.
Private transfers: Welcome Pickups, GetTransfer, SuperShuttle Paris – door-to-door service, driver waits at arrivals.
Official taxis: “Taxi Parisien” stands are right outside the terminals. Fixed rates: €55 from CDG and €65 from Orly to central Paris.
RER B train: Connects CDG directly to the city in about 30–40 minutes. It’s the cheapest option (€11) but not stroller-friendly (many stairs).
OrlyBus: Runs from Orly to Denfert-Rochereau station in about 30 minutes.
Parent Tip
CDG has family security lanes (look for the stroller symbol).
Orly has microwave stations in some terminals to warm baby bottles — a lifesaver with little ones.
If you land late at night, book your driver in advance — taxi lines at CDG can be long after 9PM.
2. Leaving the airport
Leaving Paris airports takes time, especially CDG, which has multiple terminals. Arrive at least 3 hours before your flight, since you’ll go through:
Airline check-in
Security
Police/customs check (la douane)
Most airlines offer priority boarding for families — use it! And keep your stroller with you until boarding (you may need to fold it at the gate).
3. Understanding the RATP System
Here’s the thing most visitors don’t realize: The RATP runs everything — metro, RER (within Paris), and buses. It’s all one network with the same tickets and passes.
Metro = within central Paris.
RER = connects Paris with the suburbs (and airports).
Bus = slower but stroller-friendly and scenic.
🎟️ One ticket works across all three. You can buy or reload your card at any station, or directly in the Bonjour RATP app.
👧🏽 Kids under 4 ride free; ages 4–10 get 50% off.
4. Metro & RER tips for parents
The metro is fast, but not always friendly to strollers.
Most stations have no elevators, and some connections (like Châtelet–Les Halles) involve long underground walks.
Line 14 is your best friend — it’s fully accessible with elevators and wide gates.
Always keep your ticket until you exit. Ticket inspectors check often, especially on RER lines.
If you see a narrow turnstile, ask a staff member to open the wide gate for you (there’s usually a buzzer).
5. Buses: easier for families
Buses are slower but so much easier with kids.
Every bus has a ramp and a stroller area.
You can board through the middle doors and park your stroller without folding it.
Great sightseeing options:
Bus 42: Eiffel Tower → Opéra Garnier
Bus 69: Eiffel Tower → Bastille (passes the Louvre and Notre-Dame).
Use Bonjour RATP or Google Maps to plan routes and see bus times.
💡 Pro tip: Metro, RER, and buses all use the same passes — no need to buy separate tickets.
6. Tickets & passes
There are a few different ways to pay:
Navigo Easy Card (€2): reloadable, perfect for short stays.
Paris Visite Pass: 1–5 day unlimited rides (worth it if you’ll use public transport often).
Navigo Découverte (Weekly Pass): best value for 4+ days, but starts on Monday (so not ideal if you arrive Thursday).
Buy or top up with credit card or Apple Pay at any station machine or via the RATP app.
Keep your ticket until you exit, inspectors can fine you if you don’t have it.
💡 You can even load tickets onto your phone with the Bonjour RATP app (Android only for now).
7. Train travel beyond Paris
Trains are one of the best parts of traveling in France — fast, clean, and easy with kids.
Main Stations:
Gare de Lyon: Lyon, Nice, Marseille, Switzerland, Italy
Montparnasse: Bordeaux, Brittany
Gare du Nord: Lille, London (Eurostar), Brussels, Amsterdam
Gare de l’Est: Strasbourg, Germany
Saint-Lazare: Normandy
Austerlitz: Southern France, Spain (overnight trains)
💡 Book 1–3 months in advance for the best prices on SNCF Connect or Trainline. TGV, Eurostar, and Thalys trains have family seating and snack bars. OUIGO (budget TGV) is cheaper but charges for large luggage.
Arrive 30 minutes early — big stations can take time to navigate with kids.
8. Must-have travel apps
These apps make getting around Paris so much easier:
Bonjour RATP – metro, bus & route planner
SNCF Connect – train tickets & updates
Naveco / Uber / G7 / Bolt – local rides
Google Maps – navigation + offline maps
Citymapper Paris – stroller-friendly routes
Google Translate – quick help at stations
9. Parent Tips You Won’t See Online
💡 These are the small things that make a big difference:
Châtelet–Les Halles is huge — allow 10–15 min just to change lines.
Orly has microwaves to warm bottles.
CDG has small play areas in Terminals 2E and 2F.
Bring a foldable changing pad — many public bathrooms don’t have tables.
Google Maps and the RATP app can work offline — download them before your trip.
If your kids nap in the stroller, plan bus rides mid-afternoon — perfect rest time with Paris views.
Some TGV trains have a “family zone” — check the seat map when booking.
Getting around Paris with kids can seem intimidating — but once you understand the system, it’s truly manageable. Plan ahead, download the right apps, and don’t be afraid to ask for help — Parisians are often kinder than their reputation!
Save this guide before your next trip — and if you found it helpful, share it with a friend who’s planning a family vacation in France 🇫🇷
✨ Bonus for You: Want a free Family Packing Checklist and Pre-Travel Planner? 👉 Download them here or visit mayanavoyage.com/resources
This post contains affiliate links. If you book or buy through them, I may earn a small commission at no extra cost to you.
Planning your first trip to Paris with kids can feel exciting but also a bit overwhelming. What should you see first? How do you fit in sightseeing, snacks, naps, and fun without rushing everyone?
As a French mom who knows Paris well, I’ve built this 5-day family-friendly itinerary to help you enjoy the best of the city at an easy pace. Each day stays within one area of Paris, so you can walk more, stress less, and still see all the highlights.
Pack your stroller, keep snacks handy, and let’s explore Paris together.
Day 1 – Eiffel Tower & Seine River Cruise
Start your Paris adventure with the most famous landmark, the Eiffel Tower.
You don’t need to go up to enjoy it, just walking around Champ de Mars or Trocadéro Gardens is enough to take in the view. But if it’s your first visit, going up the tower can be a beautiful family moment.
If you want to go up:
Book in advance on the official Eiffel Tower website.
You can choose to take the elevator to the top or climb the stairs to the second floor (fun for kids 6+).
Morning or sunset visits are best for shorter lines and soft light.
From the top, you’ll see the Seine River, Montmartre, and all of Paris — it’s unforgettable.
Best nearby photo spots:
Trocadéro Gardens
Rue de l’Université
Pont de Bir-Hakeim
Lunch nearby: Try Café Gustave or Le Recrutement Café. Both are relaxed, kid-friendly, and close by.
Afternoon – Seine River Cruise
After lunch, take a break and see Paris from the water.
The Seine River Cruise is one of the easiest and most enjoyable ways to explore the city with kids. It’s calm, stroller-friendly, and gives you a beautiful view of the major monuments.
Two great options:
Batobus Paris – a hop-on, hop-off boat service.
You can get on and off all day at main stops like the Eiffel Tower, Musée d’Orsay, Louvre, and Notre-Dame.
Boats come every 25–30 minutes.
Perfect if you want flexibility — see one or two spots, then rest on board again.
Bateaux Mouches – a one-hour sightseeing cruise.
You stay onboard and glide past all the famous landmarks.
It’s a relaxing ride with commentary and perfect photo moments.
Mom Tip: Bring water, light snacks, and a hat in summer. Kids love spotting bridges and waving at people on the banks.
End your day: Enjoy dinner near the Eiffel Tower or walk along the Seine to the Champs-Élysées. If you stay until nightfall, the Eiffel Tower sparkles every hour after sunset, a perfect ending to your first day.
Day 2 – The Louvre, Tuileries & Champs-Élysées
Today is about art, gardens, and a touch of shopping.
Start your morning at the Louvre Museum; it’s huge, so plan about two hours. Book your tickets in advance on the Louvre website. Head straight to the highlights: Mona Lisa, Winged Victory, and the Egyptian rooms (a favorite with kids).
Mom Tip: Use the Porte des Lions entrance instead of the main pyramid, it’s usually less crowded.
Afterward, walk out into the Tuileries Garden, right beside the museum. There’s a playground, carousel, and open lawns for kids to run around.
Snack stop: Angelina Paris, famous for its thick hot chocolate and pastries.
In the afternoon, walk or take the metro to the Champs-Élysées. Climb (or take the elevator) to the top of the Arc de Triomphe for a panoramic view.
Shops and stops along the way:
Ladurée Paris for macarons
Petit Bateau for kids’ clothes
Dinner idea: Léon de Bruxelles, quick service and lots of kid-approved options.
Day 3 – Notre-Dame, Latin Quarter & Luxembourg Gardens
Begin your day at Notre-Dame Cathedral. It’s still under restoration, but you can admire it from outside and take a walk around Île de la Cité.
Then cross over to Île Saint-Louis for ice cream at Berthillon. Continue into the Latin Quarter, one of Paris’s most charming neighbourhoods.
Stop by Shakespeare & Company, an English-language bookstore loved by families and travelers.
Lunch idea: Crêperie des Arts, relaxed and family-friendly.
Spend the afternoon at Jardin du Luxembourg, a local favorite. There’s a big playground, puppet shows, and sailboats kids can rent to float on the pond.
Tip: The playground has a small entry fee (around €3–€4 per child). Bring coins and let the kids play while you relax under the trees.
Day 4 – Montmartre & Opéra District
This day is all about art and beautiful views.
Start in Montmartre, one of Paris’s most iconic neighborhoods. Take the funicular (instead of climbing stairs) up to Sacré-Cœur.
Enjoy the view and explore Place du Tertre, where artists paint portraits, a lovely keepsake for families.
Snack break: Pain Pain or La Maison Rose.
Then, head downtown by metro to Galeries Lafayette or Printemps. Their rooftop terraces are free and have some of the best panoramic views of Paris.
Coffee stop: Café de la Paix near the Opéra Garnier, a Paris classic since 1862.
Tip: Montmartre streets are hilly and cobblestoned. A carrier or light stroller is best.
Day 5 – Big Adventure Day
Choose your big finale! Paris makes it easy to plan a family day trip.
Option 1 – Versailles
Take the RER C train from Paris (about 1 hour). Visit the Palace of Versailles; kids love the gardens, fountains, and mini-train that loops the grounds. Bring snacks or have lunch at La Petite Venise.
Option 2 – Disneyland Paris
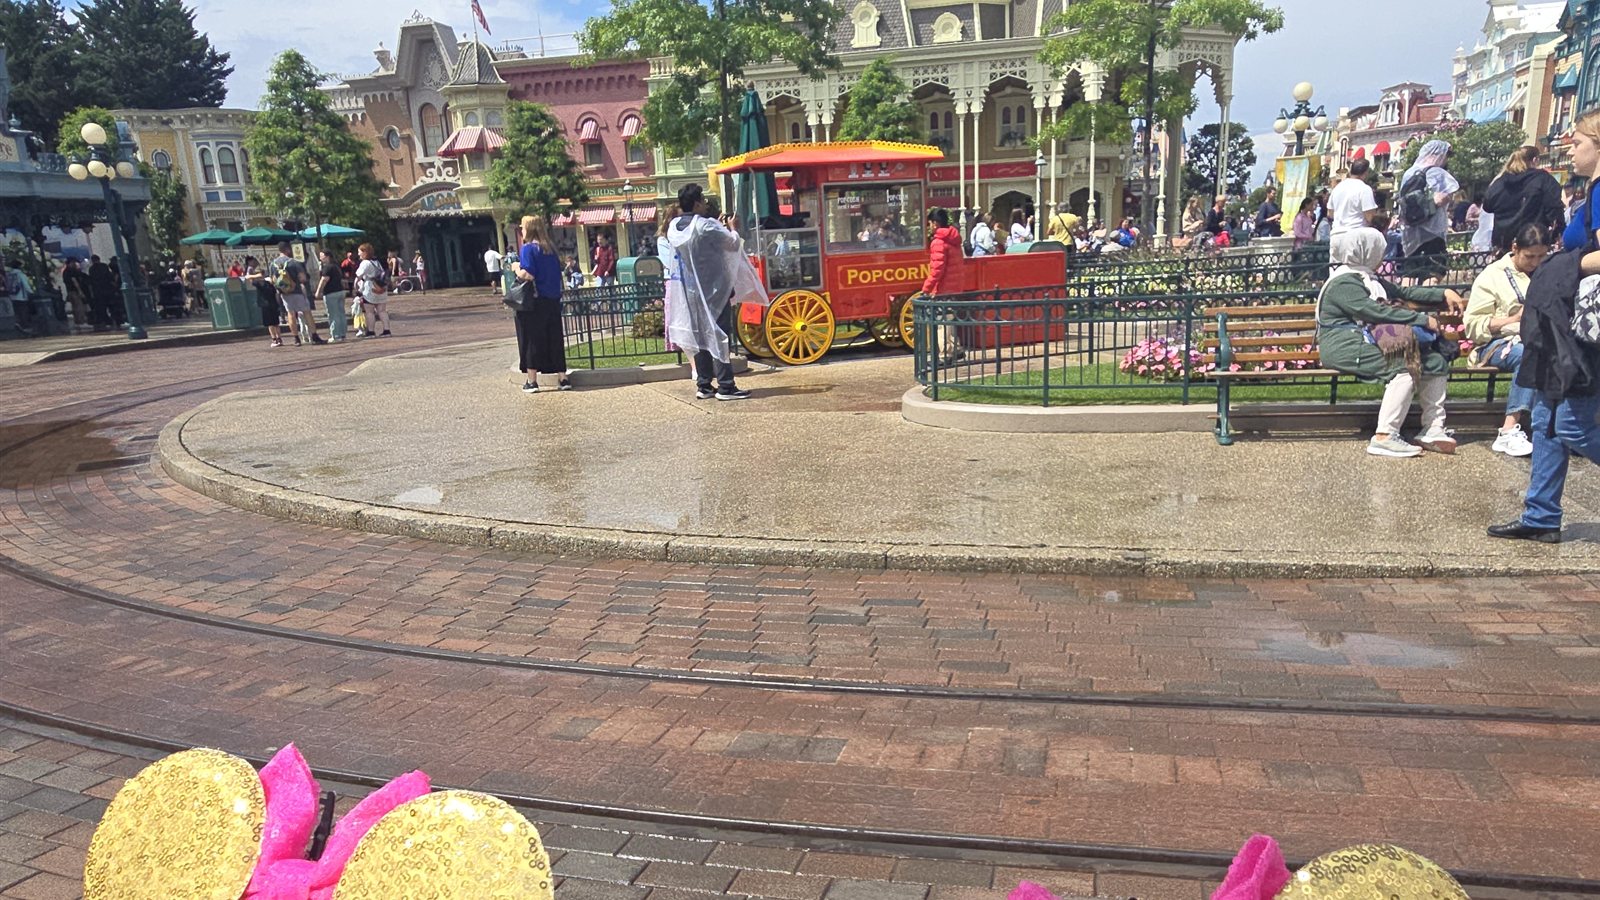
Take the RER A to Marne-la-Vallée – Chessy (45 minutes). Book tickets at Disneyland Paris. It’s stroller-friendly, clean, and magical for kids of all ages. Stay for the parade if you can, it’s worth it.
Option 3 – Stay Local
Keep it simple with a picnic in Bois de Boulogne, rent bikes or a boat, or visit the Cité des Enfants inside Cité des Sciences. It’s an interactive science museum with zones for toddlers, school-age kids, and older children.
Other Fun Things to Do with Kids in Paris
Explore Rue Cler or Marché Bastille, local markets with fresh fruit and colorful stalls.
Visit the Aquarium de Paris near Trocadéro.
Join a macaron or croissant baking class (great rainy-day activity).
Spend a quiet morning at Parc Monceau, shaded and beautiful.
Rent bikes or boats in Bois de Vincennes.
Catch a puppet show in Jardin du Luxembourg.
Take an evening walk across Pont Alexandre III for amazing views of the city lights.
Family Travel Tips from a Paris Mom
Book ahead for popular spots like the Louvre, Versailles, and Disneyland.
Get a Navigo Easy Pass for unlimited metro and bus rides. It saves money and time.
Bring snacks and water always. French restaurants eat later, and kids get hungry fast.
Use a lightweight stroller (Paris sidewalks are narrow).
Group attractions by neighborhood to save time and avoid backtracking.
Paris with kids doesn’t have to be complicated. Keep your plans light, let the little ones rest in the parks, and enjoy the cafés and bakeries along the way.
Each day, you’ll see a different side of the city — from world-famous landmarks to local favorites.
Save this guide for your next trip, and tag me at @mayanavoyage if you use it — I’d love to see your Paris moments!
This post contains affiliate links. If you book or buy through them, I may earn a small commission at no extra cost to you.
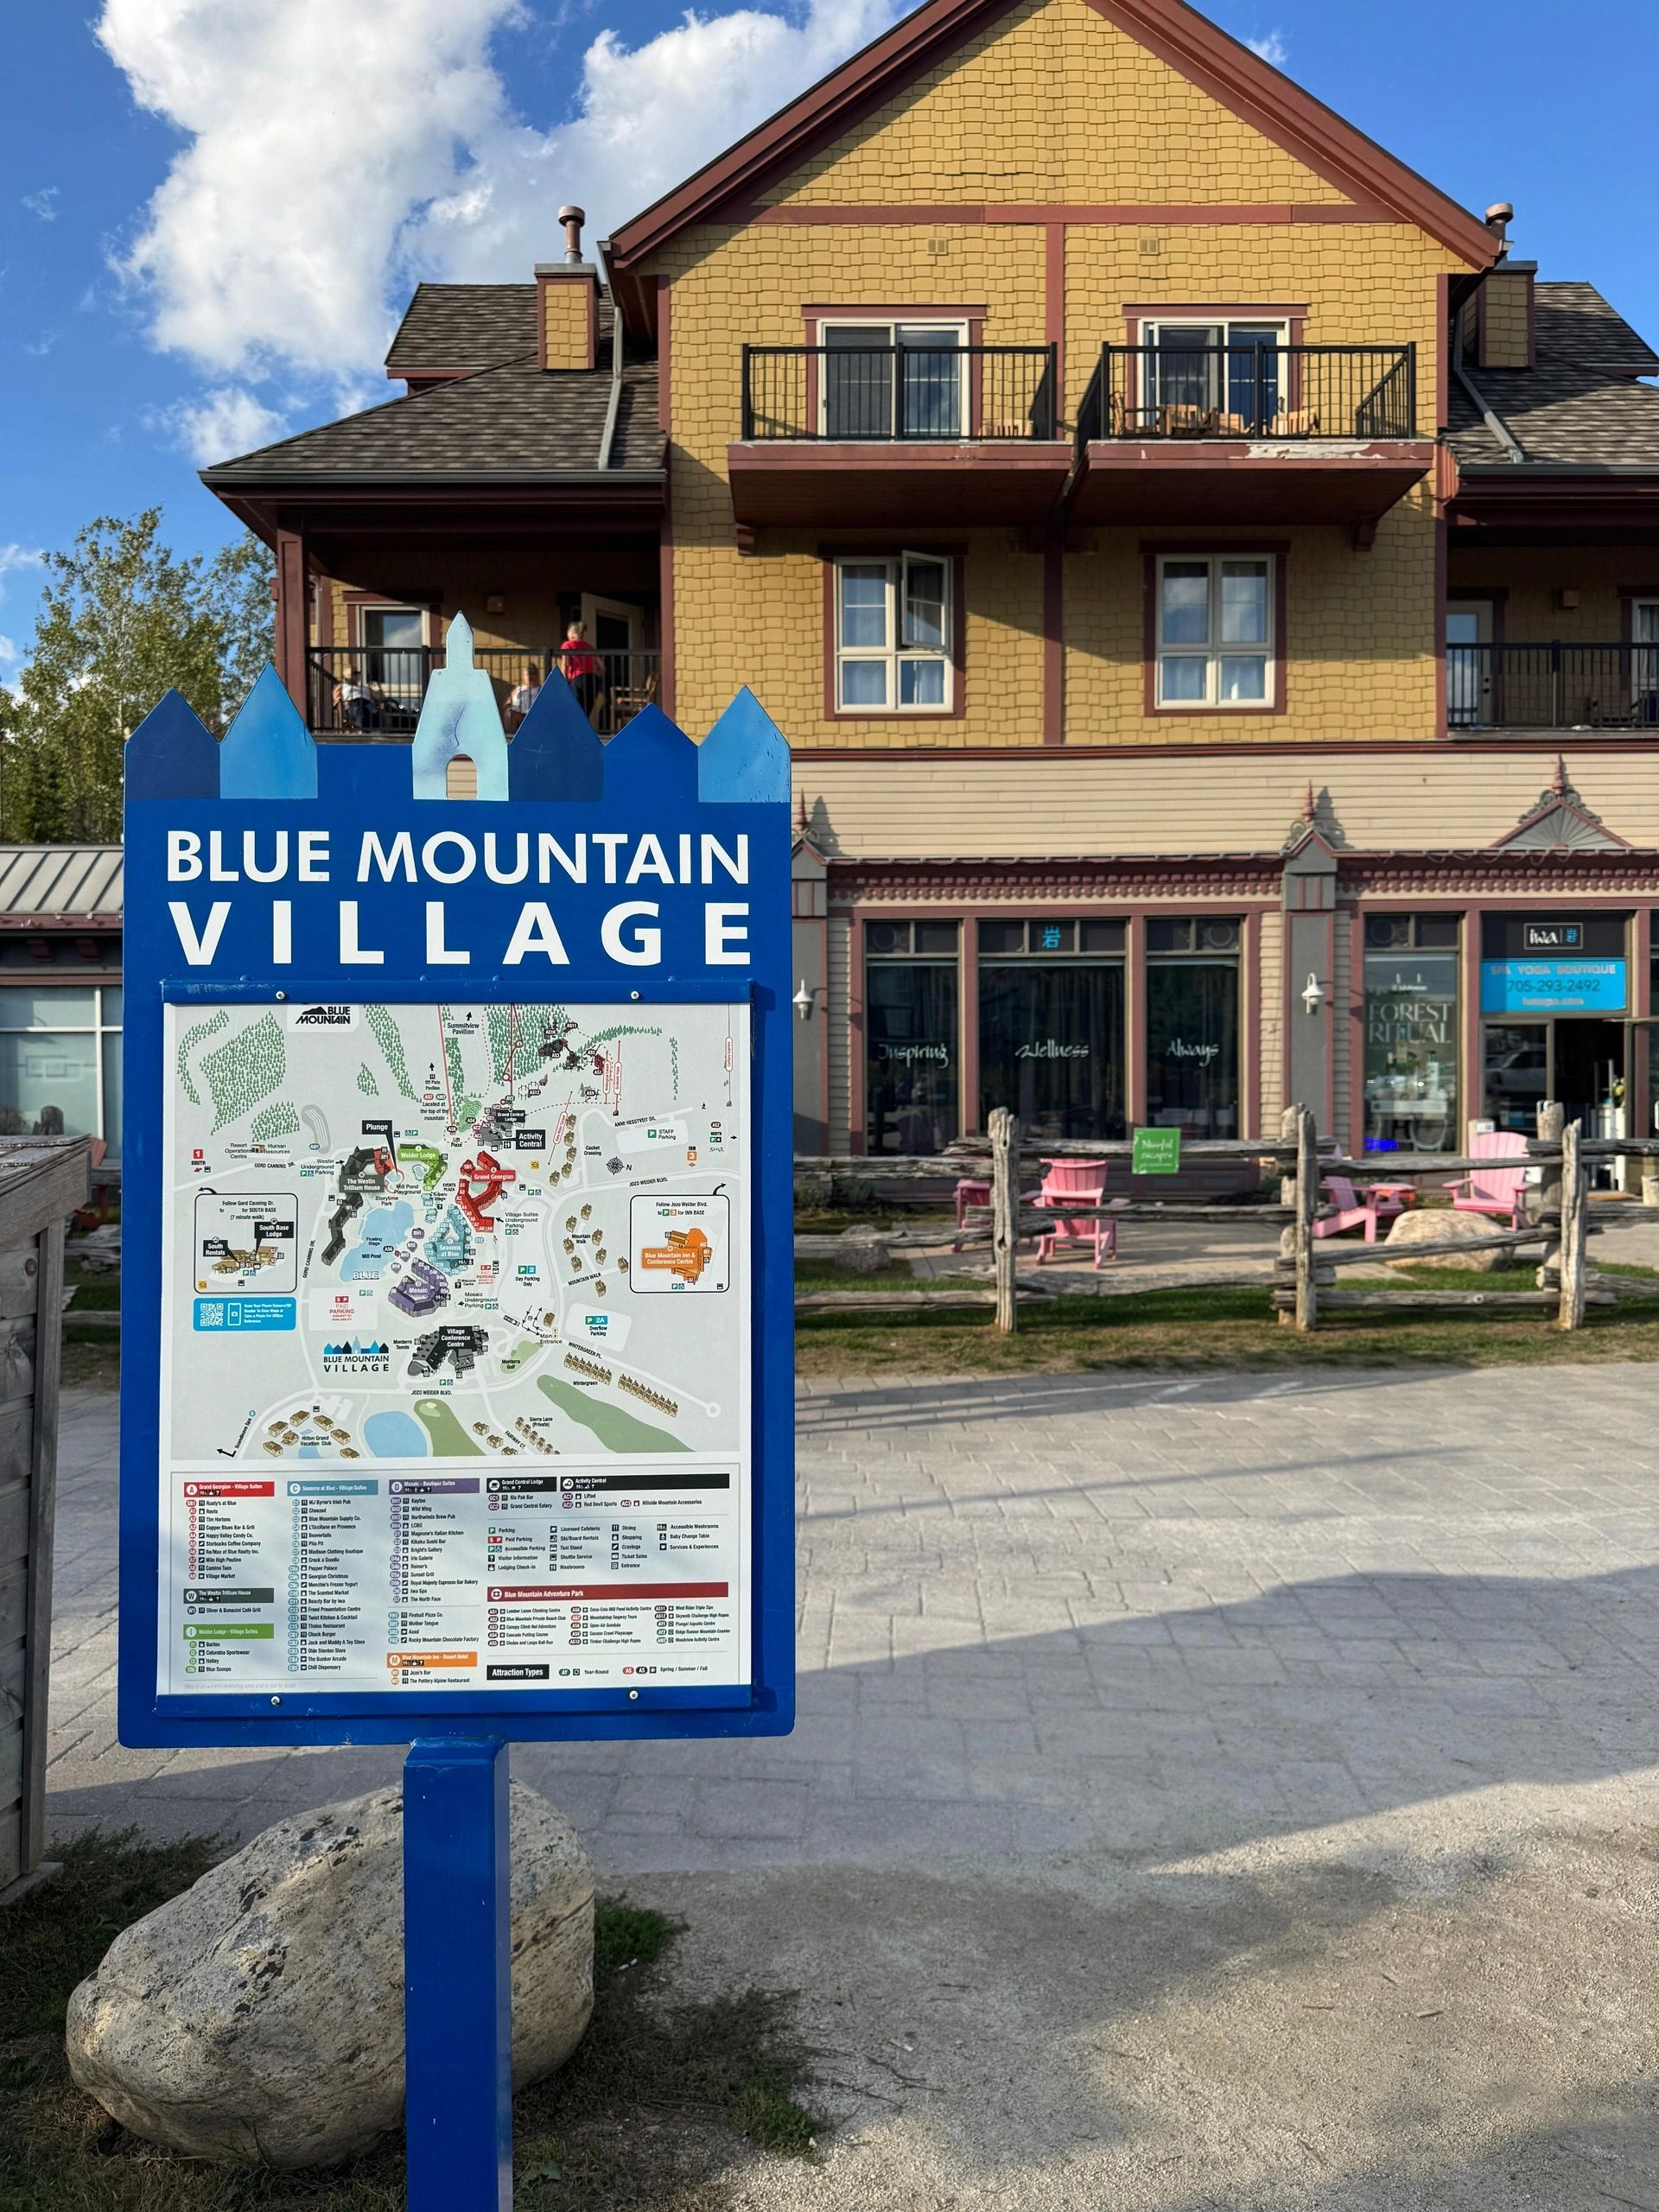
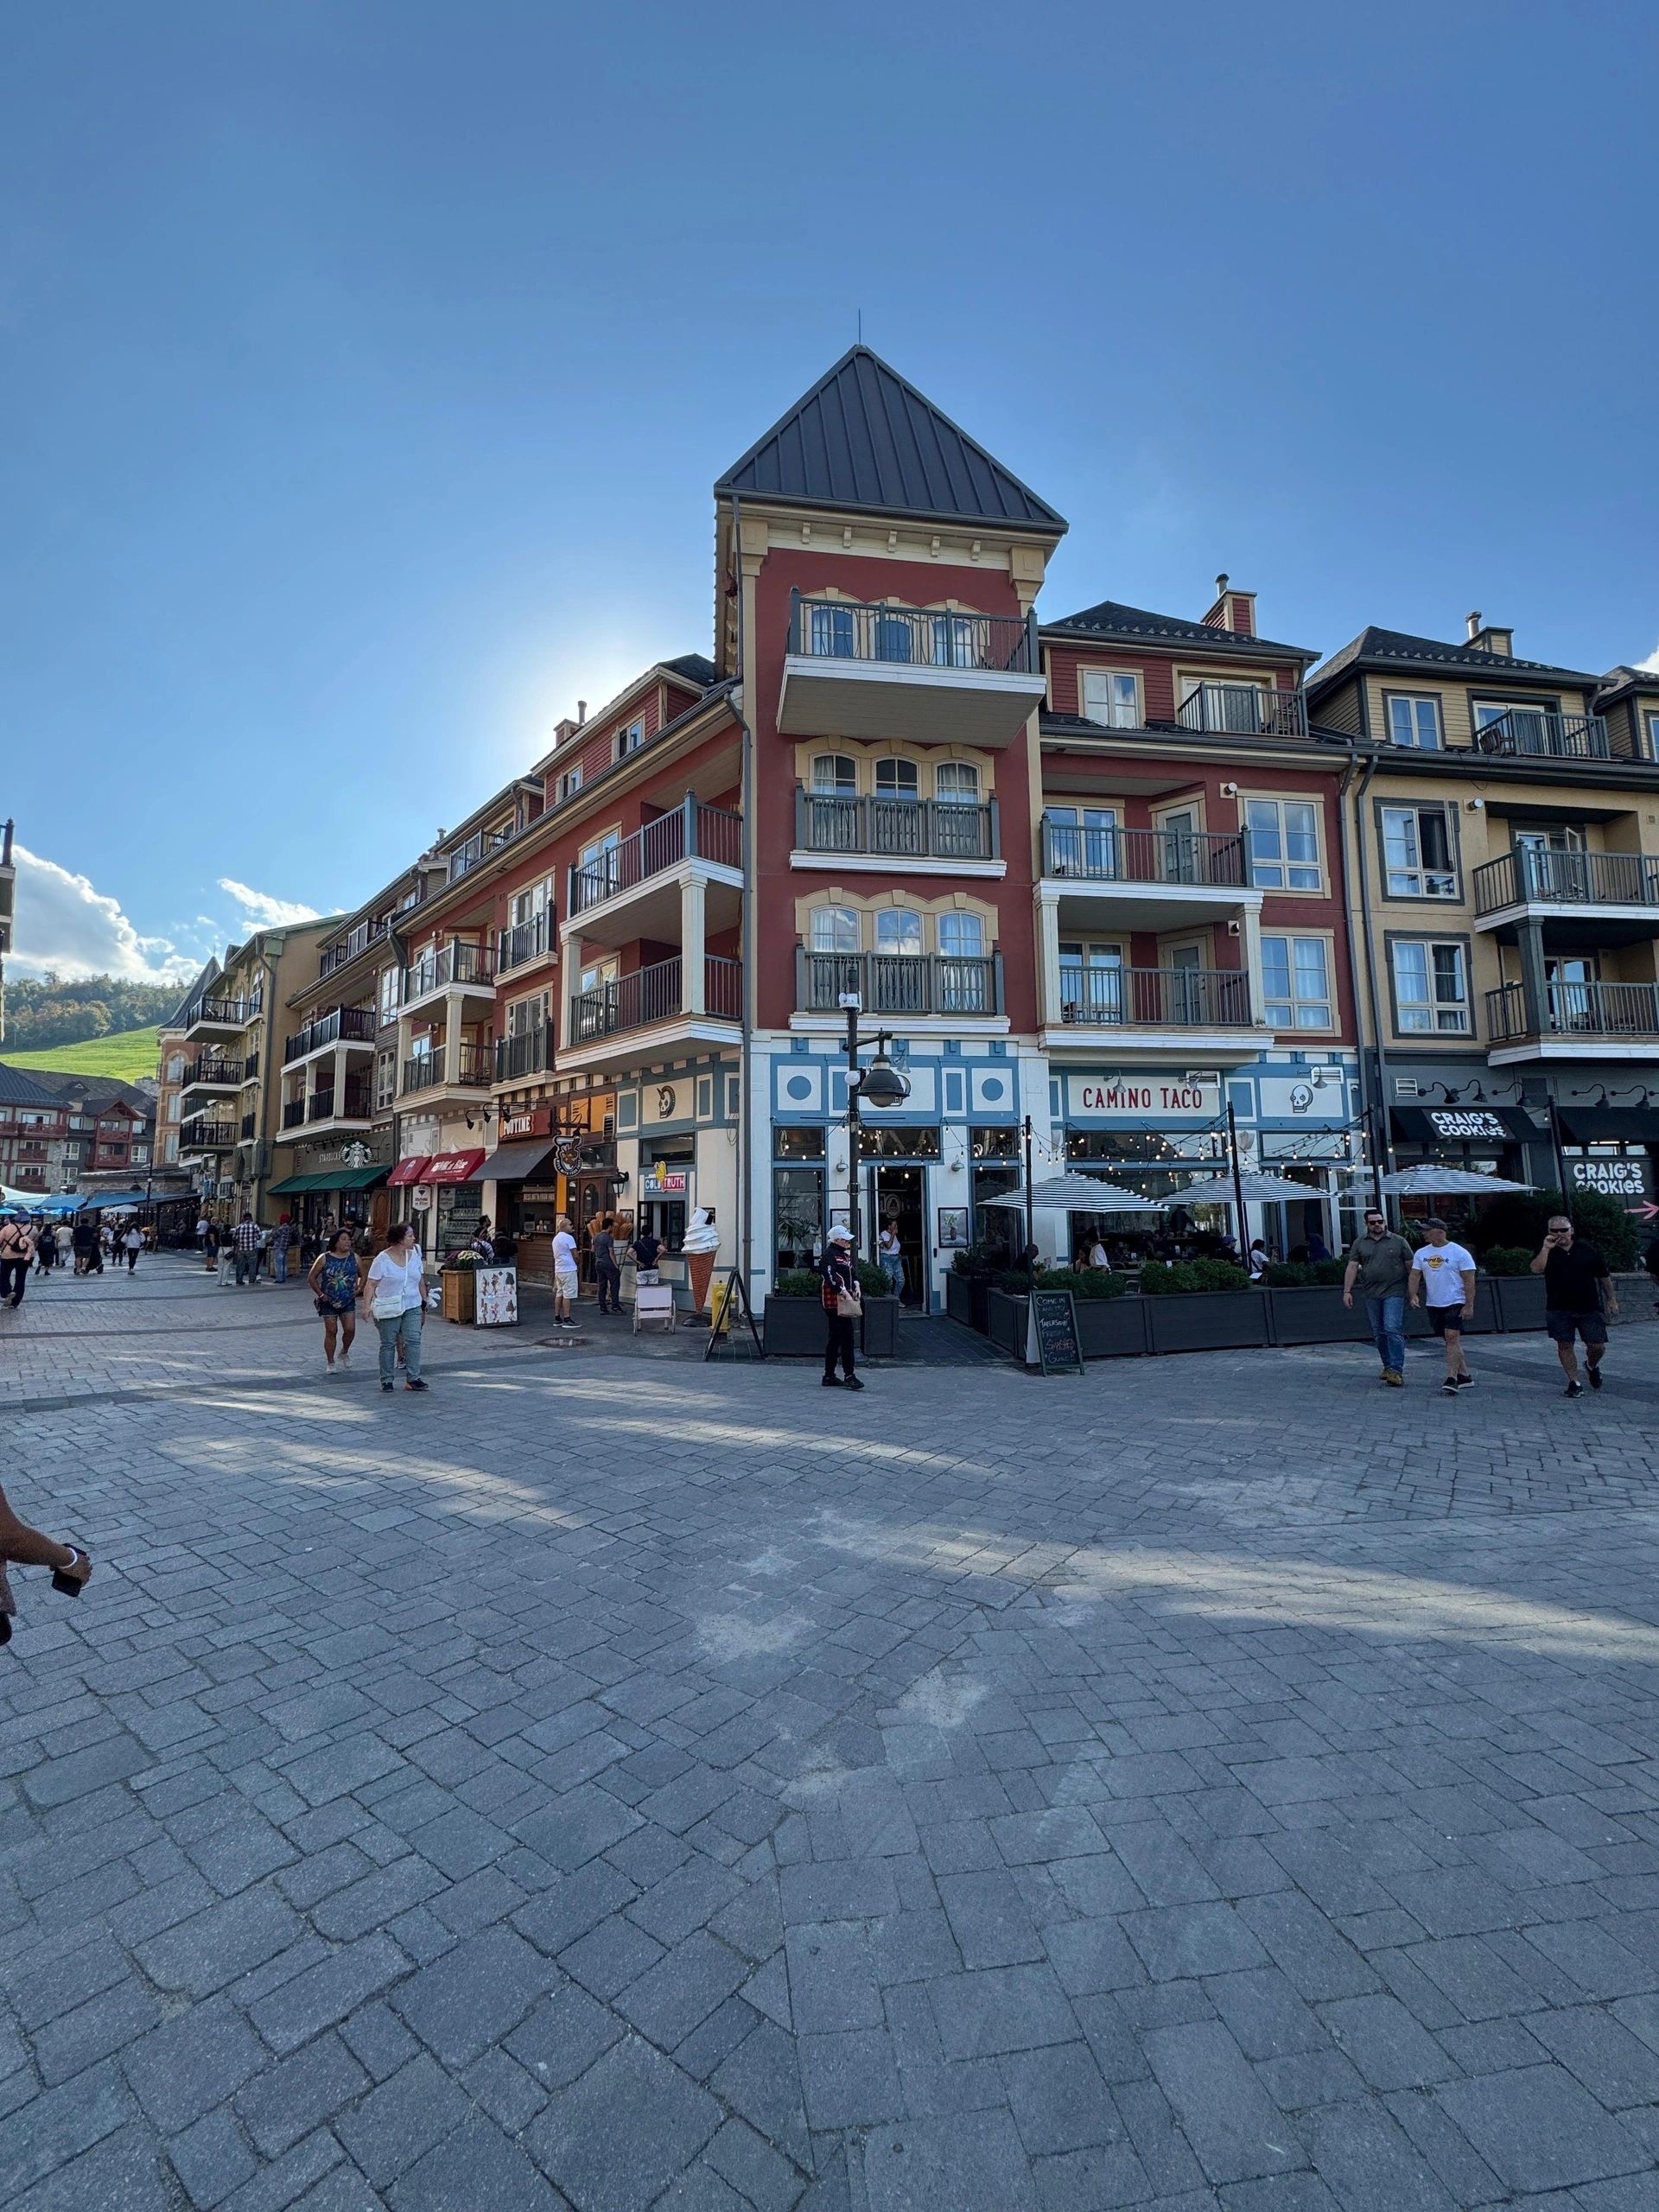
This Ontario’s best family getaways. It’s stroller-friendly, walkable, and packed with activities, food, and places to stay.
This guide is for summer and fall. In winter, the Village transforms into a ski resort with skiing, snowboarding, tubing, and skating, a totally different experience.
We recently spent a day exploring in the fall, and here’s everything you need to know from gondola prices to parking tips, restaurants, and even a 2-day family itinerary.
Getting There (How to Get to Blue Mountain)
By car: The easiest option — about 2 hours from Toronto.
By bus: Seasonal shuttle service runs from Toronto (check Blue Mountain Resort for current schedules).
By train: No direct train. GO Transit goes to Barrie, then you need a car or bus.
📍 Blue Mountain is located in Collingwood, Ontario.
Things to Do in Blue Mountain Village (Summer/Fall)
If you’re wondering “what are the top things to do in Blue Mountain Village?” — here’s a breakdown:
Free Activities:
Playground – free, right in the Village square.
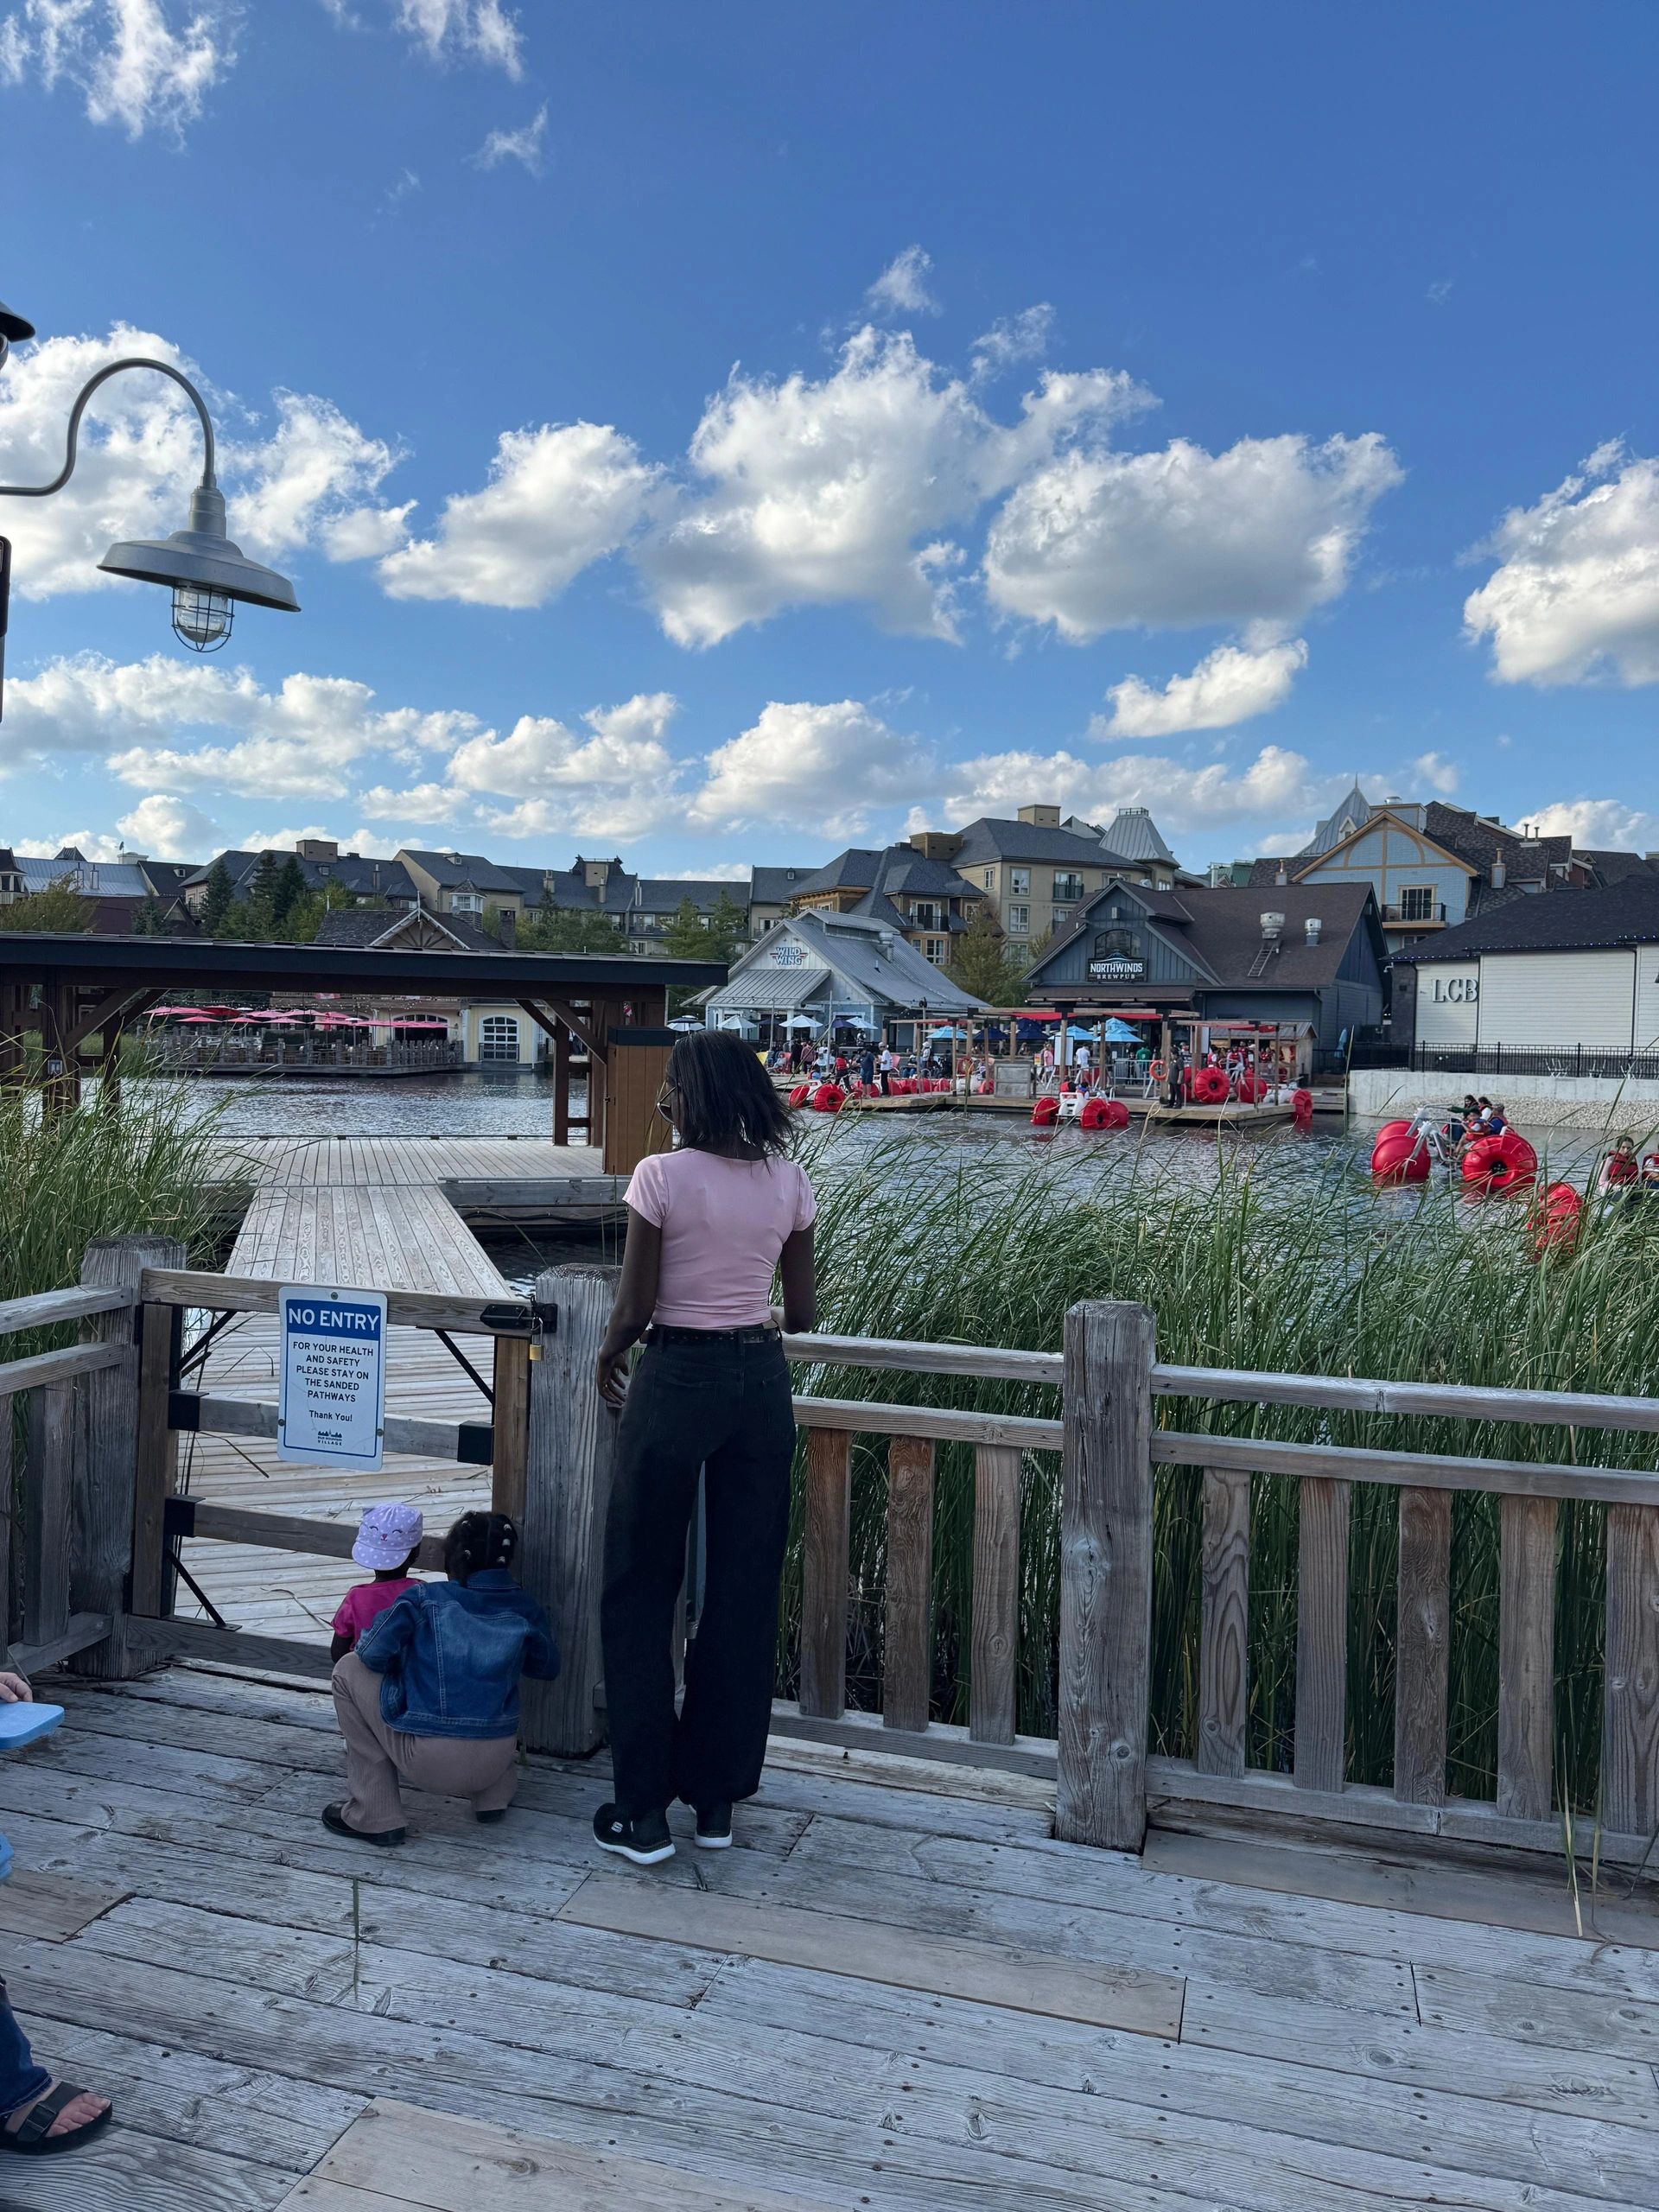
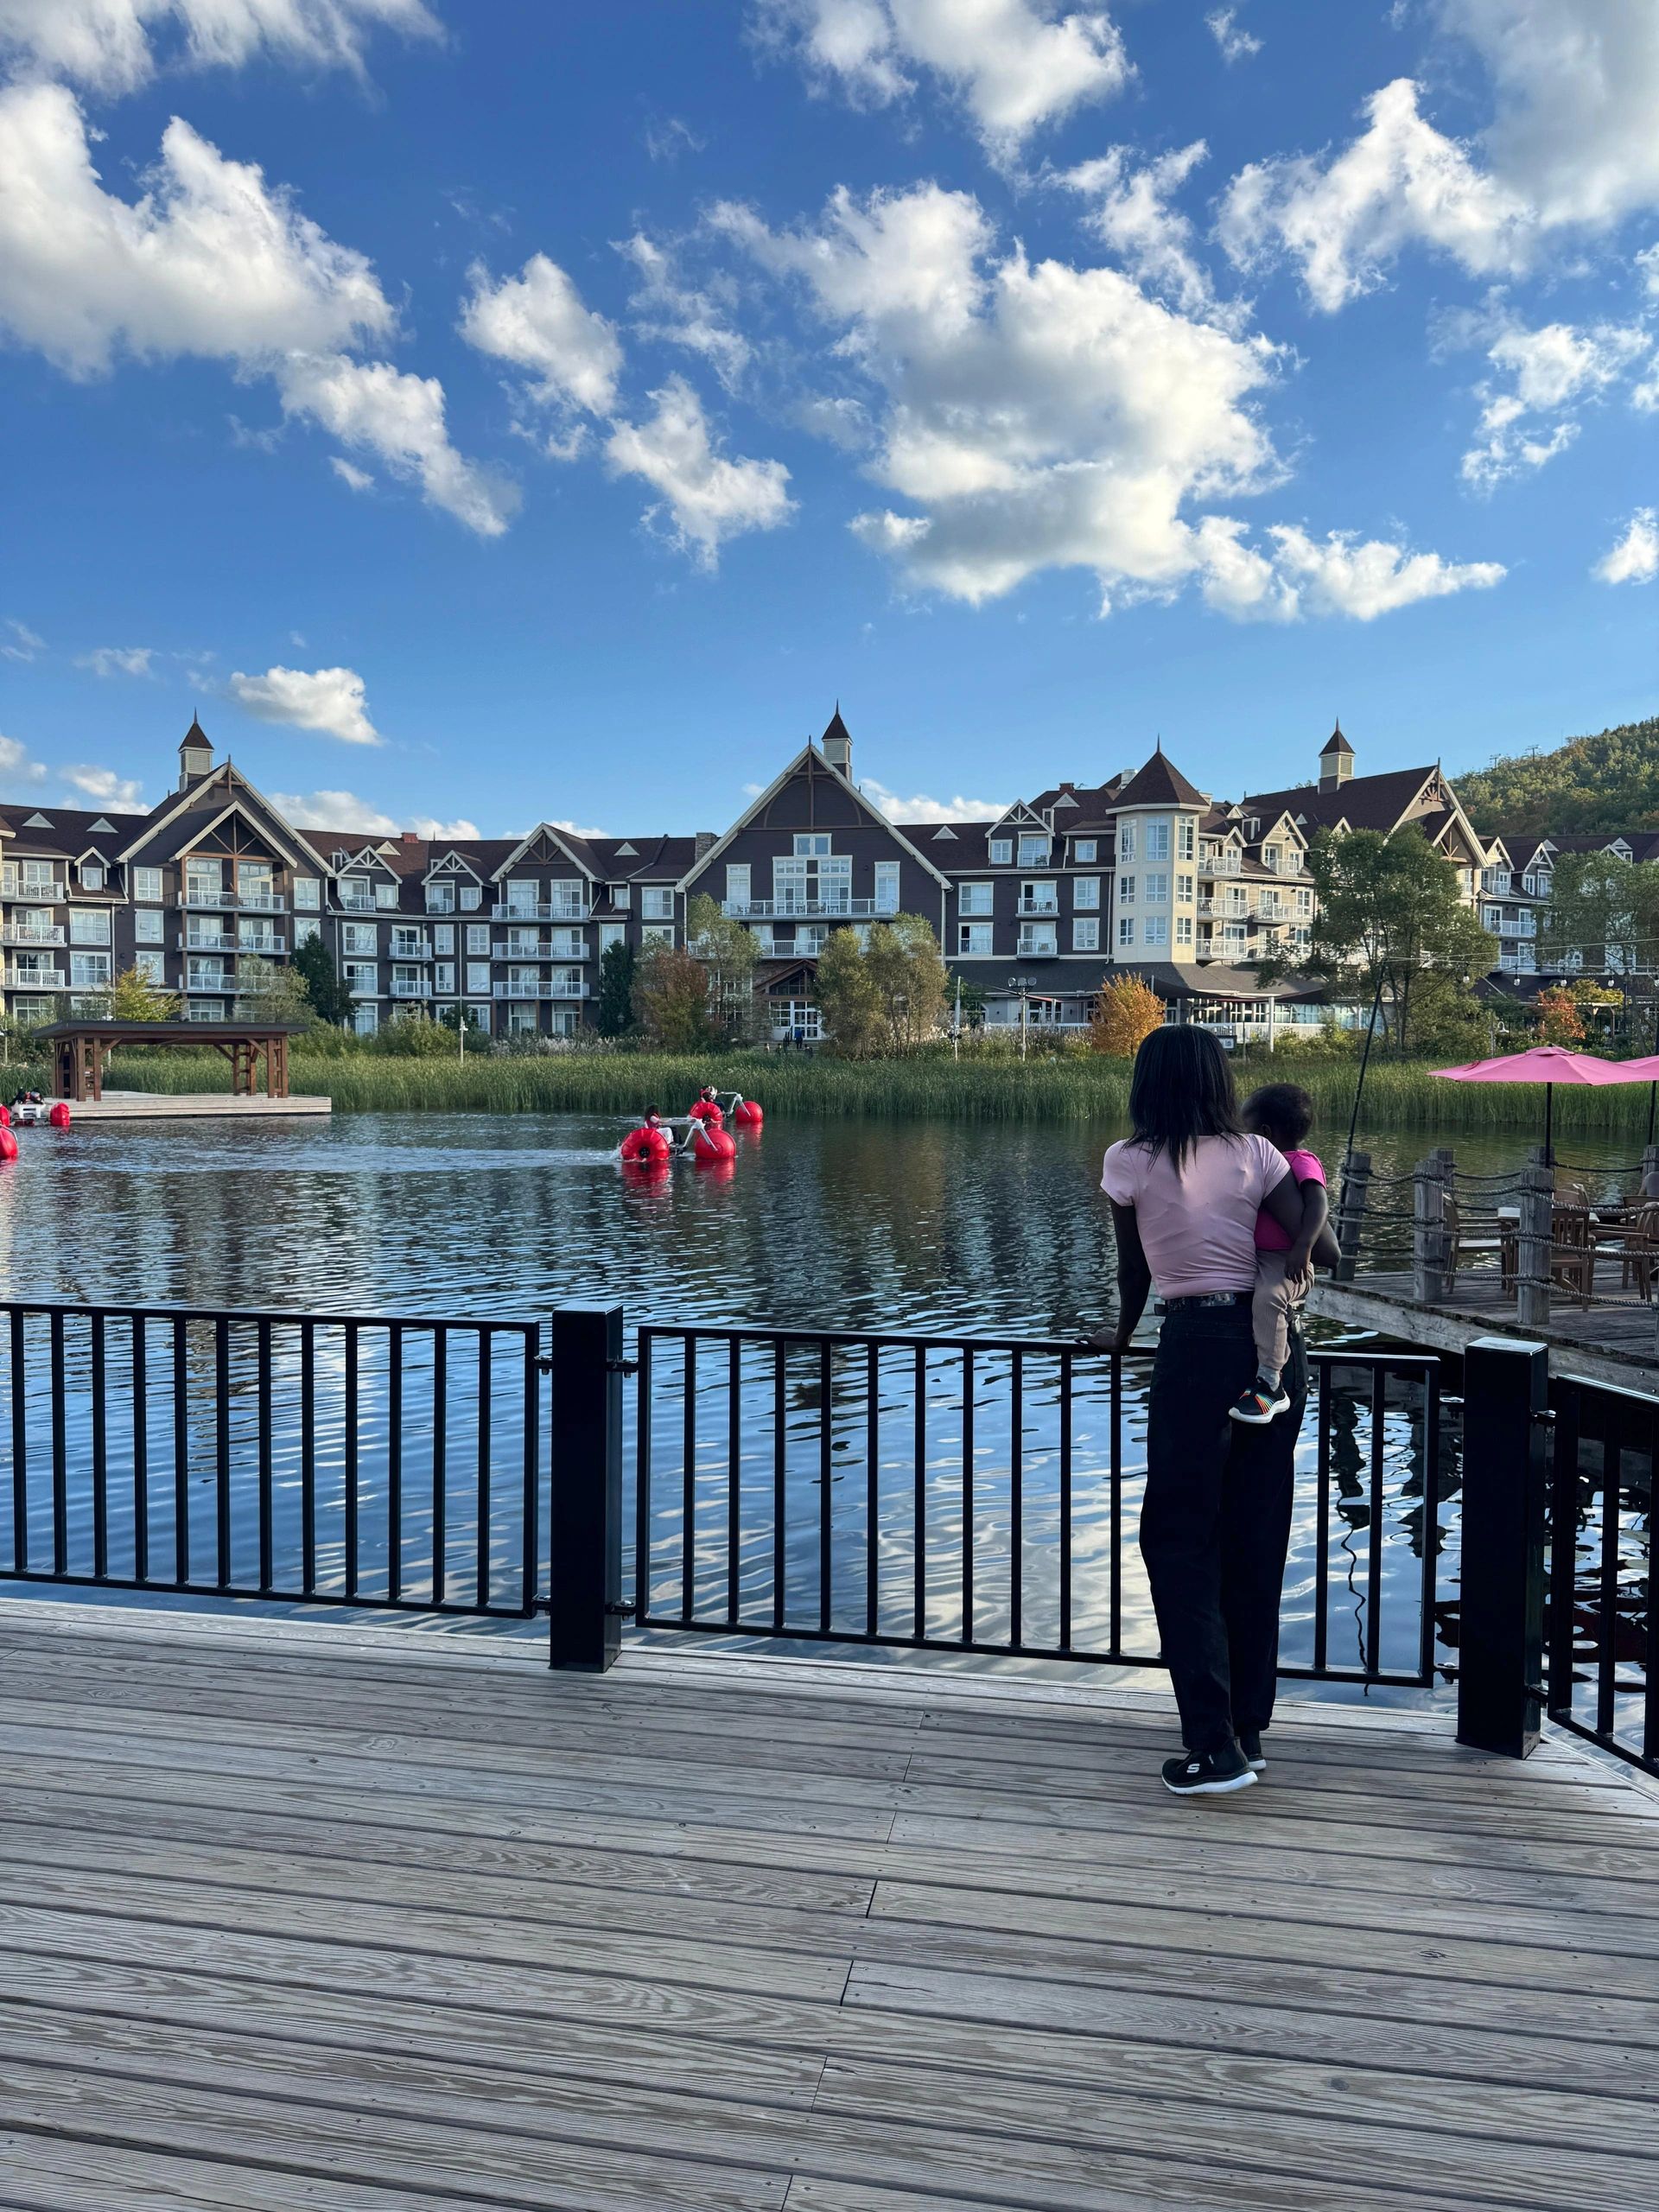
Walk around the shops, people-watch, and relax by the pond.
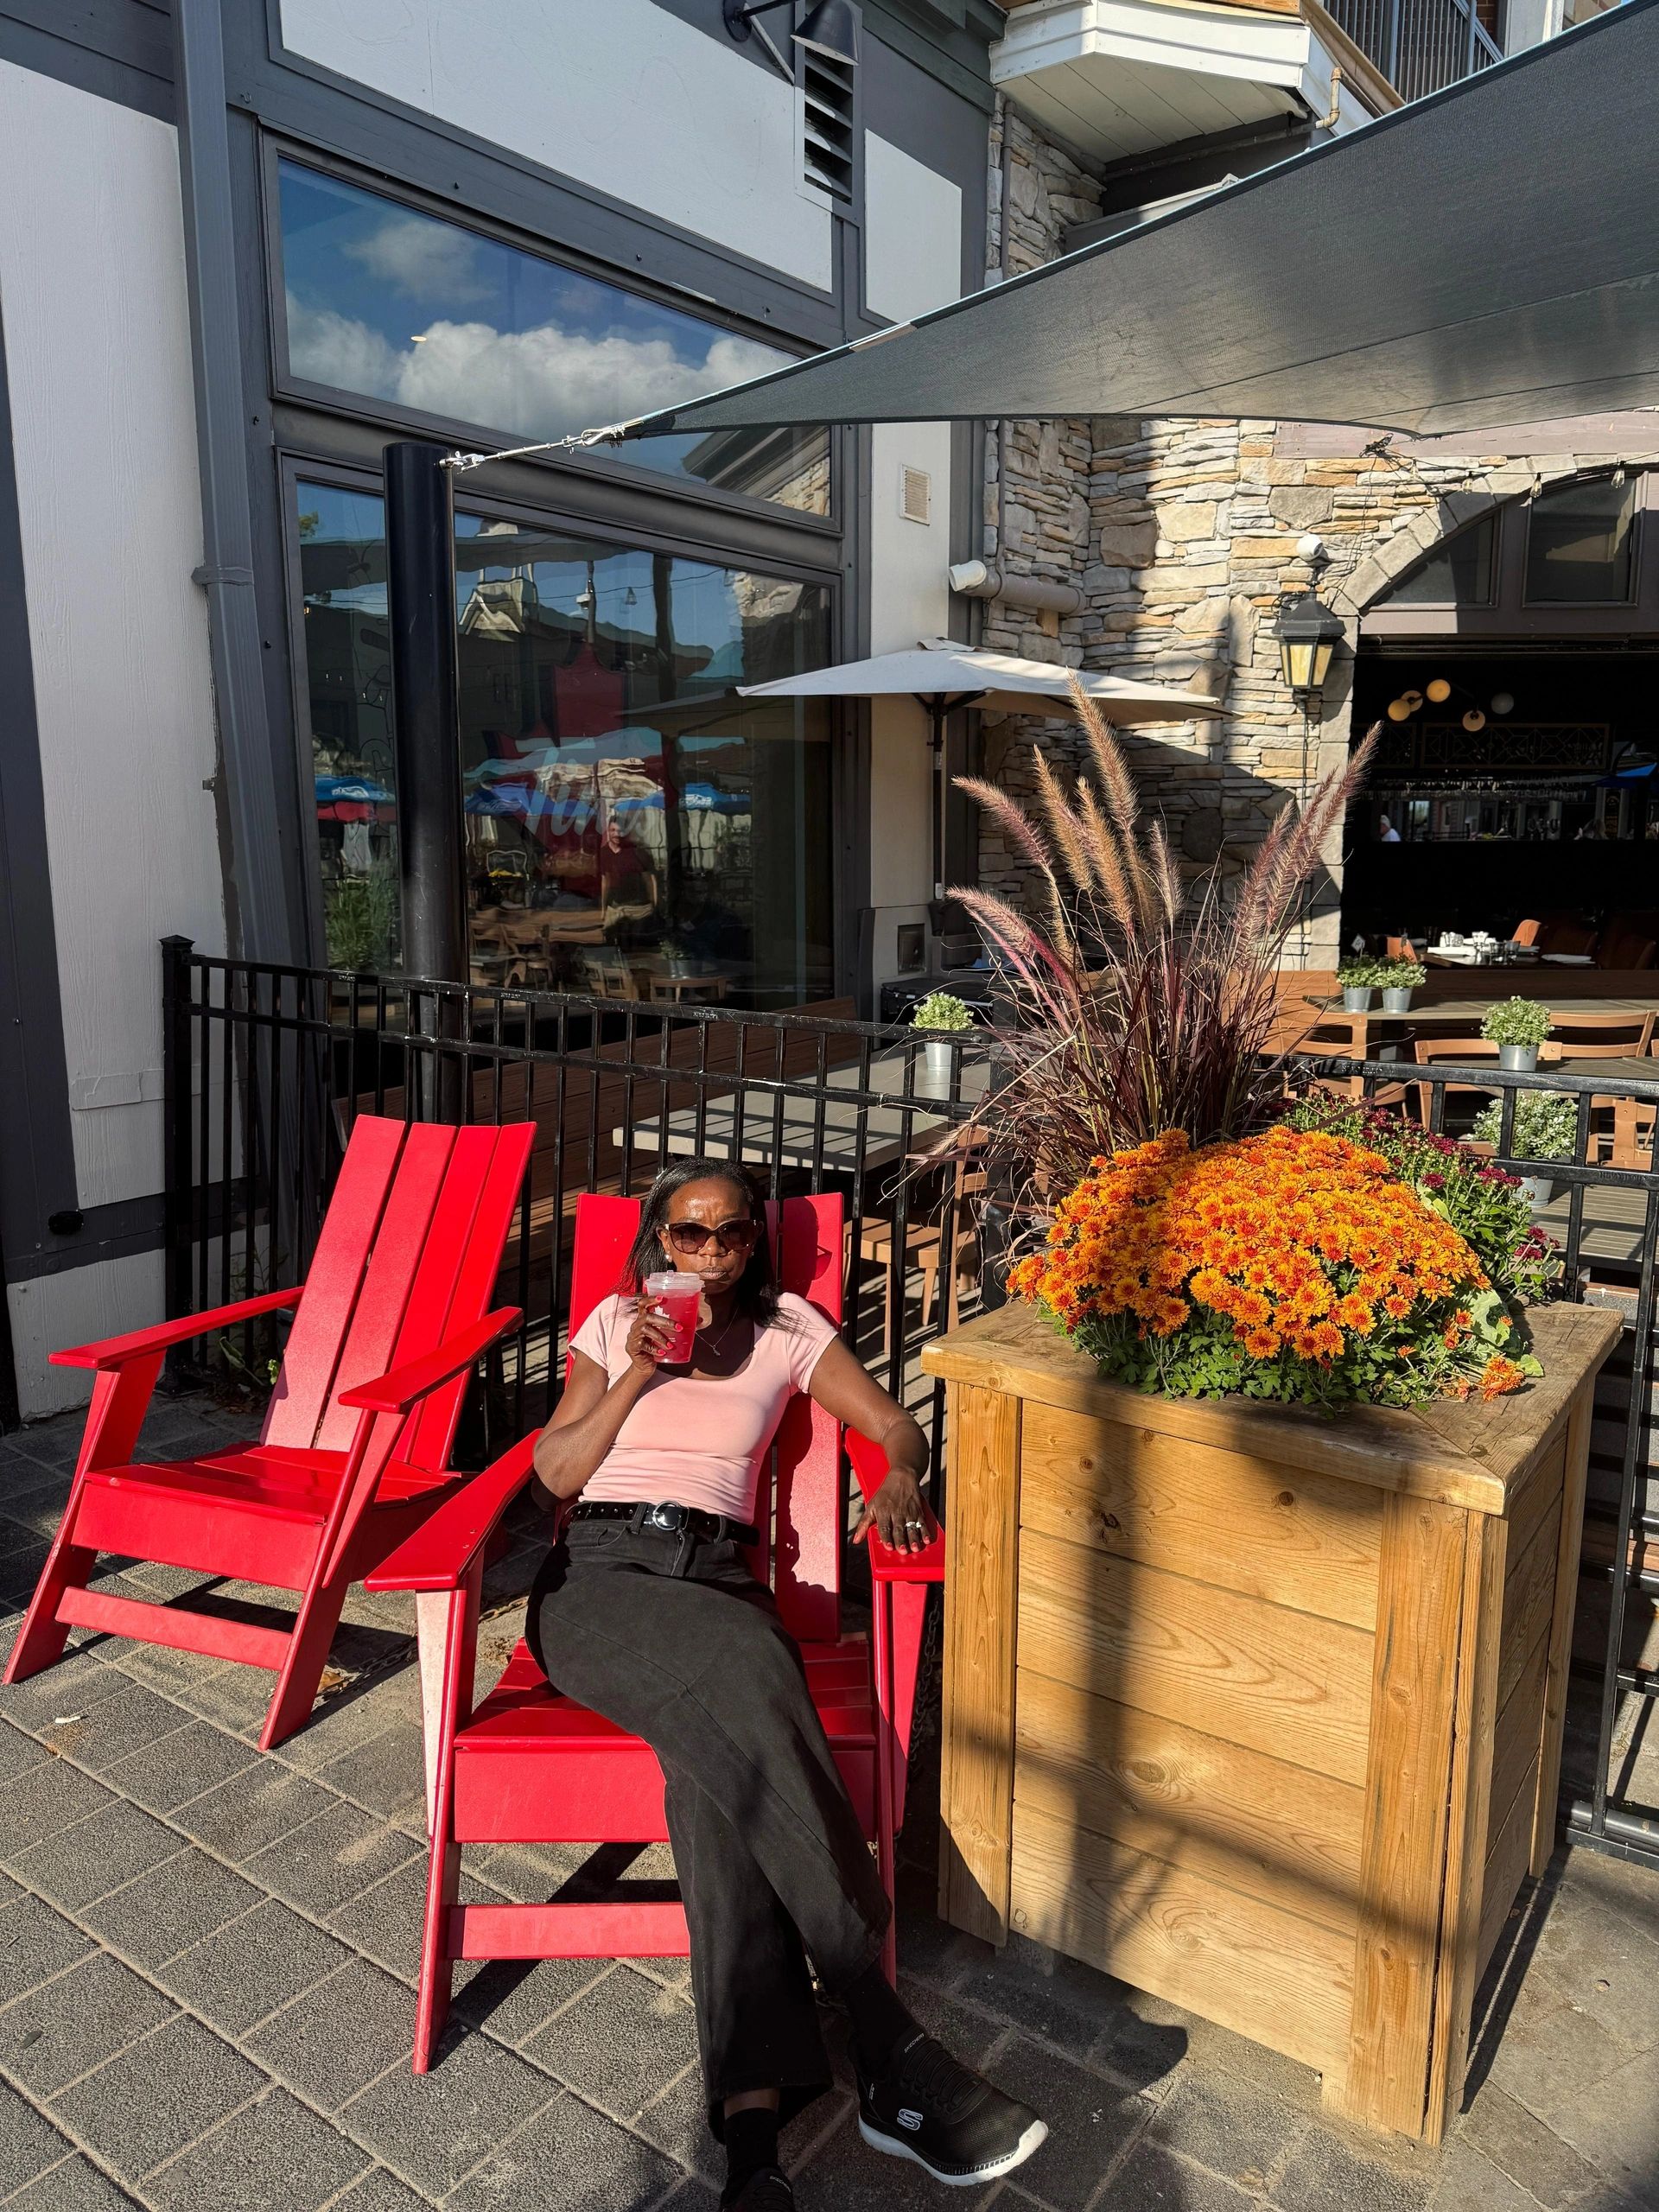
Muskoka chairs by the lake — perfect for resting with kids.
Paid Activities (with prices):
Open-Air Gondola – ~$20–25 per person, kids under 5 free. Tickets online or on site.
Mill Pond Paddle Boats – ~$15/boat, 15 minutes. Tickets at the Activity Centre.
Another common search: “Blue Mountain itinerary day trip or weekend” → here’s one you can follow.
Day 1 – Explore the Village
Morning: Arrive late morning, park once for the day.
Midday: Playground + wander the shops.
Afternoon: Gondola ride to the top.
Later: Paddle boats on Mill Pond.
Snack: BeaverTails or ice cream.
Evening: Dinner at Firehall Pizza Co. or Northwinds Brewery.
Overnight: Stay in the Village (Westin, Mosaic, Grand Georgian, or Weider Lodge).
Day 2 – Beyond the Village
Morning: Scenic Caves hike + suspension bridge.
Lunch: Picnic or eat in Collingwood.
Afternoon: Swim or relax at Northwinds Beach.
Parents: Book time at Scandinave Spa.
Evening: Return to Toronto or extend in a Collingwood cottage/chalet.
ℹ️ Good to Know
These are some of the most Googled questions about Blue Mountain — here are the quick answers:
Is Blue Mountain parking free? 👉 Yes, free lots are available. Closer Village lots are paid ($15–20/day, first hour free).
Is Blue Mountain stroller-friendly? 👉 Yes, the Village paths are smooth and easy.
Is the gondola free? 👉 No, it’s paid (~$20–25/person). Kids under 5 ride free.
Can you do Blue Mountain in a day? 👉 Yes — but overnight gives you more time for activities + nearby attractions.
Best season to visit? 👉 This guide is for summer/fall 🌞🍁. Winter ❄️ is a whole different experience (skiing, tubing, skating).
✨ Blue Mountain Village is a place where you can eat, play, and stay all in one spot — or stretch it into a weekend and explore the wider Collingwood area.
This post contains affiliate links. If you book or buy through them, I may earn a small commission at no extra cost to you.
This fall feels different. The sun is still warm, and we’re not rushing into sweater weather just yet. We’ve been making the most of it with apple picking, pumpkin patches, family walks, and little day trips around the GTA, including Niagara Falls.
Whether you’re looking for a full day out or just a cozy weekend activity, here are some easy and fun ideas for families to enjoy the season.
1. Go Apple Picking 🍎
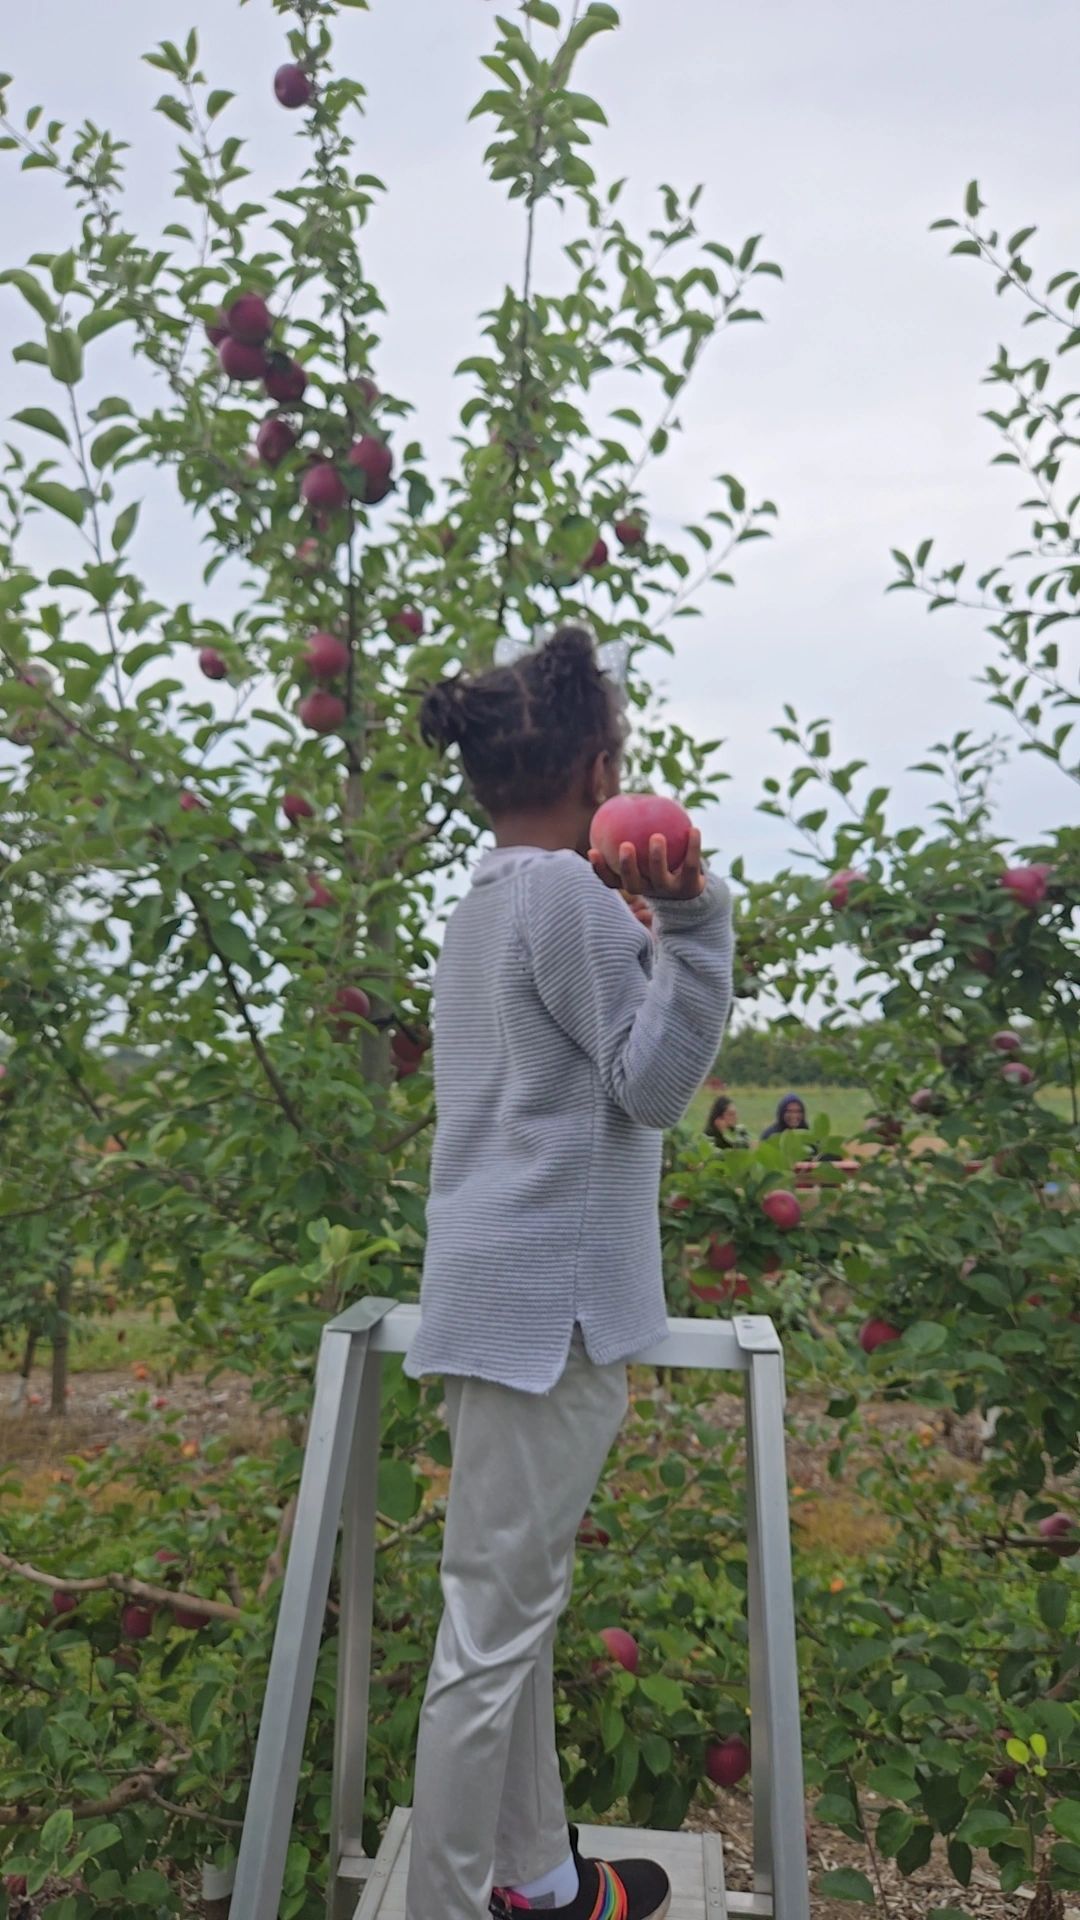
Apple picking is always a hit with kids. They love running through the rows, finding the biggest apples, and filling their little baskets.
Here are a few family-favorite orchards close to the GTA: Chudleigh’s Farm (Milton) is one of the most popular farms for families with tractor rides, animals, and warm apple blossoms. Albion Orchards (Caledon) is smaller and less crowded, perfect for toddlers. Pine Farms Orchard (King City) has a cozy café and playground area.
📍Tip: Go early in the morning to avoid crowds and bring your own reusable bags.
2. Visit Pumpkin Patches & Corn Mazes 🎃
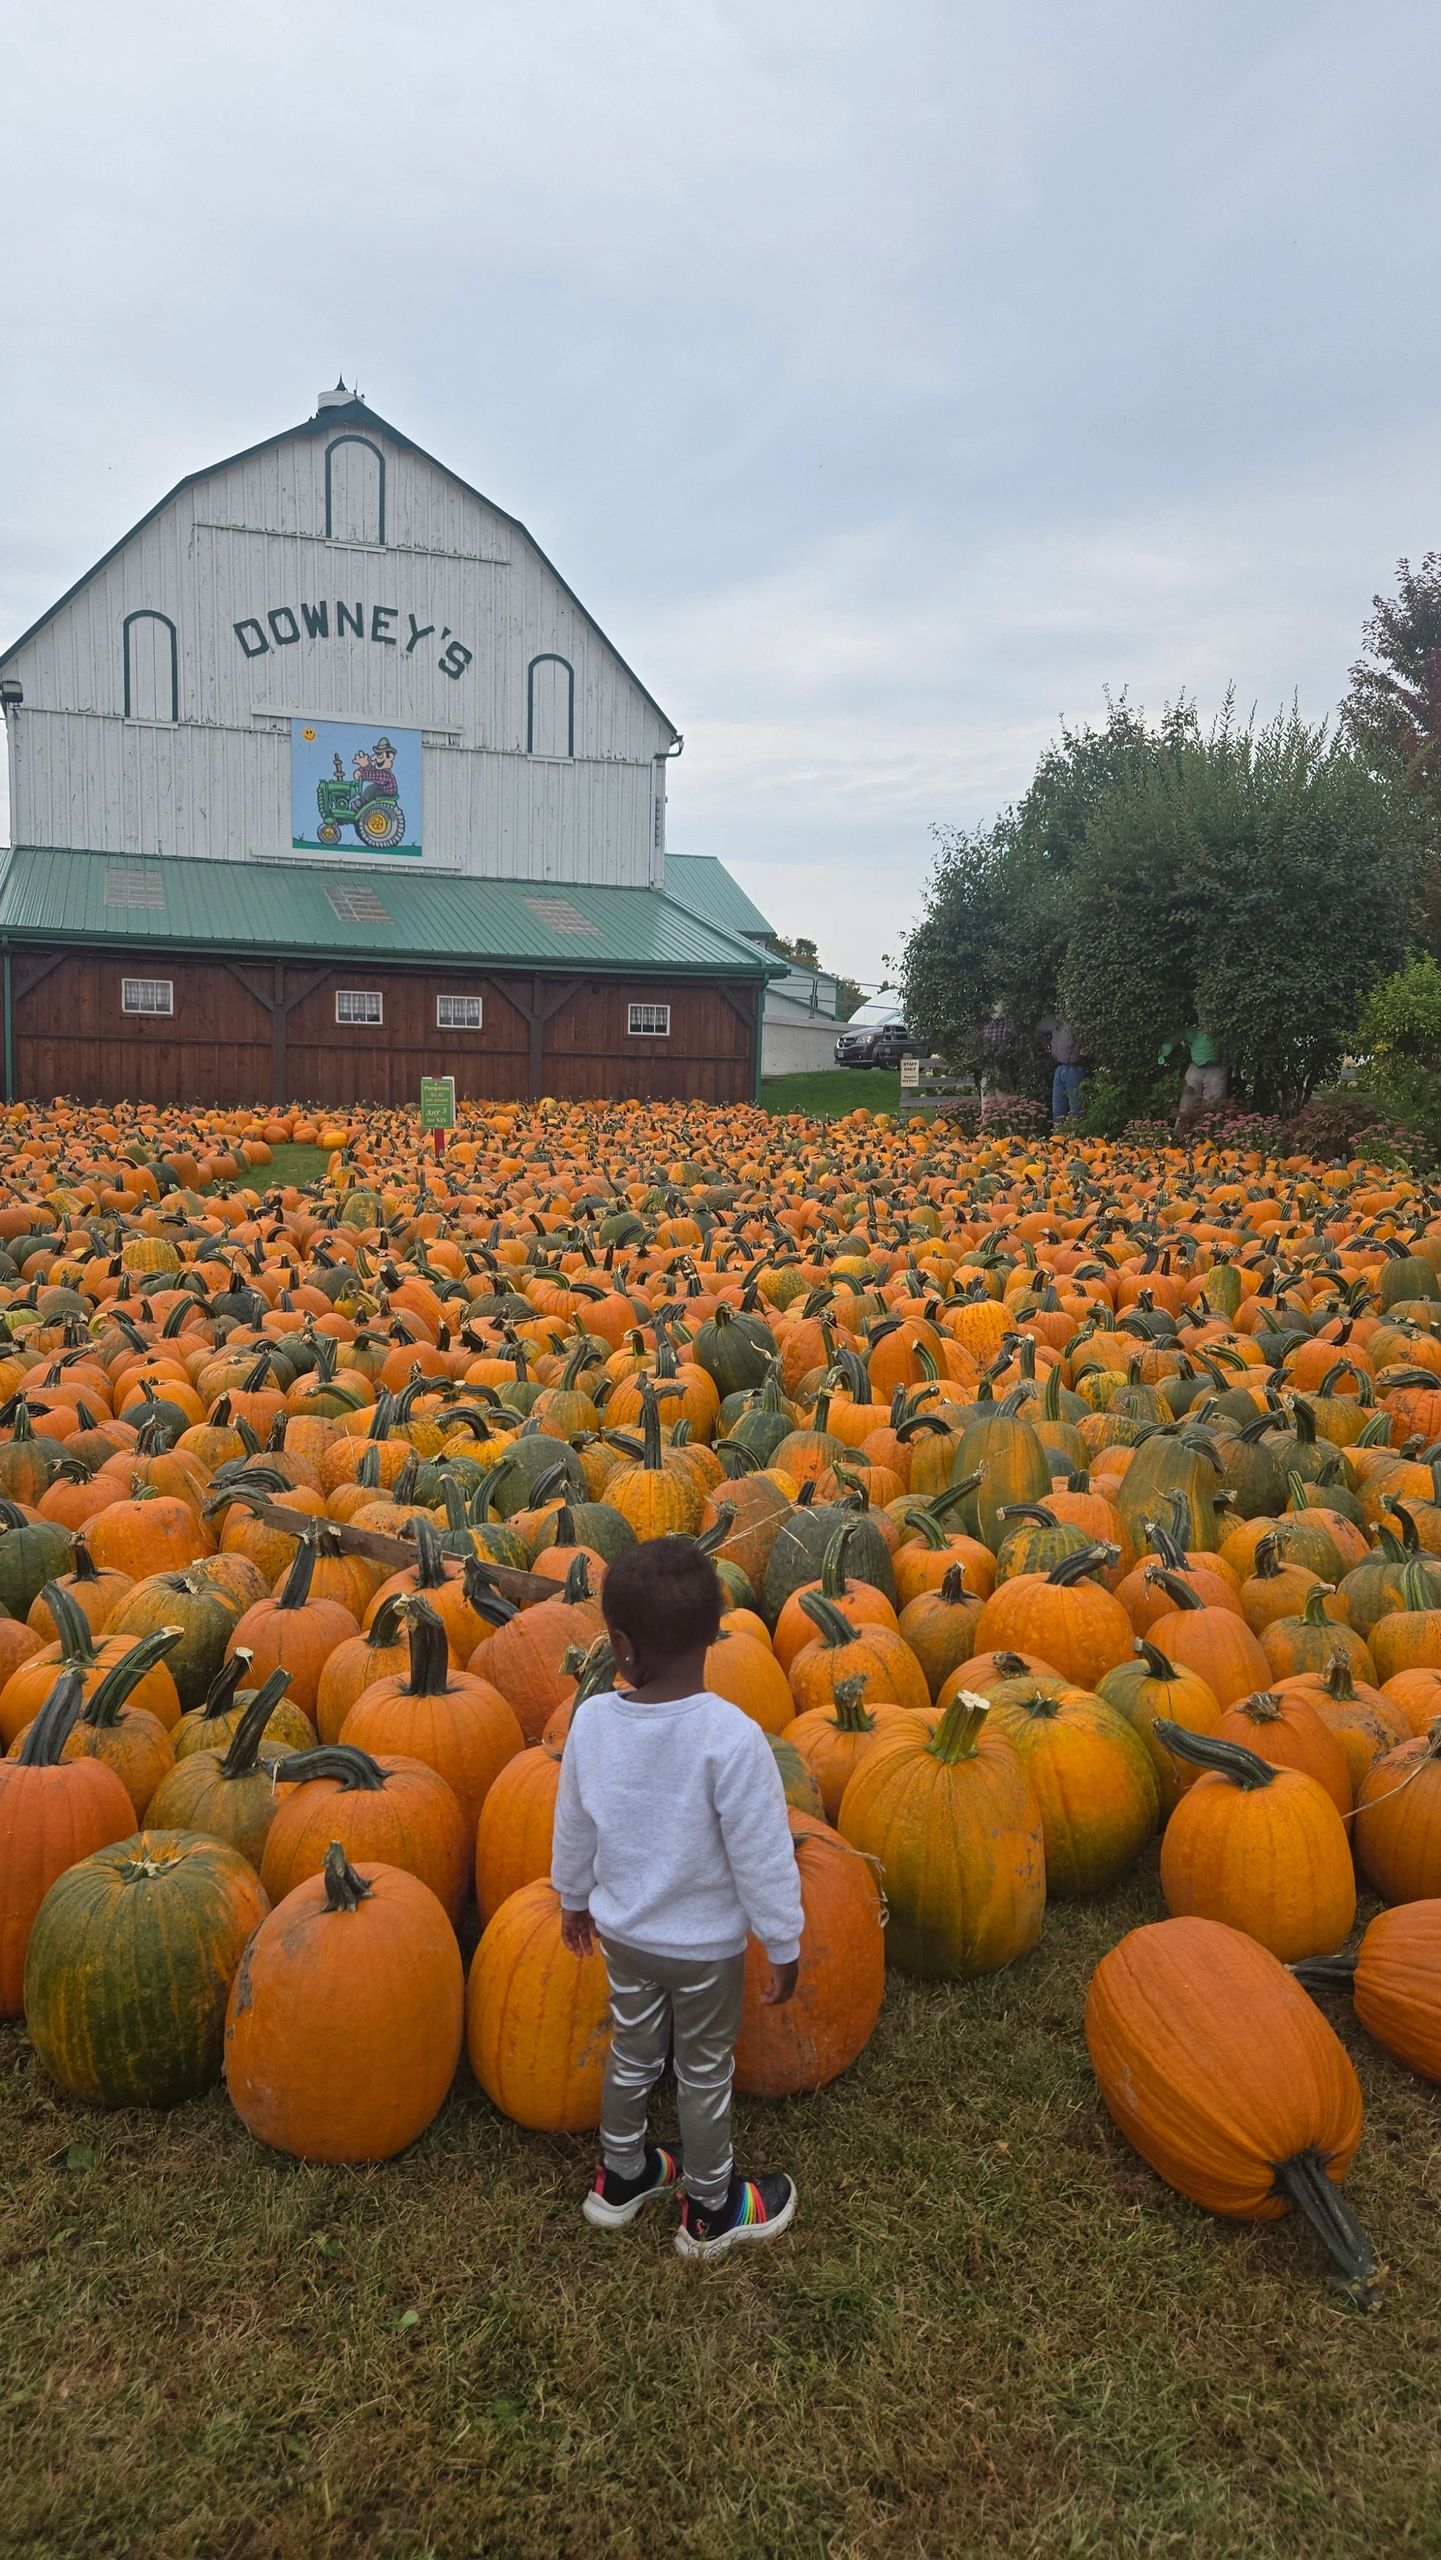
It’s not fall without pumpkins. Many farms now have full experiences — wagon rides, farm animals, and corn mazes.
Some great family spots include Downey’s Farm (Caledon) with its big pumpkin displays and food stands, Springridge Farm (Milton) with wagon rides and a nice market, and Brooks Farms (Mount Albert) for animals, slides, and good food.
📍Tip: Check the farm’s website for special event weekends. Some have live music or food trucks.
3. Go on a Family Hike 🌳
Ontario’s trails are beautiful in the fall — colorful leaves, crisp air, and stroller-friendly paths in many areas.
Try Hilton Falls (Milton) for an easy loop with a small waterfall, Rattlesnake Point (Milton) for scenic lookout spots, or Forks of the Credit (Caledon) for peaceful trails and fall colors.
📍Tip: Always pack snacks and a change of clothes. Kids will find mud somehow.
4. Take a Day Trip to Niagara Falls 🌊
Niagara Falls is magical in every season, but fall adds something special. Fewer crowds, cozy weather, and colorful trees everywhere.
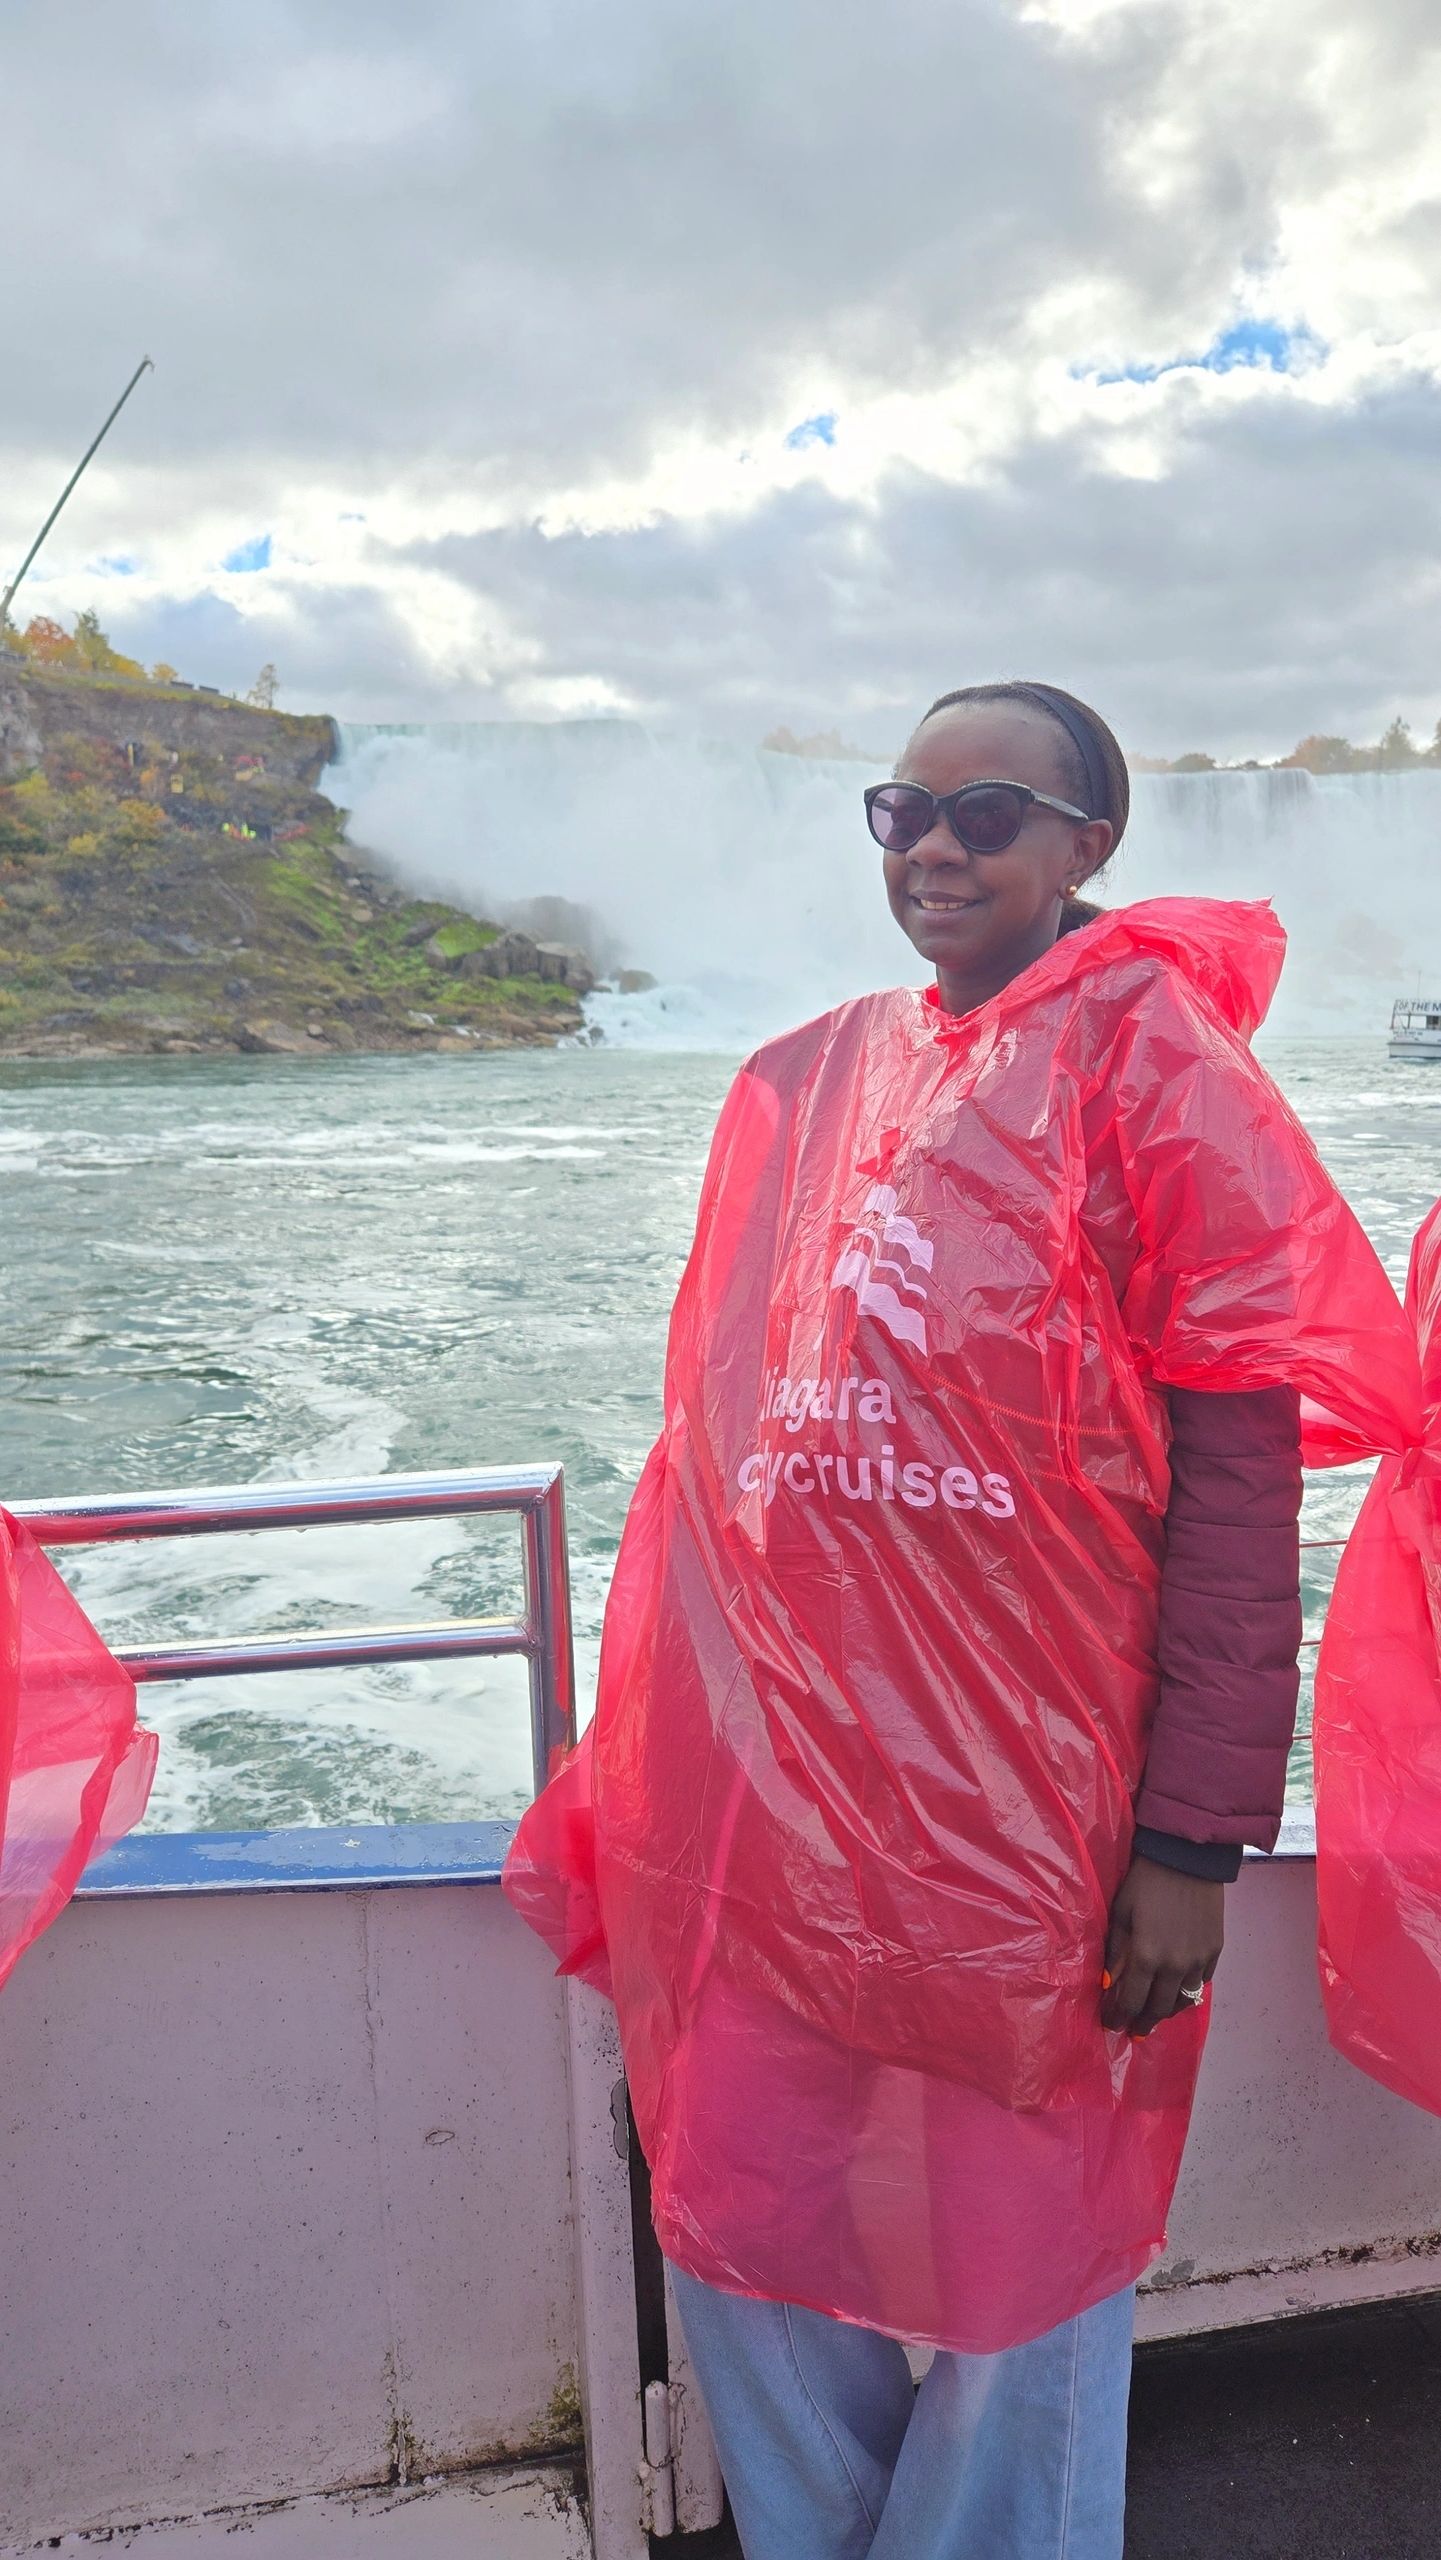
With kids, you can take the boat tour with Niagara City Cruises for a close-up view, visit Clifton Hill for mini golf, the SkyWheel, and arcades, or walk along the Niagara Parkway for beautiful fall views.
📍Tip: Stop at a local winery or farm on the way. Forty Creek and Harvest Barn are great options.
5. Explore Surrounding Towns for the Weekend 🚗
Ontario offers numerous easy day trips for families, each featuring small-town charm and engaging activities for kids.
Some of our favourites are Blue Mountain Village (Collingwood) for gondola rides, playgrounds, and great food, Niagara-on-the-Lake for quiet strolls and cozy cafés, and St. Jacobs for a market day filled with local crafts and treats.
📍Tip: Most of these spots are within 1.5 to 2 hours from Toronto, perfect for a weekend escape.
Every year feels a little different, but fall always gives us the best family memories. Whether it’s apple picking, chasing leaves, or a last warm weekend getaway, these moments make the season special.
So tell me — are you team warm fall or team cozy sweaters?
This post contains affiliate links. If you book or buy through them, I may earn a small commission at no extra cost to you.
Travelling with kids can feel like a marathon (and it feels like it!), from keeping everyone fed to managing meltdowns before you even board the plane. One of my favorite ways to make airport days smoother is using airport lounges.
I first discovered lounges years ago when I travelled often for work. As an Aeroplan Elite and Star Alliance Gold member, I had access to lounges all over the world. I loved them so much that I would sometimes arrive at the airport early just to enjoy the food, relax, or even take a shower before my flight.
Now that I travel with kids, lounges are no longer just a nice perk; they’re a lifesaver. Here’s everything parents need to know about airport lounges when flying with little ones.
What Is an Airport Lounge?
Airport lounges are private areas inside the airport where travelers can rest, eat, and recharge before their flight. They’re quieter, cleaner, and more comfortable than the main terminal.
There are different types of lounges:
Airline lounges (like Air Canada’s Maple Leaf Lounge) — usually for frequent flyers or premium ticket holders.
Independent lounges (like Plaza Premium) — open to anyone for a fee.
Membership lounges (like Priority Pass) — available with a yearly membership or day pass.
Do Lounges Allow Kids?
Yes — most lounges welcome families, but the rules vary.
Children under 2 are usually free.
Some lounges may charge a reduced child fee.
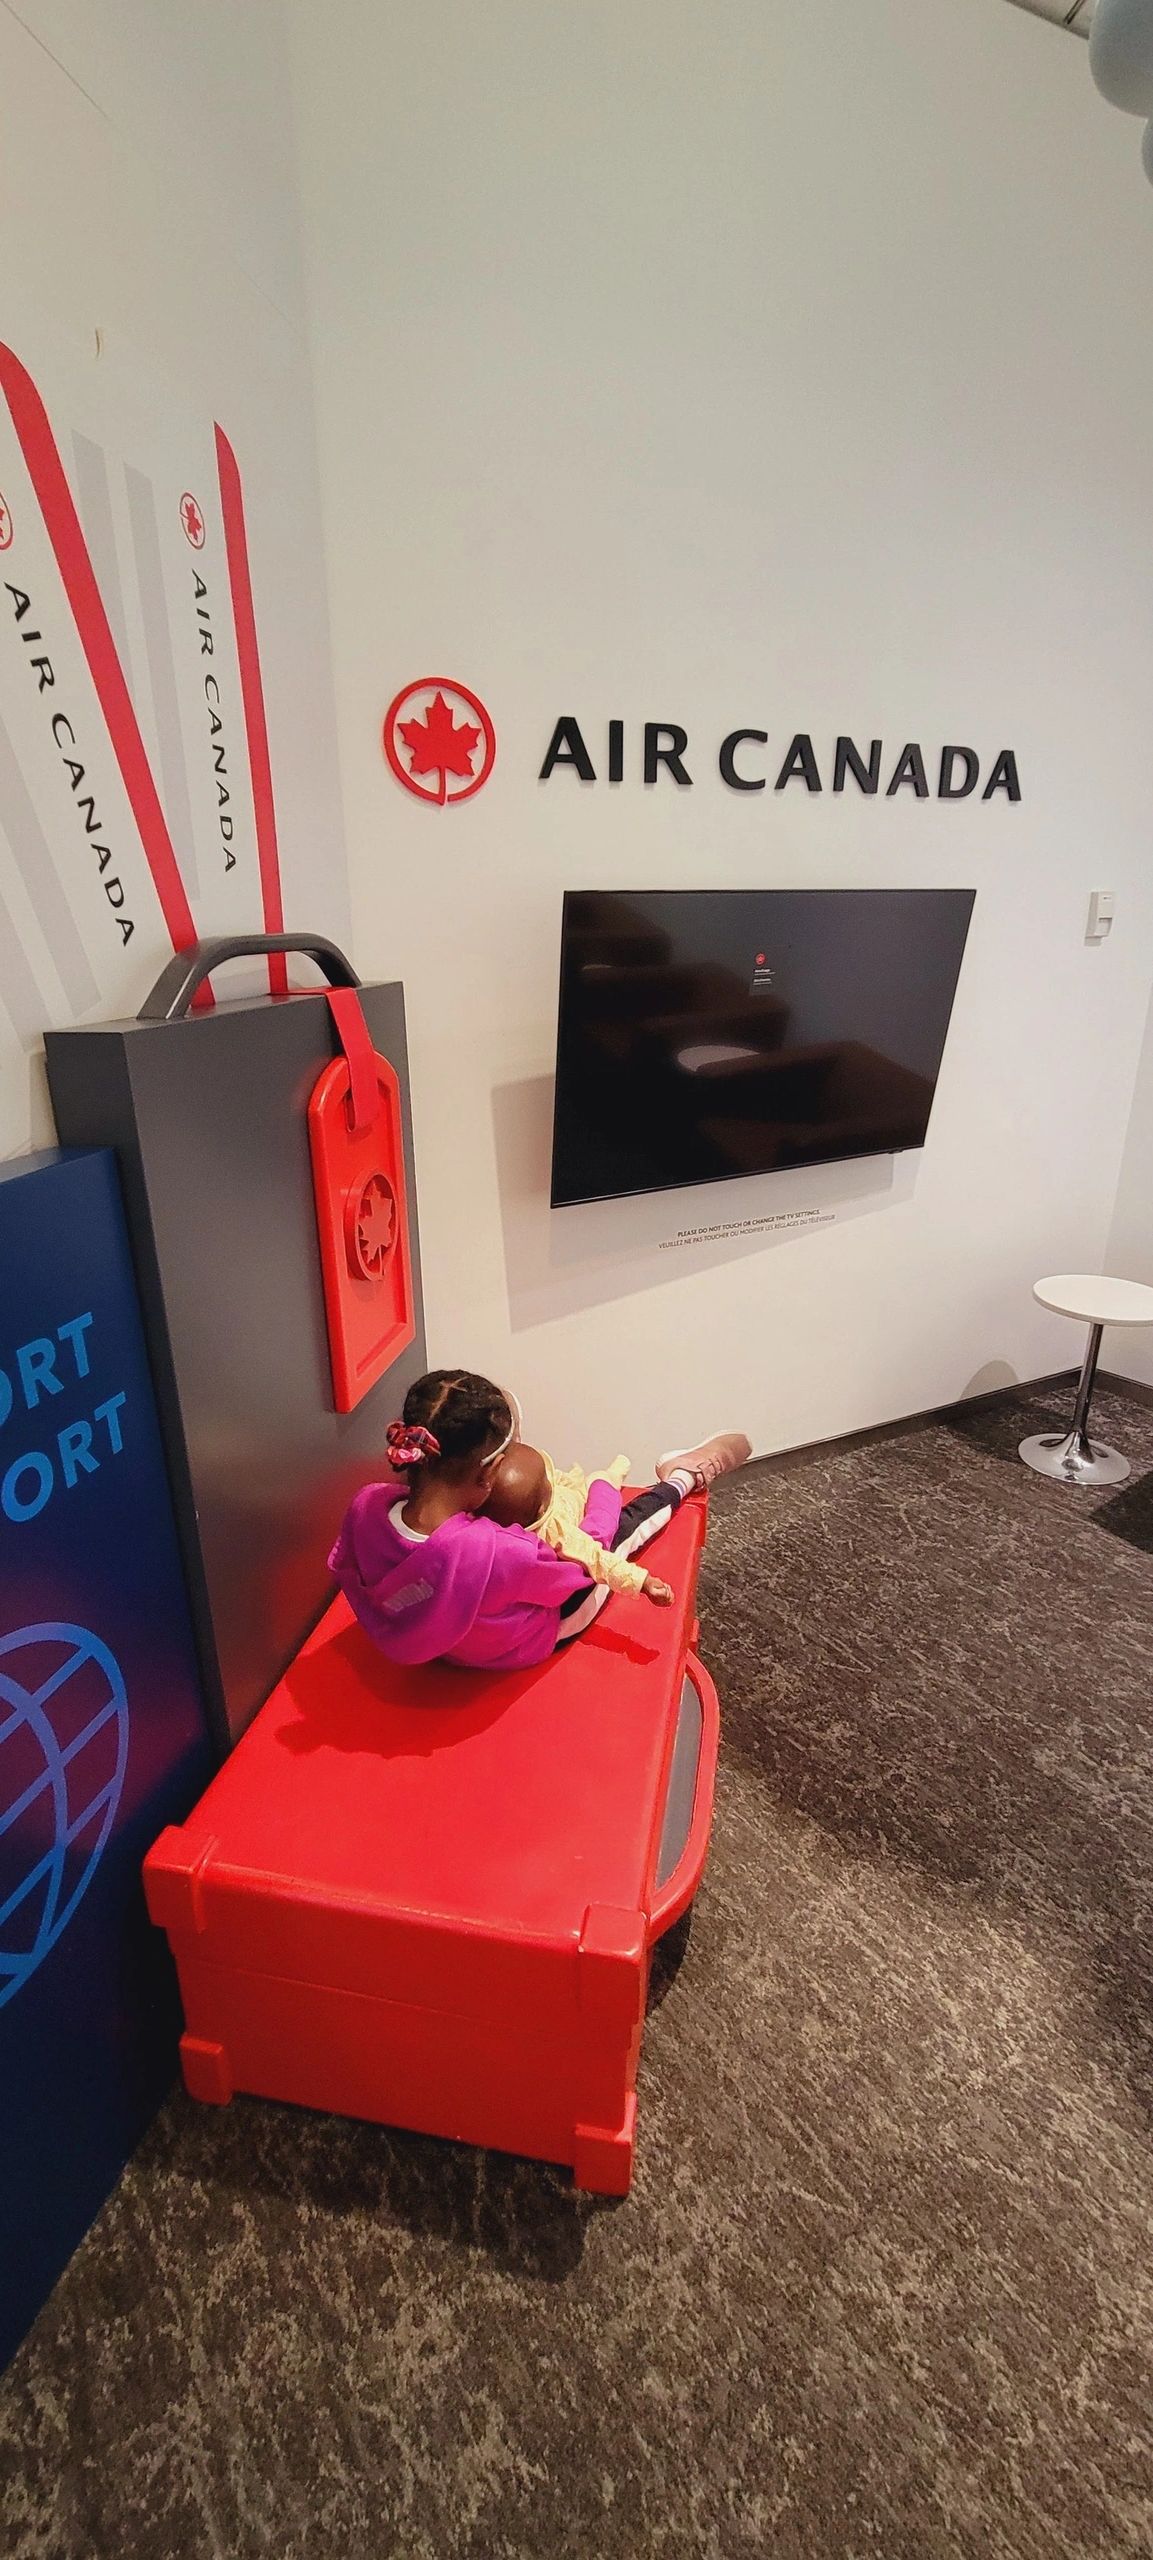
A few even have family rooms or play areas designed for kids.
Tip: Always check the specific lounge policy before traveling.
What’s Included in a Lounge?
When you step into a lounge, here’s what you can typically expect:
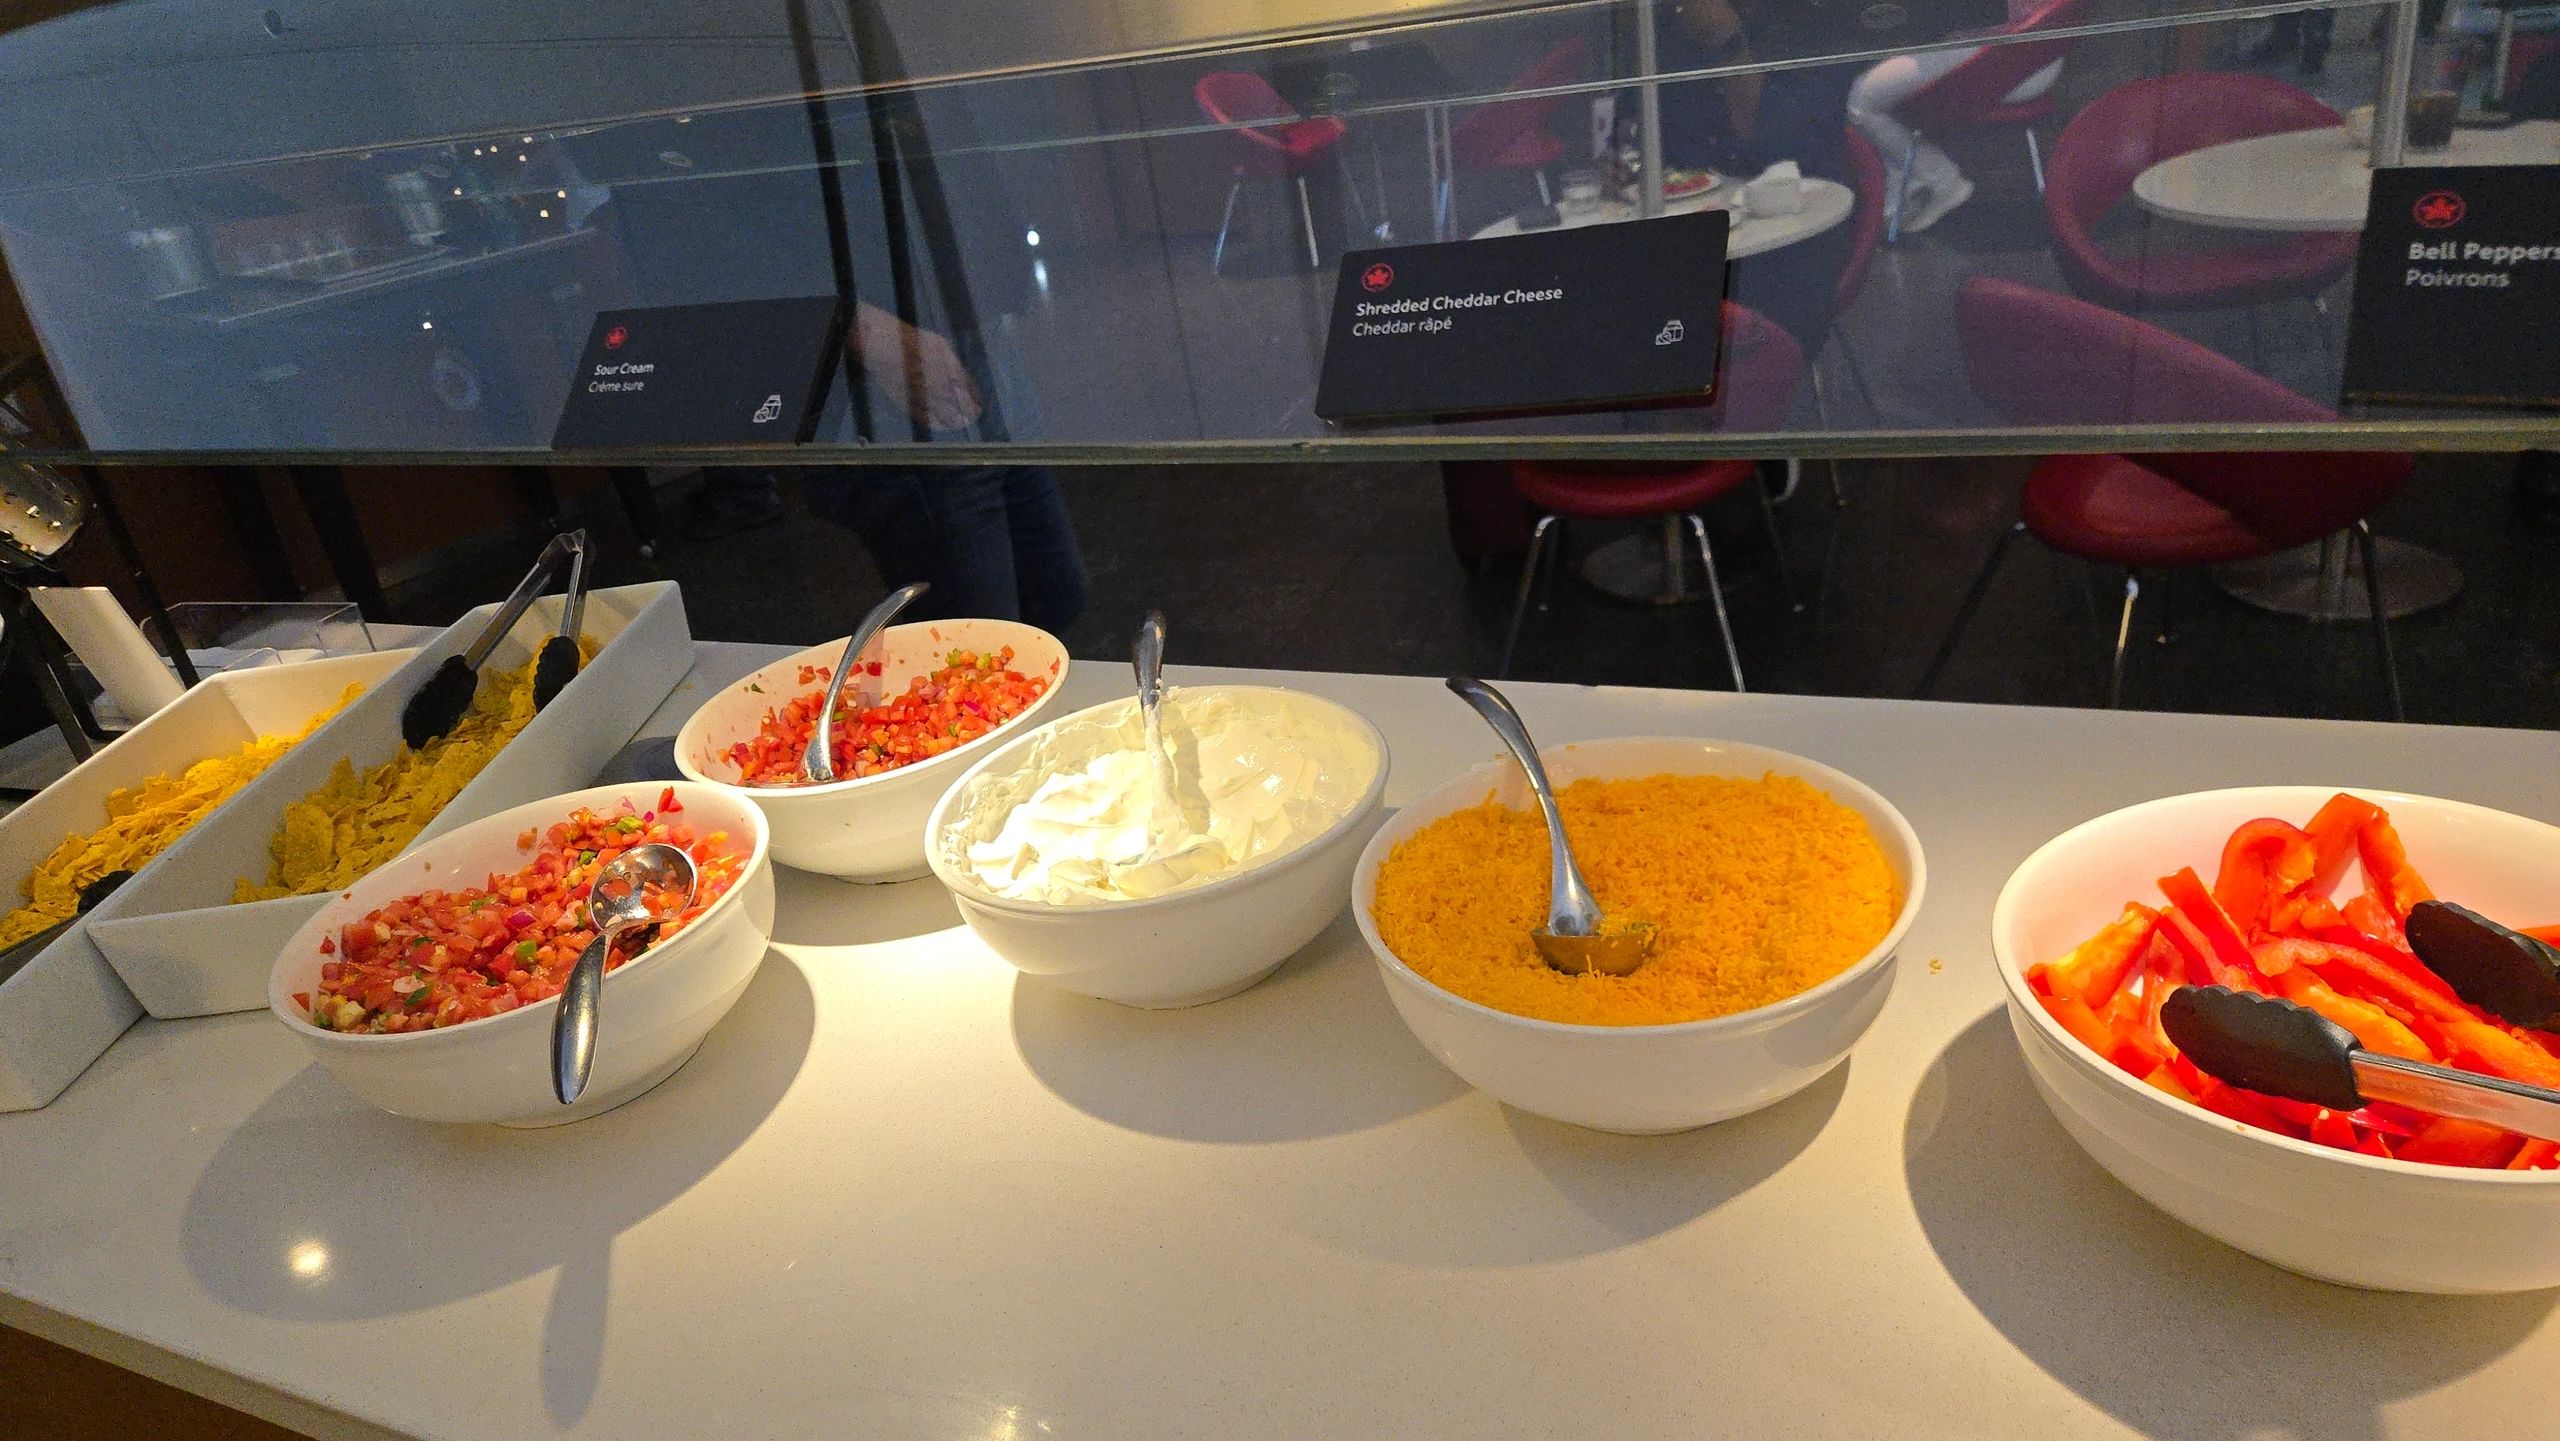
Meals and snacks → hot and cold food, drinks, and sometimes even barista coffee.
Comfortable seating and space → a relief when your kids want to move around.
Bathrooms and change tables → usually much cleaner than those in the terminal.
Wi-Fi and charging stations → download shows and top up devices before boarding.
Extra perks → some lounges offer showers, nap rooms, or kids’ play zones.
How to Get Lounge Access (Free or Paid)
You don’t need to be a business traveler to enjoy lounges. Here are the main ways families can get access:
Travel credit cards (Free/Included) Many premium travel credit cards include complimentary lounge passes each year. For example, my CIBC Aeroplan card gives me a set number of free visits (in Canada).
Frequent flyer status (Free/Included) Higher status with airlines (like Aeroplan Elite or Star Alliance Gold) often comes with free lounge access.
Business or first class ticket (Included in ticket price) If you book a premium ticket, lounge entry is usually included.
Points or miles (Redeemable) You can use your loyalty points or miles to cover the cost of entry.
Day pass or Priority Pass membership (Paid) Buy a single-use pass (usually $30–$50 per person) or join a program like Priority Pass for ongoing access.
Why Lounges Are a Lifesaver for Parents
Lounges make traveling with kids so much easier:
Meals and snacks included → no need to spend on overpriced airport food.
Extra space → kids can stretch, walk around, and burn off energy.
Cleaner bathrooms and changing tables → easier for parents with babies and toddlers.
Calm atmosphere → gives kids (and parents!) a break from the chaos.
Wi-Fi and charging → perfect for last-minute downloads or topping up tablets.
Parent Tips to Maximize Your Time in the Lounge
Arrive a little earlier → so you can actually enjoy it.
Pack up a few snacks → great to bring onboard for picky eaters.
Bathroom and diaper changes → always easier before boarding.
Fill bottles and sippy cups → saves time on the plane.
Download shows using lounge Wi-Fi → keeps kids entertained during the flight.
Airport lounges aren’t just for business travellers anymore — they’re a smart way for families to make flying less stressful. Whether you get in with a credit card, points, or a one-time pass, the comfort and convenience can make a huge difference when you’re traveling with kids.
This post contains affiliate links. If you book or buy through them, I may earn a small commission at no extra cost to you.
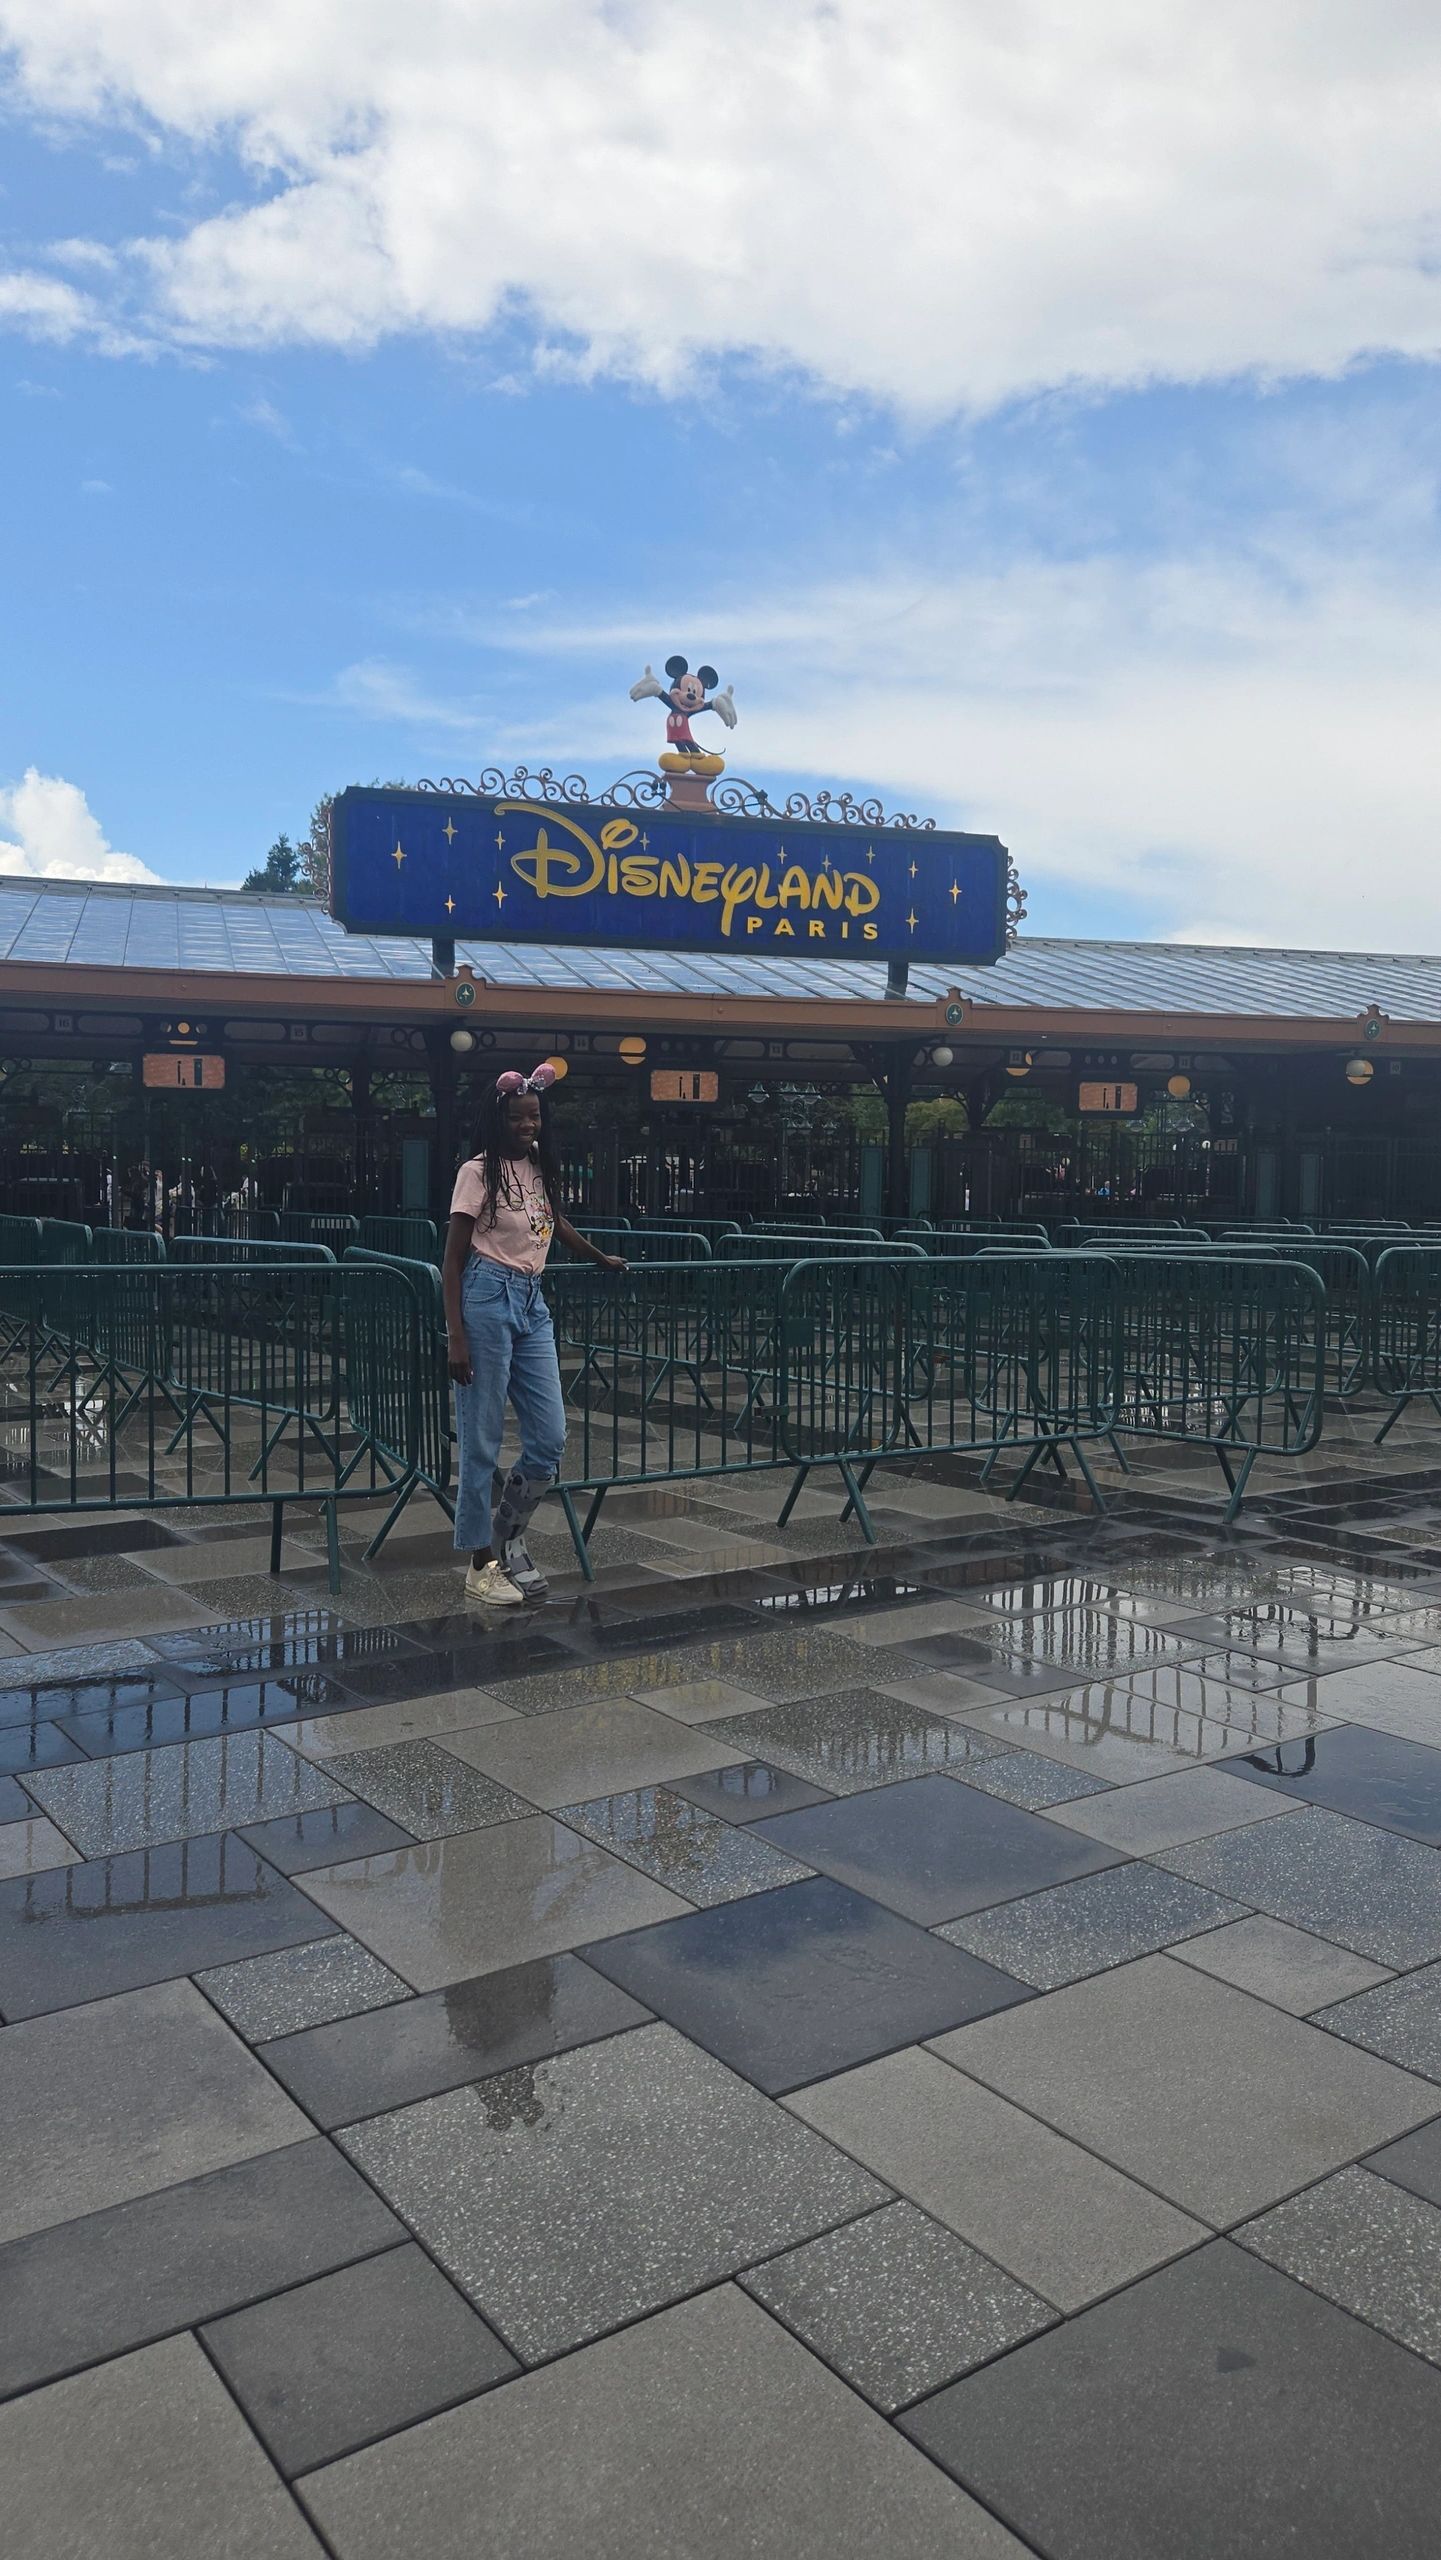
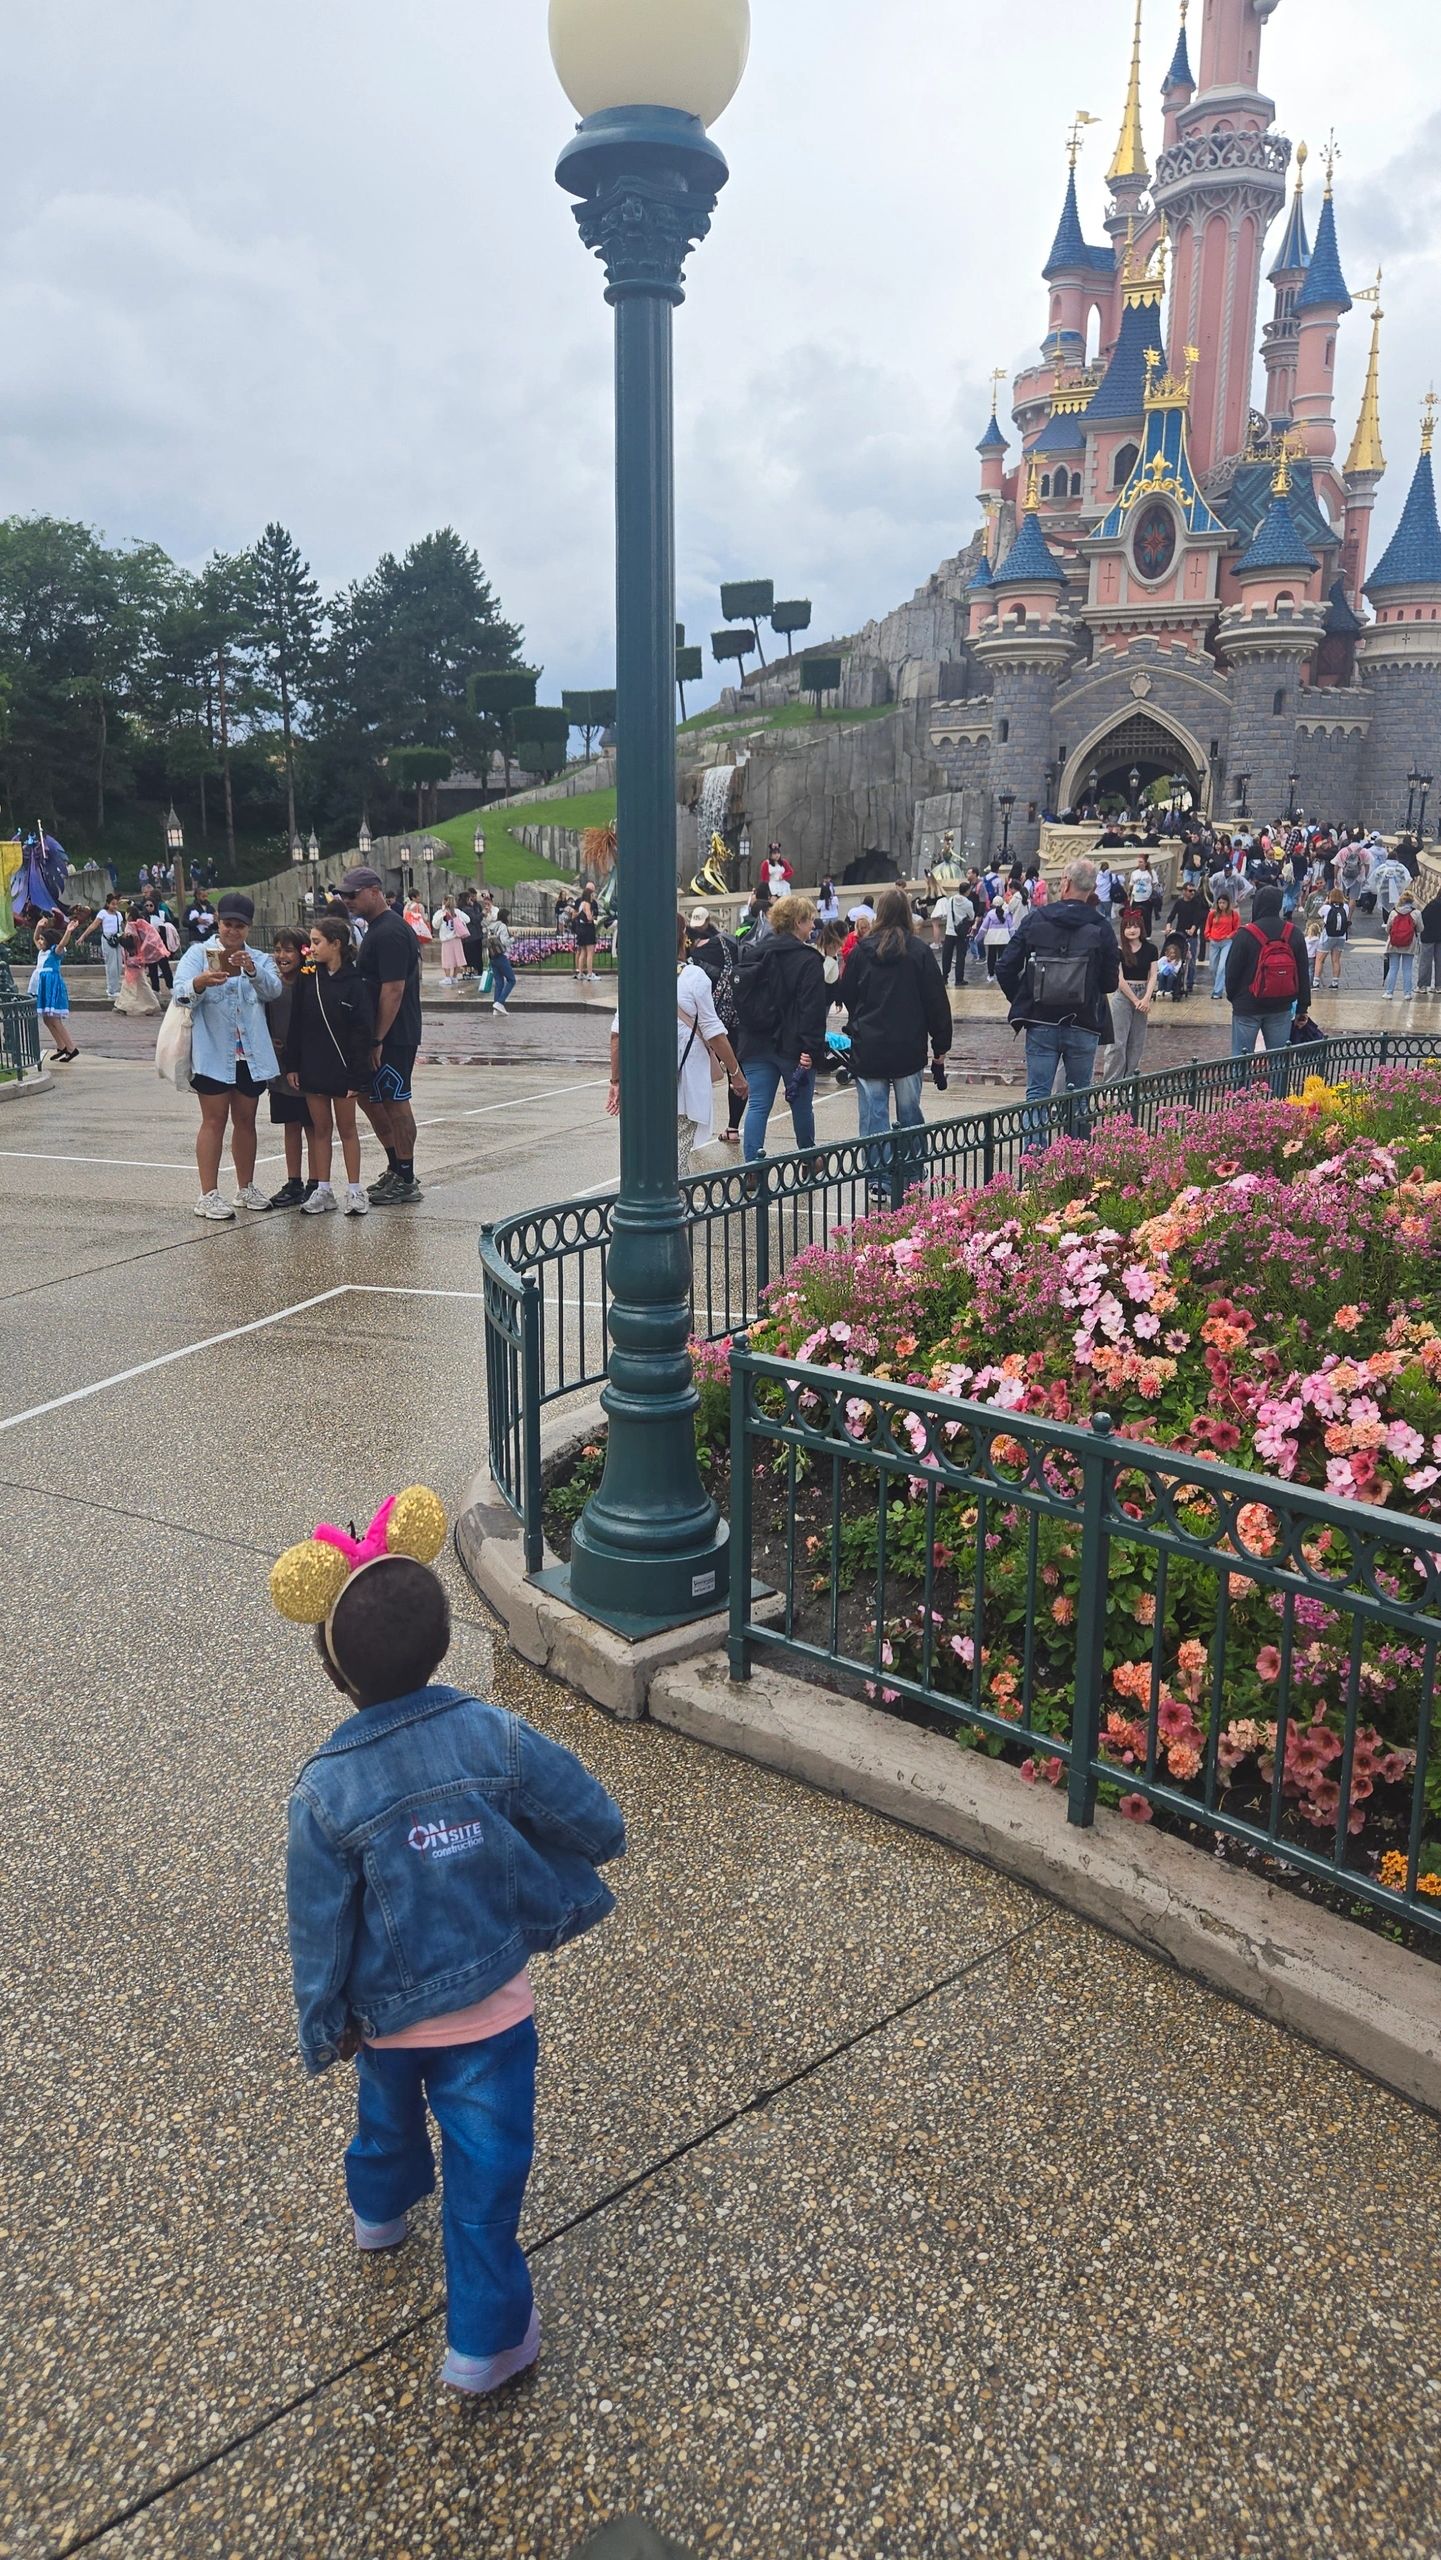
Disneyland Paris is one of those bucket list trips for families. But if you’re going with little ones, it’s not just about the magic, it’s also about planning smart so everyone has a good time.
We visited with our two daughters (ages 2 and 7), and here are the tips that made our day easier, plus some things I wish I knew before going.
Tickets & Planning Ahead
Buy your tickets online in advance on the Disneyland Paris site. Not only is it cheaper, but you’ll also save time at the gate.
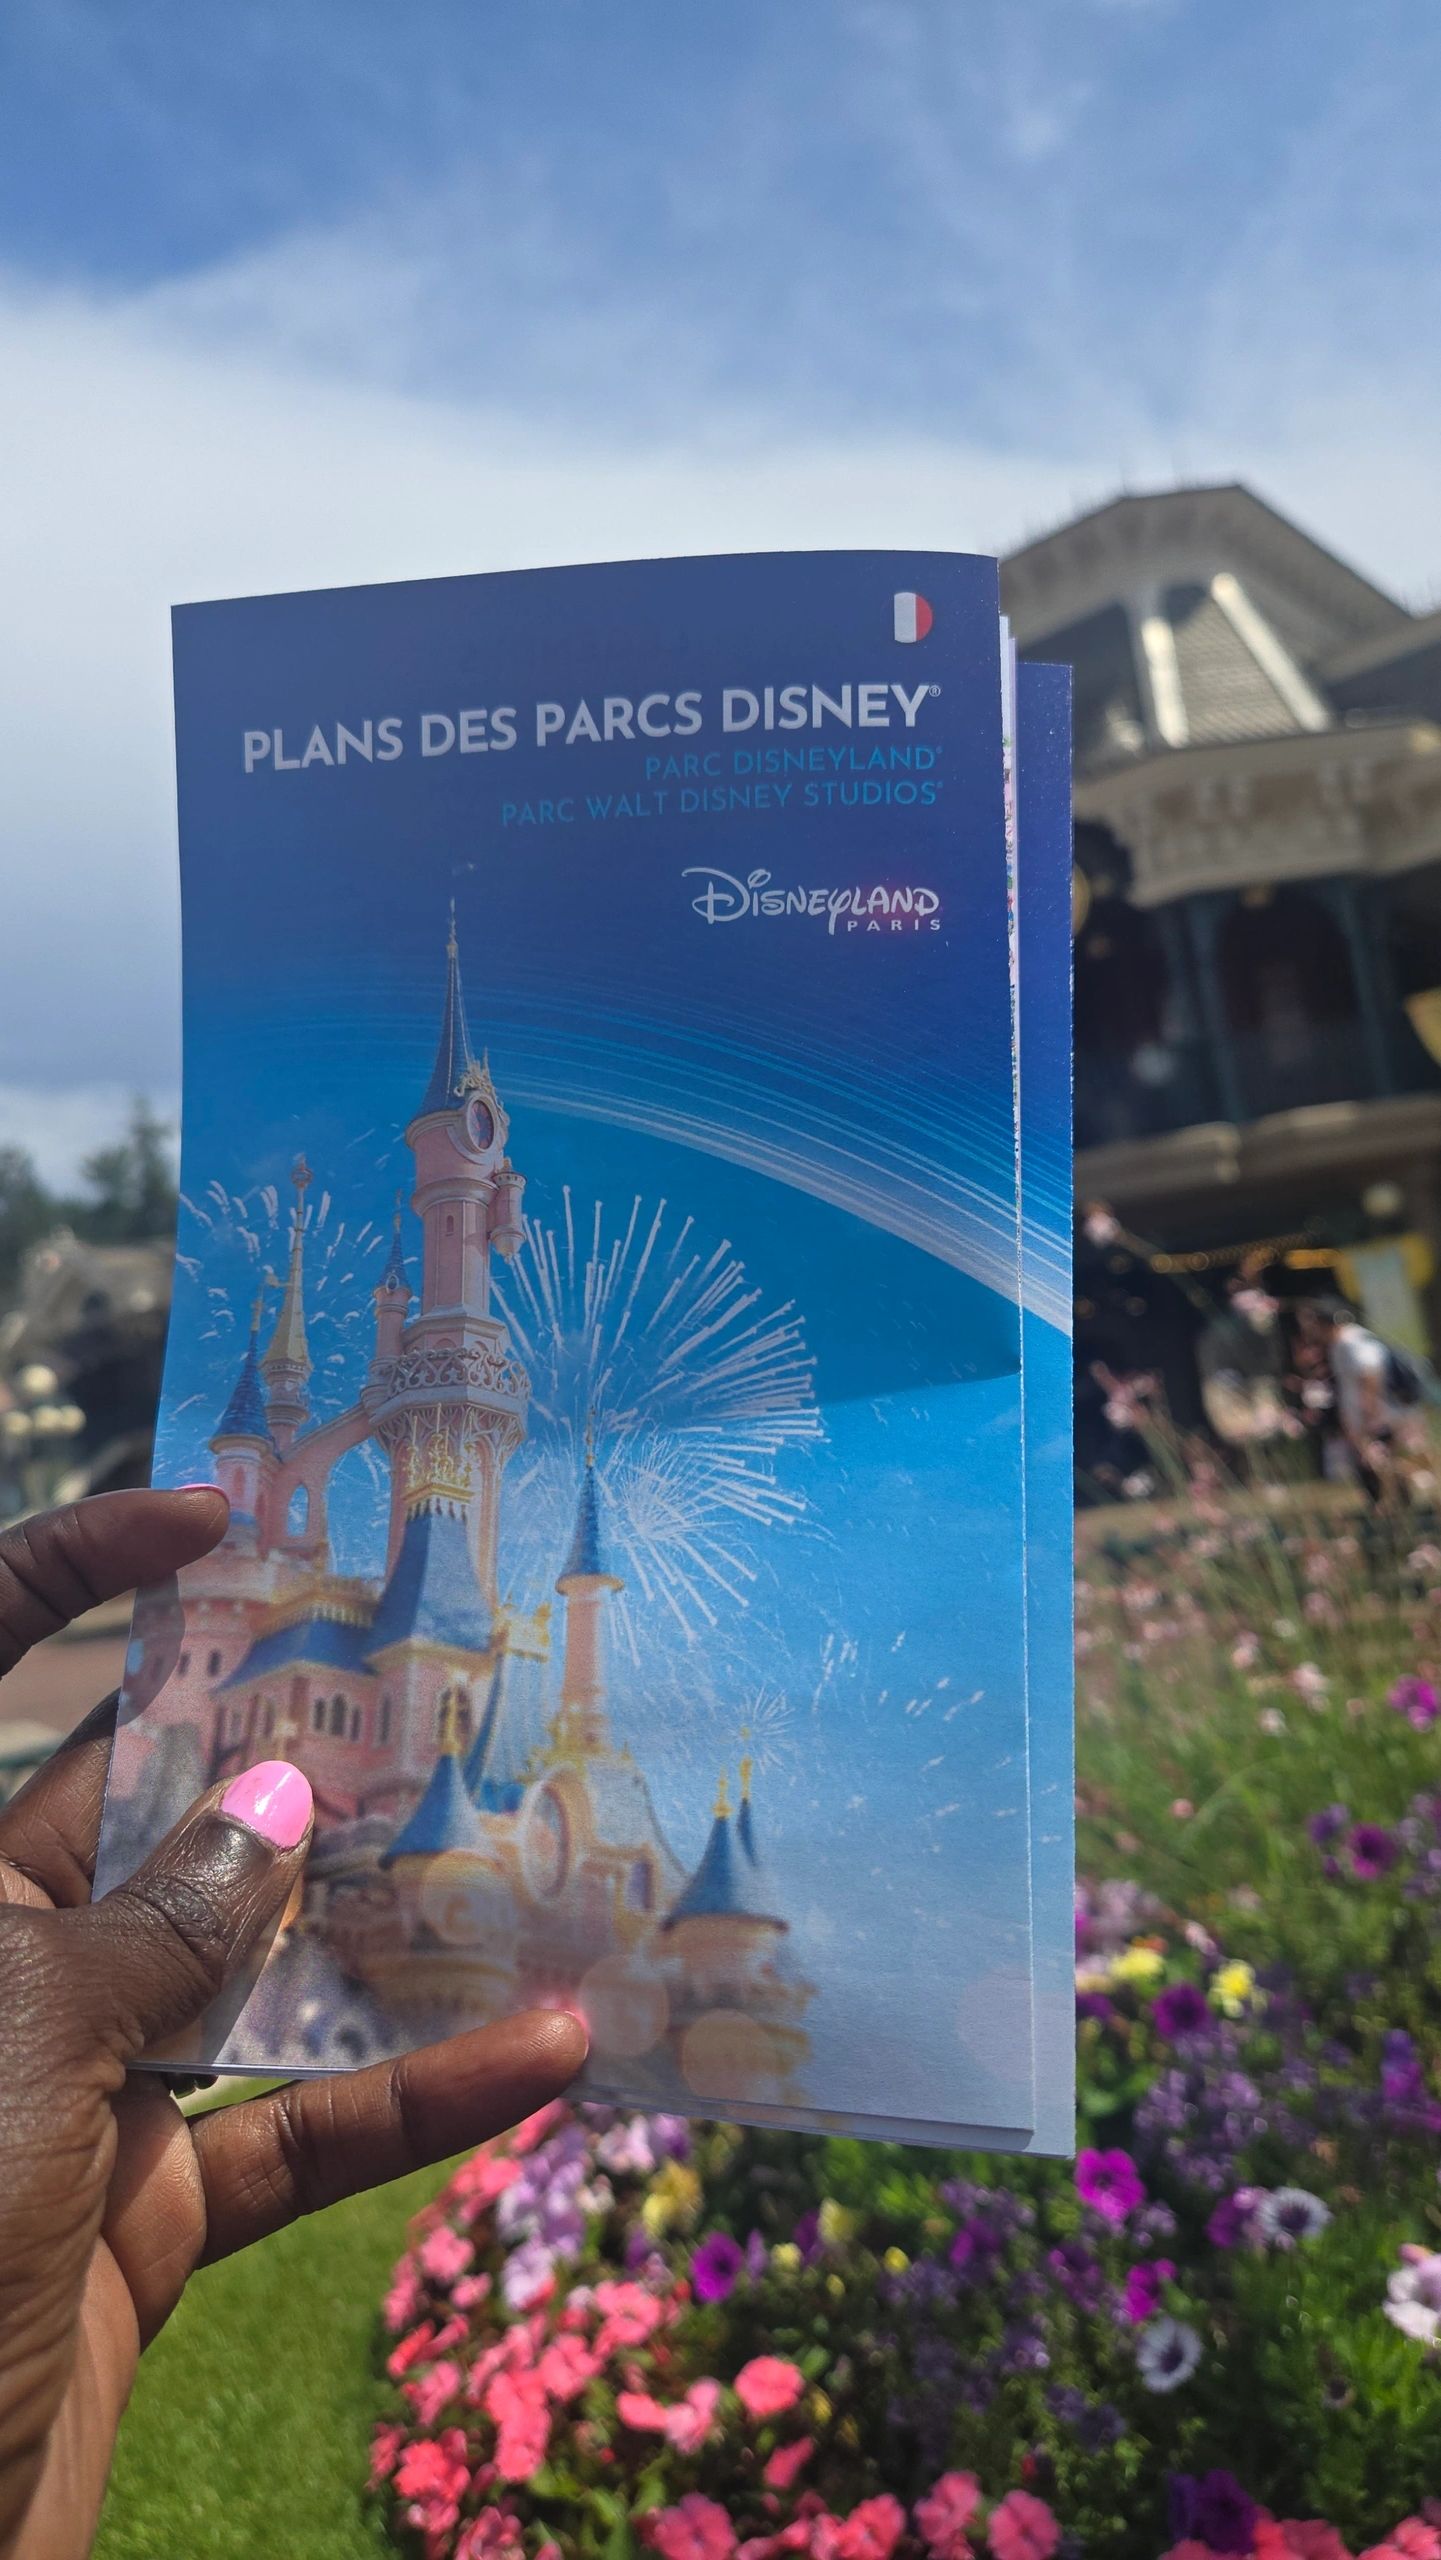
Download the Disneyland Paris app. It stores your tickets, displays parade and character times, and provides real-time ride wait times.
Prices vary by day, so please check the calendar before booking.
There are two parks: Disneyland Park (the “Magic Kingdom” with the castle). Walt Disney Studios Park (movie-themed, with Marvel, Pixar, and Toy Story rides). We chose Disneyland Park.
Getting There from Paris
Disneyland Paris is very easy to reach, even if you’re visiting from abroad and staying in the city.
RER A Train Take the RER A train from central Paris to Marne-la-Vallée/Chessy. Travel time is about 40 minutes. Cost is around €5–€8 per adult one way and €2.50–€4 per child (depending on ticket type/updates). The station is right next to the park entrance.
Shuttle Buses The Disneyland Paris Express Shuttle picks up from central Paris (stops include Gare du Nord, Châtelet, Opera, Eiffel Tower). Round-trip costs about €40–50 per adult. The Magical Shuttle connects Charles de Gaulle and Orly airports directly to Disneyland hotels. This is convenient if you’re arriving by plane.
Taxi, Uber, or Private Transfer This option costs more, about €70–120 each way depending on traffic, but is very convenient with children and luggage. We used Uber in the morning because it was raining, then took the RER train back.
Tip: Consider using a private car or Uber to get there and the train on the way back. This balances convenience and cost.
Food, Snacks & Souvenirs
Food inside the park can be pricey, so pack your own snacks and refillable water bottles. This saved us time and money and prevented hangry meltdowns.
We only bought a lollipop and one Disney water bottle inside. For souvenirs, we skipped the usual toys and t-shirts and got something different: a Minnie Mouse teacup for the kids.
Tip: If you want ears or Disney shirts, buy them before your trip, they’re much cheaper outside the park.
Washrooms & Facilities
One thing that impressed me at Disneyland Paris was the family-friendly facilities. The washrooms were clean, and the change tables made it so much easier with our toddler.
Rides with Different Ages
Traveling with a toddler and a school-aged child means not every ride works for both. The app was super helpful to check height requirements before getting in line.
Since it was raining the day we went, we couldn’t do everything, but the silver lining was almost no wait times! We got on rides quickly, and the kids loved classics like It’s a Small World, Dumbo the Flying Elephant, and Ratatouille.
💡 Bring a stroller — even big kids will get tired after walking all day.
Characters & Magical Moments
Meeting characters is included in your ticket, and you don’t have to pay extra.
The Disneyland Paris app shows real-time locations and schedules for character meet-and-greets.
Some meet-and-greets have specific times and lines, like Mickey Mouse or the Disney Princesses. Others you will see while walking around the park.
Regular character meets are free and don’t need booking. Dining experiences with characters, such as at Plaza Gardens or Auberge de Cendrillon, require reservations and an extra cost.
If meeting characters is important for your family, plan your day around the app schedule so you don’t miss them.
We stayed in Paris and went to Disney for the day. This gave us the flexibility to enjoy the city as well. But if Disney is the main reason for your trip, staying at a Disney hotel has its advantages.
Staying in Paris Best if you want to combine Disney with sightseeing in Paris. The train ride is 40 minutes on the RER A. You have more options for restaurants and family activities outside the park.
Staying at Disneyland Paris Hotels Hotels such as Disney’s Newport Bay Club and Disney’s Hotel New York – The Art of Marvel are within walking distance or have shuttle buses to the park. Disney hotel guests get Extra Magic Time, meaning early access to the park before the official opening. Rooms are themed, which children love. Prices are higher compared to Paris hotels, but the convenience is worth it for some families.
Nearby Partner Hotels There are also non-Disney partner hotels around Marne-la-Vallée. These are often cheaper but still include shuttle service to the park.
This post contains affiliate links. If you book or buy through them, I may earn a small commission at no extra cost to you.
Traveling alone with your kids can feel overwhelming, especially when you have a baby and a young child. I have done it many times, including long flights and international trips. My husband often cannot travel with us because of work, so I am used to moving around with the kids on my own. It is not always easy, but with the right preparation, it becomes much more manageable.
This guide is for any parent or guardian who needs to travel solo with children. Every country has different rules, so it helps to be prepared and carry the right documents. Here is what I use, what helped me, and what makes solo travel smoother.
1. Documents you need
Different countries have different rules. Some will ask for extra documentation when you are traveling alone with a child, and some will not ask anything at all. There is no guarantee, so it is better to have everything ready.
Documents to prepare:
• Your passport and your child’s passport • A consent letter confirming you are traveling with the child • Your child’s birth certificate • Travel insurance • Hotel and flight confirmations • Emergency contacts • Printed copies and digital copies saved in your email
If you live in Canada, there is an official recommended consent letter you can use. Some countries ask for it, some airlines ask for it, and sometimes nobody asks at all. It is simply better to have it.
A few things help you feel more prepared when traveling alone with kids:
• Check airline rules for strollers and car seats • If your baby is under two, sometimes checking in the stroller at the counter is easier • If you prefer to keep the stroller until boarding, confirm if your airline allows gate checking • Add an esim or update your roaming plan • Download all your confirmations • Keep all documents together in one folder • Pack two days of clothes and essentials in your carry on • Pack beach clothes and sandals in your carry on if you are going somewhere warm • Prepare simple activities for your older child
If you have textured or curly hair, protective styles make beach and pool days easier. I always braid my hair before travel.
3. How to handle the airport alone
Here are simple things that make the airport smoother:
• Babywear to keep your hands free • Decide if the stroller will be checked in or kept until the gate • Keep documents in a small bag you always hold • Let your older child move around before boarding • Pack easy snacks • Bring wipes for hands, faces and seats • Keep a full change of clothes for everyone in your carry on • For takeoff and landing, breastfeed, bottle feed or use a pacifier
Do not hesitate to ask for help. People are kinder than we think. Many parents, flight attendants and even other travelers will gladly help you for a minute so you can fold your stroller, grab your bag or even use the washroom. I have had people offer to hold my baby for a moment and those small things make a huge difference.
4. Safety when traveling solo with kids
A few safety habits help you stay calm:
• Talk to your older child before the trip about staying close • Put your phone number inside their backpack • Use ID bracelets for young kids • Keep important documents in your crossbody bag • Never put documents in checked luggage • Keep diapers and wipes in small pouches • Wear something comfortable if you are breastfeeding
Ask for help any time you need it. You do not have to manage everything alone.
5. Packing reminders for solo parents
These items make solo travel easier:
• Two complete outfits in your carry on • Snacks and water bottle • Diapers and wipes • A small pillow or blanket for your older child • Tablet and headset • Simple toys, books or crayons • Medicine for you and your child • Sunscreen • A light sweater or jacket for the plane
Pack practical things. Your goal is to keep the day simple.
Travelling solo with a different last name
Nobody has ever questioned the different last names at the border. Not once. What border officers actually care about is whether you have permission to travel without the other parent. Here is what I carry every trip: my child’s passport, a signed travel consent letter from the other parent, a copy of my child’s birth certificate, and a copy of the other parent’s passport or ID. Have I been asked for all of it? No, most countries do not ask, but I carry everything anyway. The countries where I have had more questions are Côte d’Ivoire and the UK.
How I pack the carry-ons when I fly alone with both kids
Toronto to Helsinki is 8 hours, overnight, and I did it on my own with both girls. I pack our carry-ons by how fast I need something, so everything goes in 1 of 3 places.
On me, the crossbody: passports, credit cards, the consent letter and medication. Every important document stays on my body and never goes in the overhead bin, and a crossbody keeps my hands free.
Under the seat, the diaper bag: diapers, wipes and snacks, so everything I need during the flight is within reach. My scarf goes in here too, because it is a blanket on the plane, a blanket over the stroller, and a scarf when I do not need either. A tray table cover, and a tote folded flat for whatever we buy at the airport.
Overhead, the carry-on: my laptop, the chargers, and 2 days of clothes for all 3 of us in case our luggage does not arrive. Pyjamas and slippers for the first night go in too, so we can land and go straight to bed without opening a big suitcase.
For the kids: an empty water bottle, snacks and tablets. I pack less entertainment than people expect on an overnight flight. My free packing list has the rest.
Flying solo with a baby
Liquids go through security. Baby milk, bottles and water are all allowed.
Use a baby carrier at the airport: hands free, the baby sleeps while you move, and the older one can walk beside you.
Your baby gear flies free: stroller, car seat and pack and play. Do not pay extra, just ask at check-in.
Tell the flight attendants you are on your own. They help.
Bring more than you think: diapers, wipes and extra clothes for both of you.
A 3 month old is easier to fly with than a toddler. All they do is sleep and eat.
Traveling alone with your kids can feel intimidating, but you can do it. Kids follow your energy and adapt quickly. Go step by step, take your time and give yourself grace. Each trip makes you more confident.